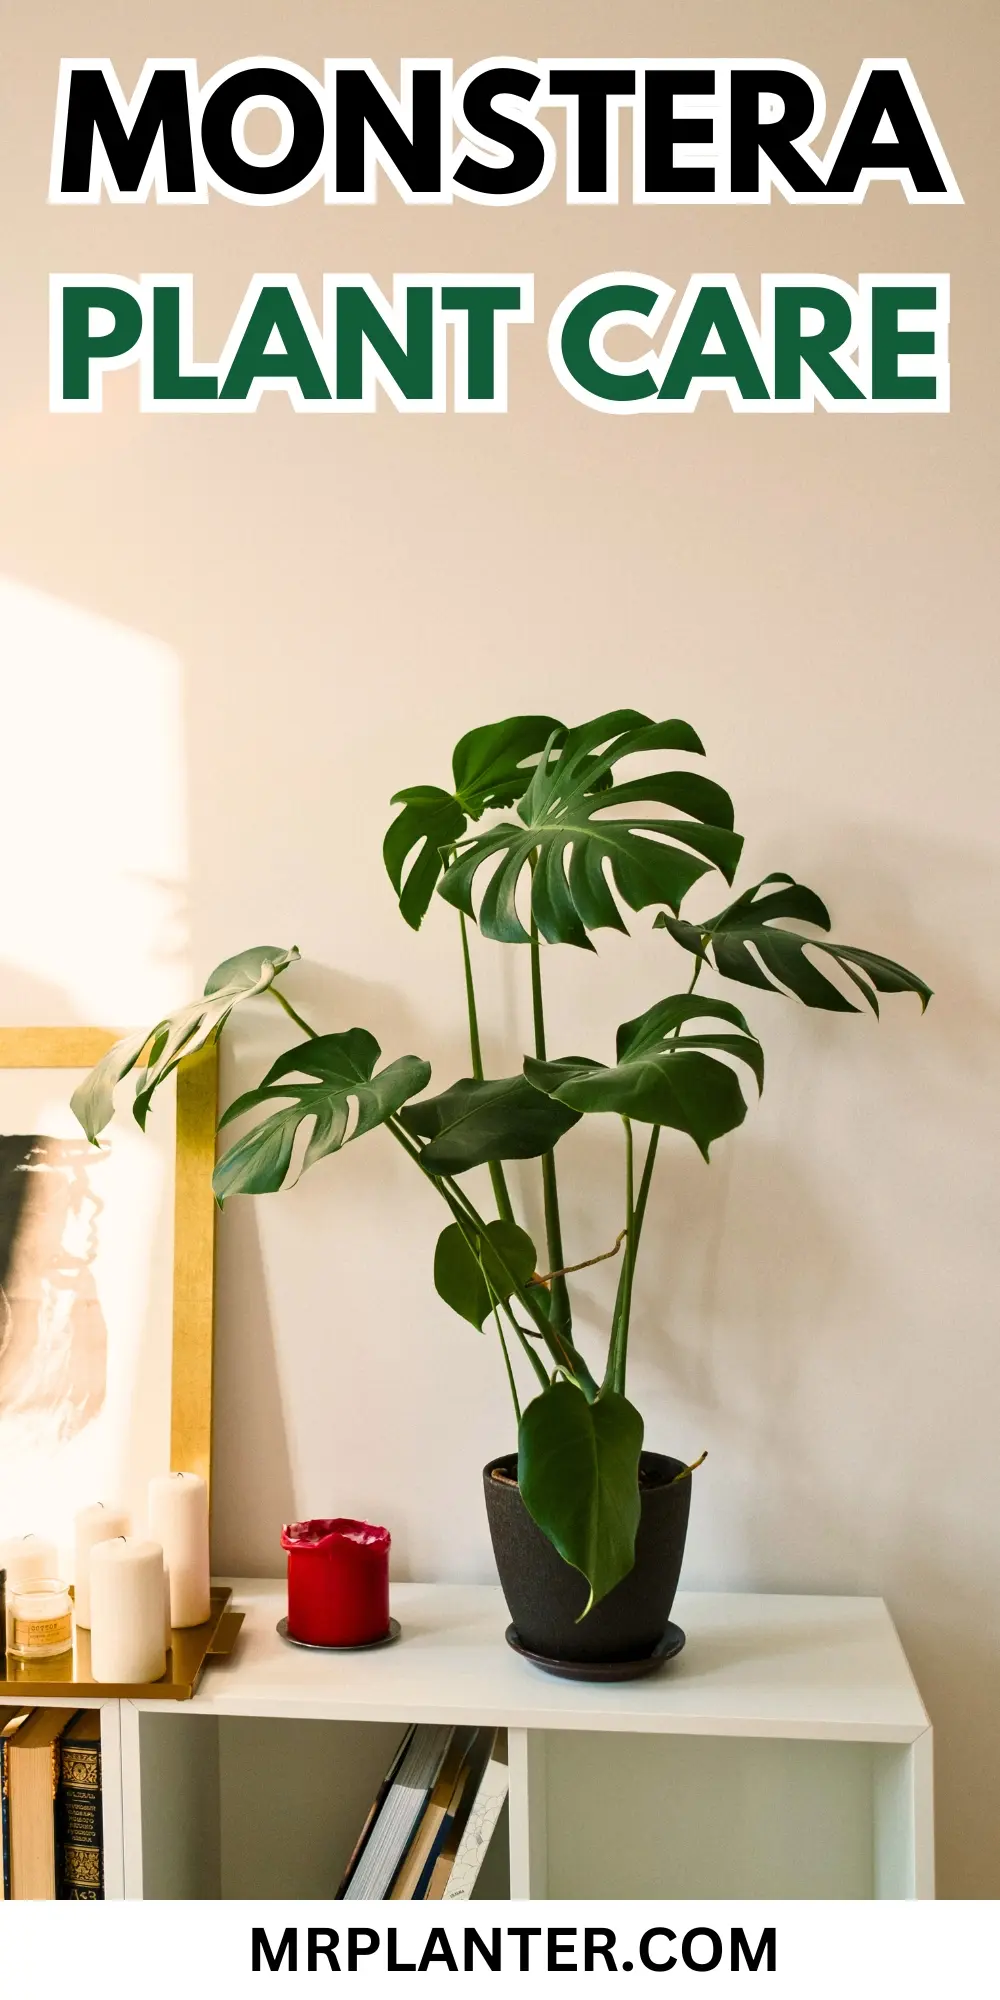
Inside: Discover how to care for your Monstera plant, from watering to pest control. Unleash the beauty of this popular houseplant in your home.
Caring for a Monstera plant can be both enjoyable and rewarding.
By following a few simple tips, you can help your Monstera thrive and showcase its stunning leaves. Whether you’re a beginner or have some experience, you’ll find that understanding its needs is the key to success.
Stick around to learn about the best practices for lighting, watering, potting, and more.
Let’s get started!
Getting Started with Monstera
A Monstera plant, also known as the Swiss cheese plant, is famous for its large, split leaves. Native to tropical rainforests, it thrives in warm and humid environments. Monstera can grow quite tall, reaching up to 10 feet when cared for properly.
In indoor settings, they prefer bright, indirect light. They are known for their air-purifying qualities, making them great companions in any room. The plant also needs nutrient-rich soil that drains well. A good watering routine includes letting the top inch of soil dry out before the next water.
Types of Monstera Plants
- The most common variety of Monstera is Monstera deliciosa. This variety has large, heart-shaped leaves that develop holes as they mature.
- Another popular type is Monstera adansonii, also called the Swiss cheese vine. It has smaller leaves with more pronounced holes and grows as a climbing plant.
- You can also find Monstera obliqua, which is rare and features thin, delicate leaves.
These varieties can add different styles to your plant collection. When choosing, consider their size, light needs, and growth habits to find the right fit for your space.
Location & Placement

Finding the right place for your Monstera plant is key to keeping it healthy and thriving. You need to consider factors like light, temperature, and humidity to provide the best conditions for its growth.
Finding the Perfect Spot
When choosing a location, look for a spot that gets bright, indirect light. Direct sunlight can scorch the leaves, while too little light can stunt its growth.
A good place can be near a window covered with sheer curtains.
Consider your home’s layout. Avoid areas where pets or small children might bump into the plant. Rooms like bathrooms, kitchens, or even basements tend to maintain higher humidity levels, which is great for your Monstera.
Light Requirements
Monstera plants love bright, indirect sunlight. They thrive best with around 6 hours of light a day. If possible, place your plant near an east or north-facing window for the best results.
If your light is too strong, consider using a sheer curtain to diffuse it. If your space is darker, you can supplement with a grow light.
Keep an eye out for signs of insufficient light, such as yellowing leaves or poor growth. These signals mean it’s time to adjust its placement.
Room Temperature and Humidity
Monstera plants prefer temperatures between 65°F to 85°F (18°C to 29°C). Avoid cold drafts from windows or doors as these can harm the plant.
Humidity is crucial too; your Monstera thrives in humidity levels of at least 50%. Places like kitchens and bathrooms typically offer the moisture it loves.
If your home is dry, consider using a humidifier or placing a tray of water nearby. Misting your plant occasionally can also help boost humidity and keep it happy.
Potting & Soil
Choosing the right pot and soil mix is essential for keeping your Monstera healthy. You want to ensure good drainage and proper nutrient levels for the best growth.
Choosing the Right Pot
When picking a pot for your Monstera, consider the size and drainage. A pot that is too small can restrict root growth, while one that is too large can hold excess moisture.
A pot diameter of 10-12 inches is usually great for young plants. Look for pots with drainage holes at the bottom. This prevents root rot by allowing excess water to escape.
You might also want to elevate your pot on a platform or tray for better airflow.
Best Soil Mix
Using the right soil is key for your Monstera. A well-draining mix prevents water from pooling around the roots.
A good recipe is mixing equal parts regular potting soil and perlite. This combination retains moisture while allowing for proper drainage.
Your soil pH should fall between 5.5 and 7.0; this range helps your plant absorb nutrients easily. You can also consider adding coconut coir for more moisture retention.
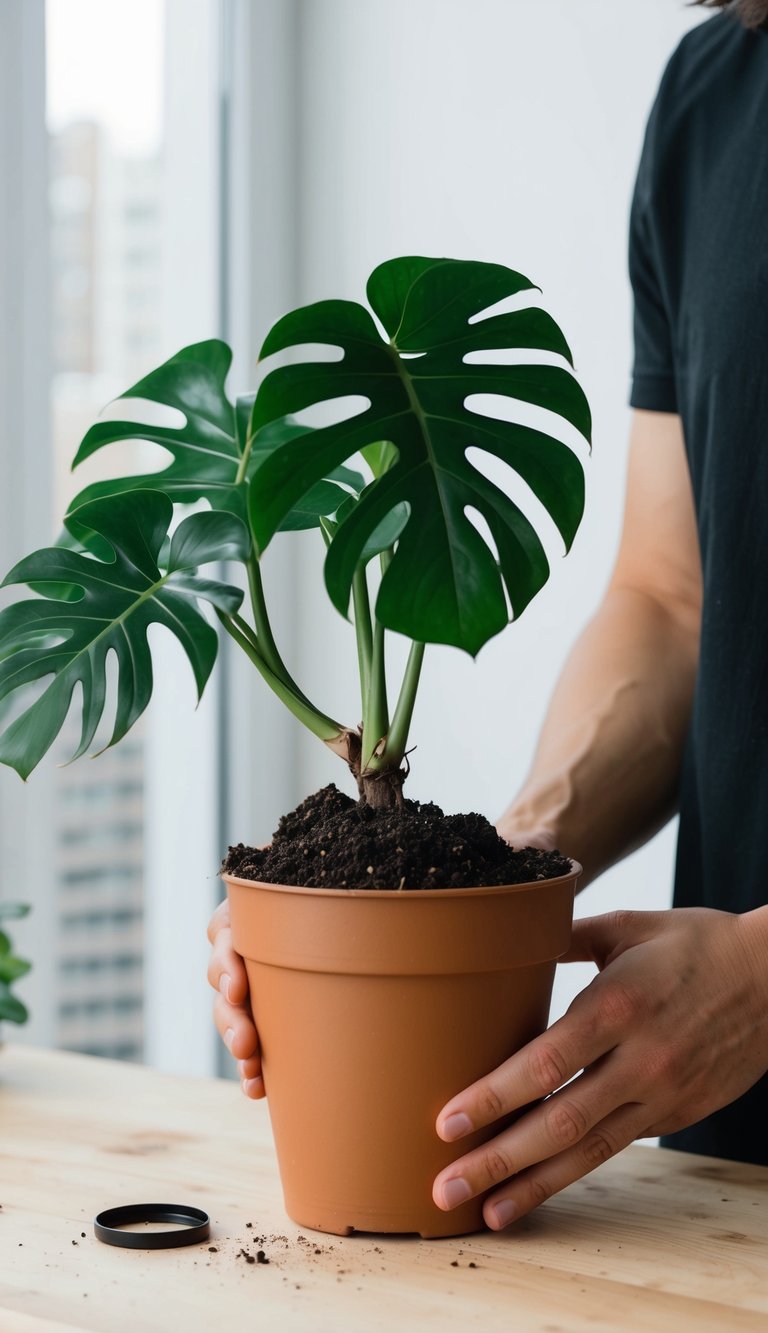
Repotting Basics
Repotting is necessary every 1-2 years or when your plant becomes root-bound. Check for roots growing out of drainage holes as a sign it’s time to repot.
When you repot, gently loosen the roots and remove any dead ones. Choose a new pot that is slightly larger, around 1-2 inches wider.
Fill the bottom with fresh soil, then place your Monstera in the pot. Make sure to water thoroughly after repotting to help the plant settle into its new home. Let the soil dry out slightly between waterings to maintain healthy roots.
Watering Your Monstera
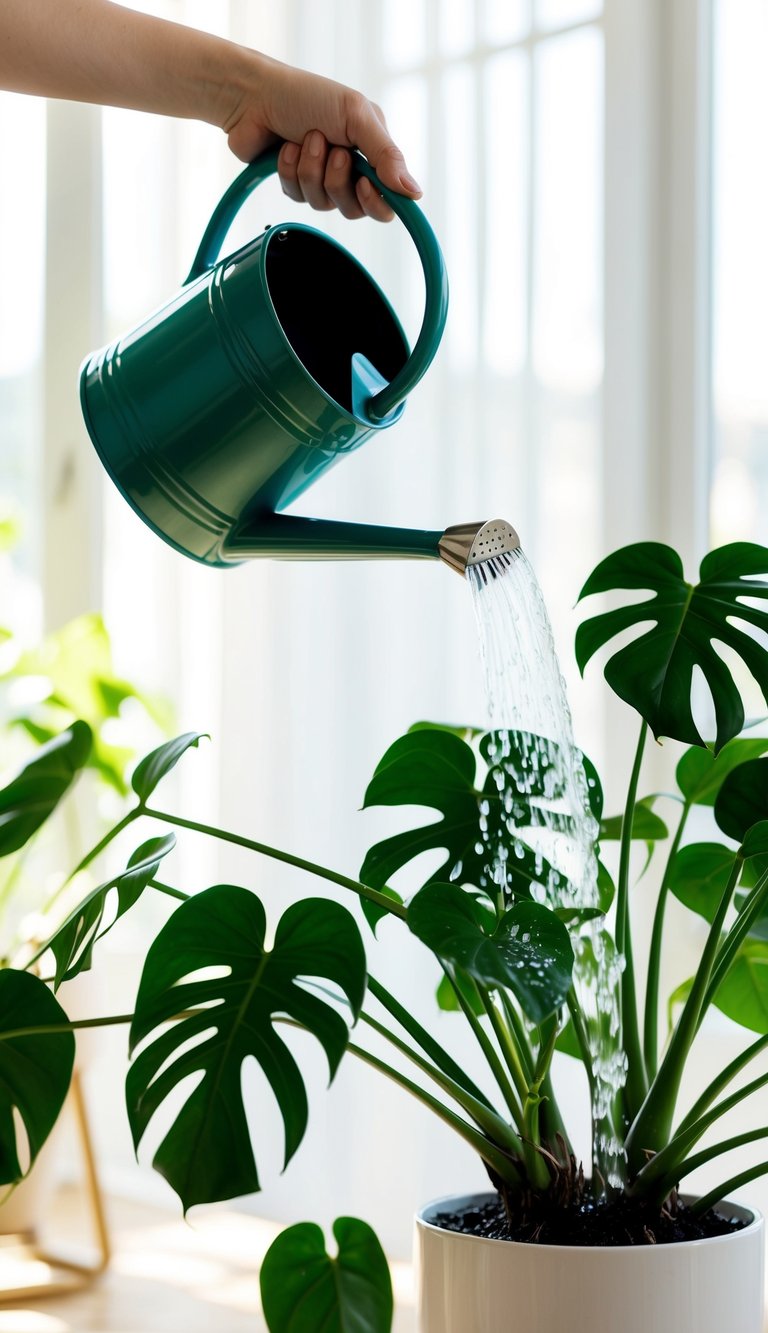
Watering your Monstera is crucial for its health. Getting the timing and technique right ensures your plant thrives and remains beautiful. Here are the key points about how often to water, signs of overwatering, and the best way to water your Monstera.
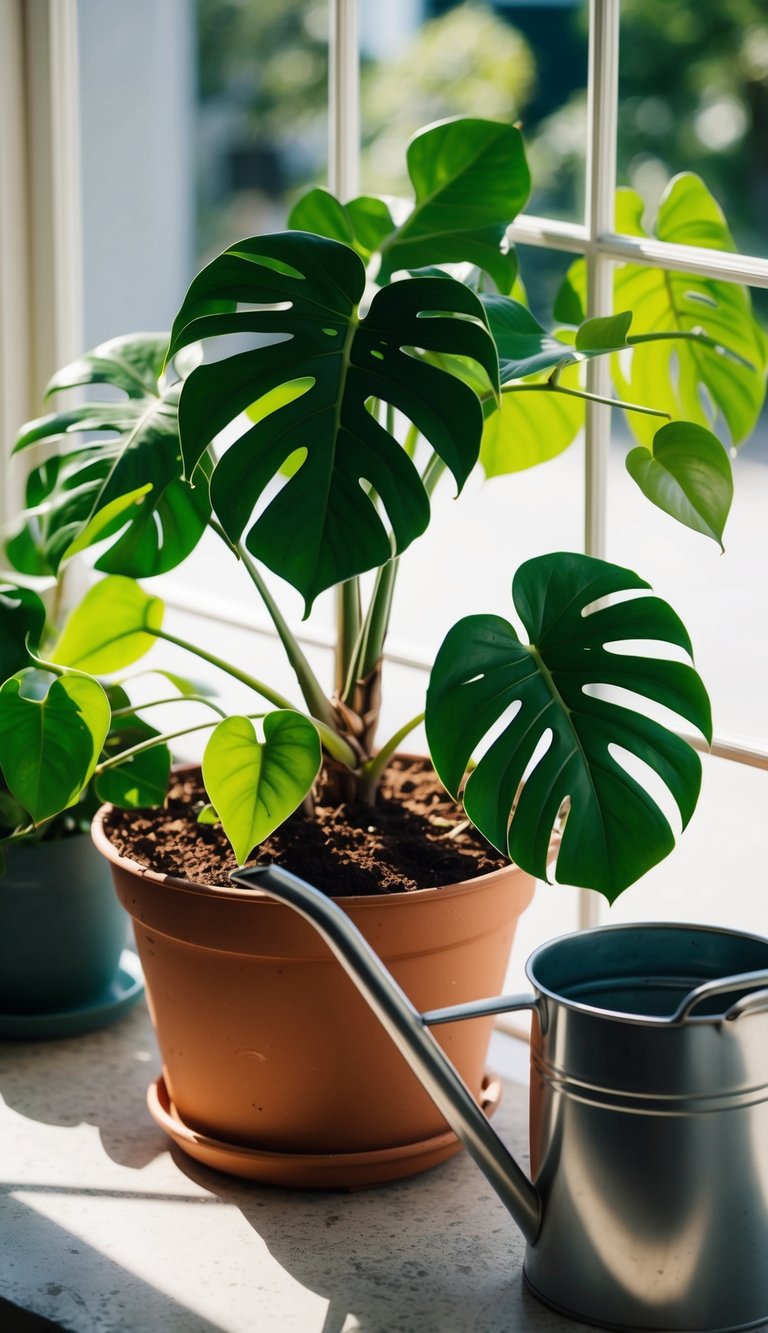
How Often to Water
You should water your Monstera every 1 to 2 weeks, but it’s important to check the soil first.
Stick your finger about an inch into the soil. If it feels dry, it’s time to water.
A great rule of thumb is to water when 50-75% of the soil volume is dry. This helps prevent both under and overwatering.
In pots with good drainage, excess water drains out, helping maintain the right moisture level.
Signs of Overwatering
Overwatering can lead to serious problems like root rot. Look for these signs to know if you’ve watered too much:
- Yellowing Leaves: If the leaves turn yellow, it might mean the roots are sitting in water.
- Wilting: Overwatered plants can look droopy, similar to those that need water.
- Mushy Roots: If you check the roots and they feel soft or look brown, cut back on watering.
If you suspect overwatering, stop watering until the soil dries out significantly.
Proper Watering Technique
To water your Monstera effectively, follow these steps:
- Water at the Base: Direct the water at the base of the plant. This helps prevent bacterial growth on the leaves.
- Water Until It Drains: Give enough water so that it flows out the bottom of the pot. This ensures that water reaches the roots.
- Use Quality Water: Tap water is okay, but if you can, let it sit out for a day. This helps chlorine evaporate.
After watering, always check the saucer under the pot. Empty any excess water to prevent root issues and keep your Monstera happy.
Monstera Nutrition
Nutritious soil and proper feeding are key for healthy Monstera plants. Let’s break down the essentials of fertilizing, the types of fertilizers you can use, and when to feed your plant.
Fertilizing Fundamentals
Monstera plants thrive on three main nutrients: nitrogen, phosphorus, and potassium, often labeled as N, P, and K.
A good mix for Monsteras is a 3-1-2 N-P-K ratio. This means your fertilizer should have three parts nitrogen, one part phosphorus, and two parts potassium.
Nitrogen helps with leaf growth, phosphorus promotes root development, and potassium supports overall plant health.
To fertilize effectively, start with nutrient-rich soil, then apply fertilizer during the growing season, which is spring and summer. This helps your Monstera absorb nutrients more efficiently.
Types of Fertilizer
You have several options for fertilizing your Monstera:
- Liquid Fertilizer: Easy to apply and great for quick nutrient uptake. Just mix with water and apply.
- Slow-Release Granules: These provide a steady nutrient supply over time. Just sprinkle them on the soil surface.
- Organic Options: Compost and worm castings can enhance the soil’s nutrient profile naturally.
When choosing a fertilizer, always check the N-P-K ratio to ensure it meets the needs of your Monstera. The right type will promote healthy growth and vibrant leaves.
Feeding Schedule
Establishing a feeding schedule can help your Monstera flourish. A good rule is to fertilize every 4-6 weeks during the growing season.
If you’re using a liquid fertilizer, follow the dilution instructions on the label. For slow-release fertilizers, apply them at the beginning of the growing season.
As for winter, reduce or skip fertilizing. Your Monstera needs less nutrition during this rest period.
Monitor your plant’s response. Yellow leaves can indicate over-fertilization, while pale growth may suggest a need for nutrients. Adjust your feeding routine as necessary for optimal health.
Pruning and Maintenance
Taking care of your Monstera plant involves some regular pruning and maintenance. Knowing when to prune, what tools to use, and how to prevent diseases can keep your plant healthy and thriving.
When to Prune
The best time to prune your Monstera is at the beginning of spring. This timing aligns with the plant’s natural growth cycle, allowing it to heal quickly and robustly.
Look for any yellow, dry, or dead leaves that need to go. Also, check trailing vines that might have become unruly. Removing these helps shape the plant and encourages new growth.
If you notice the plant is outgrowing its space, it’s also a good time to trim back longer vines.
Pruning Tools
Using the right tools makes a big difference. Sharp scissors or pruning shears are ideal for making clean cuts.
Before you start, sanitize your tools with rubbing alcohol. This helps prevent infections.
Remember, clean cuts heal faster and reduce stress on the plant. If you prefer gloves, they can help keep your hands safe from any potential sap or irritants. Keep your tools within reach so you can work efficiently.
Disease Prevention
Disease can be a concern for your Monstera, especially after pruning. To avoid this, make sure to prune only healthy areas.
After trimming, consider applying a fungicide or natural antiseptic to the cuts. This can help protect against infections.
Regularly check your plant for signs of pests or disease, like wilted leaves or spots.
Keeping your Monstera clean by dusting its leaves also promotes photosynthesis, which helps keep your plant strong and less prone to disease.
Propagating Monstera
Propagating your Monstera can be a fun way to expand your plant collection or revive a struggling plant. There are several methods to propagate. Each method has its own steps to follow.
Propagation Methods
You can propagate your Monstera using three common methods: cuttings in water, cuttings in soil, and air layering.
-
Cuttings in Water: This method involves placing stem cuttings in water until roots develop. It’s a visual way to see progress.
-
Cuttings in Soil: Here, you plant the cutting directly in moist potting soil. This method often encourages faster root growth.
-
Air Layering: This technique involves wrapping a portion of the stem with moist soil while it’s still attached to the parent plant. It allows roots to form before cutting.
Step-by-Step Propagation
Cuttings in Water:
- Start by choosing a healthy stem with at least a few leaves and make a clean cut just below a node.
- Place the cutting in a glass of water, ensuring the node is submerged but the leaves are above water.
- Change the water every few days to keep it fresh. Roots should start appearing in a few weeks.
Cuttings in Soil:
- Cut a healthy stem and remove any lower leaves.
- Fill a small pot with moist potting soil and make a hole in the center.
- Plant the cutting in the soil, pressing gently around the base to keep it upright.
- Water lightly and place it in a warm spot with indirect sunlight.
Air Layering:
- Choose a healthy stem and make a small cut about one-third through the stem while leaving it attached to the plant.
- Wrap moist sphagnum moss around the cut and cover it with plastic wrap to keep it moist.
- After roots develop, you can cut the stem below the roots and pot it.
These methods offer simple ways to grow new Monstera plants. With a bit of patience, you’ll enjoy more lush greenery in your home.
Common Pests and Problems
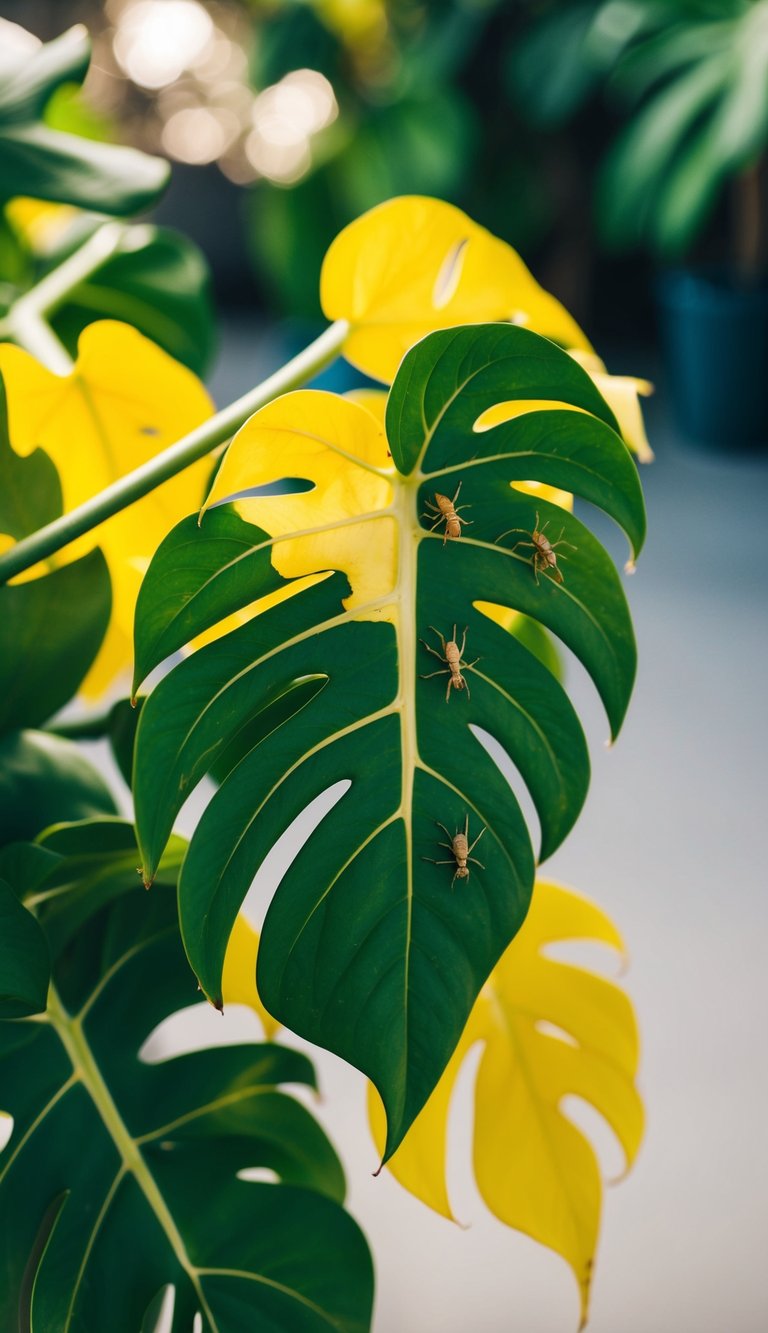
Caring for your Monstera plant means being on the lookout for pests and other issues that can affect its health. Knowing how to identify common pests and using natural controls can keep your plant thriving.
Identifying Common Pests
Several pests can infest your Monstera. Here are a few to watch for:
-
Mealybugs: These tiny bugs are white and waxy. You might spot clusters on the grooves of your plant. They suck sap, which can stunt growth and cause yellowing leaves.
-
Spider Mites: Small and often invisible, spider mites create fine webs. They thrive in dry conditions and can cause leaf discoloration.
-
Scale Insects: These appear as small bumps on stems and leaves. They also feed on the sap and can damage your plant.
Check your Monstera regularly for these pests. Early detection helps you act quickly and prevent further damage.
Natural Pest Controls
If you find pests, there are natural ways to handle them. Here are some effective options:
-
Neem Oil: Mix 1-2 tablespoons of neem oil with a gallon of water. Spray it on your plant every couple of weeks. This oil suffocates and repels pests.
-
Insecticidal Soap: You can make your own by mixing mild soap with water. Spray this on affected areas, making sure to cover both sides of the leaves.
-
Companion Plants: Consider planting herbs like basil or mint nearby. They can naturally deter pests due to their strong scents.
Using these methods can help keep your Monstera healthy and pest-free!
Monstera Plant Support
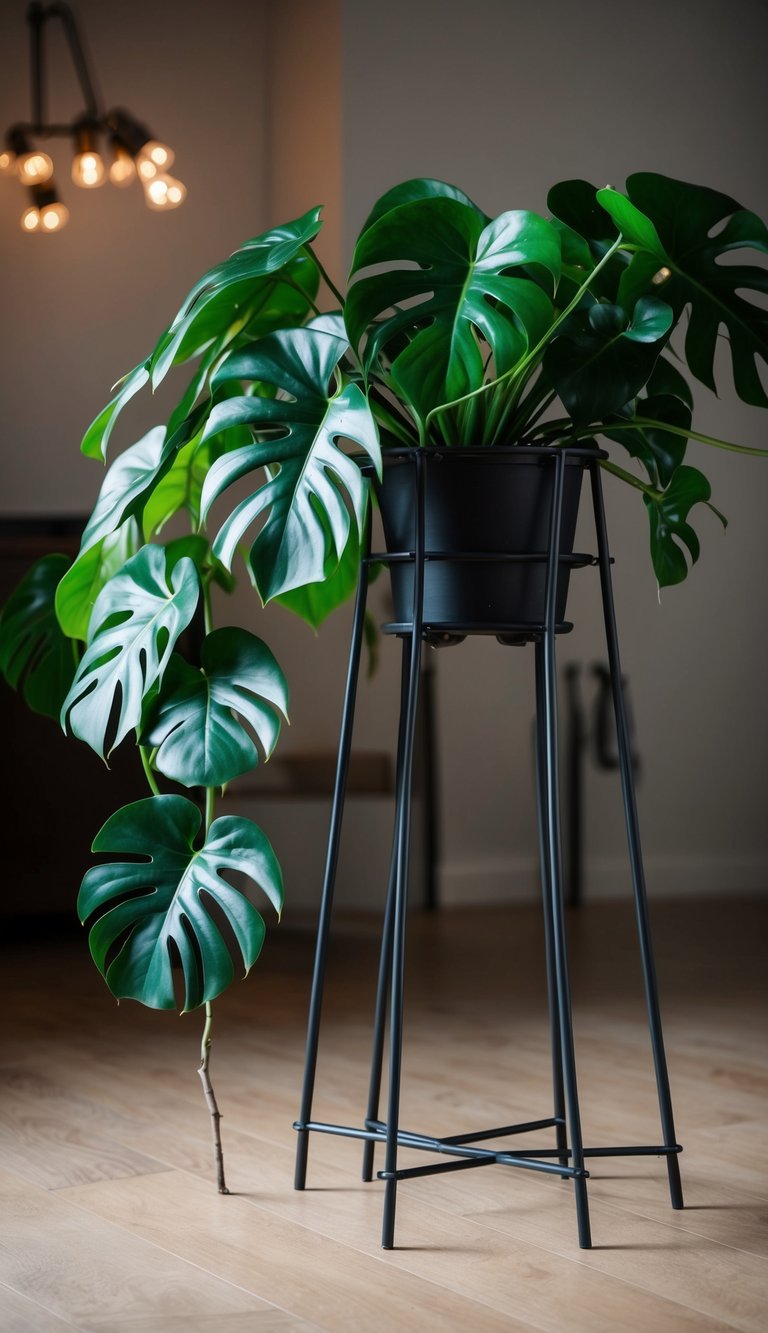
Supporting your Monstera plant is crucial for its growth and health. Using the right techniques helps keep your plant sturdy and encourages it to thrive. Here’s how to stake and support your Monstera effectively.
Staking Your Monstera
Staking is a great way to support your Monstera as it grows taller. You can use wooden stakes or bamboo poles that are easy to find at garden centers. Here’s how to do it:
-
Choose a Stake: Look for a stake that is at least as tall as your plant. It should be sturdy enough to hold the weight of your Monstera.
-
Insert the Stake: Gently push the stake into the soil, being careful not to damage the roots. Place it near the main stem of the plant.
-
Secure the Plant: Use garden ties or jute twine to attach your Monstera to the stake. Make sure you don’t tie it too tightly. You want to support it without restricting growth.
Regularly check the ties and adjust them as your plant grows. This will help maintain healthy growth.
Using Moss Poles
Moss poles are another excellent way to support your Monstera. They not only provide support, but also help with moisture retention.
Here’s how to set one up:
-
Select a Moss Pole: Choose a moss pole made from natural materials like coconut coir. This will enhance the tropical feel while providing support.
-
Insert the Pole: Place the moss pole in the pot, ensuring it’s deep enough for stability. Also, make sure the pole is taller than your plant to allow for growth.
-
Attach Leaves: As your Monstera grows, you can wrap its aerial roots around the moss pole. Then, mist the moss regularly to keep it moist, which encourages root attachment.
Using moss poles can mimic the plant’s natural habitat, allowing for better growth and health. Keep an eye on the moisture level to make sure it stays effective.