Ever tried growing tomatoes and ended up with spindly plants, cracked fruit, or nothing at all? You’re not the only one. For beginners, tomatoes have a reputation for being fussy—and it’s easy to think you need special skills (or a magic touch) to get them right.
The good news? You really don’t. With decent soil, the right variety for your space, and a few simple tricks, you can go from zero to fresh, homegrown tomatoes quicker than you think. No complicated steps, no expensive gadgets.
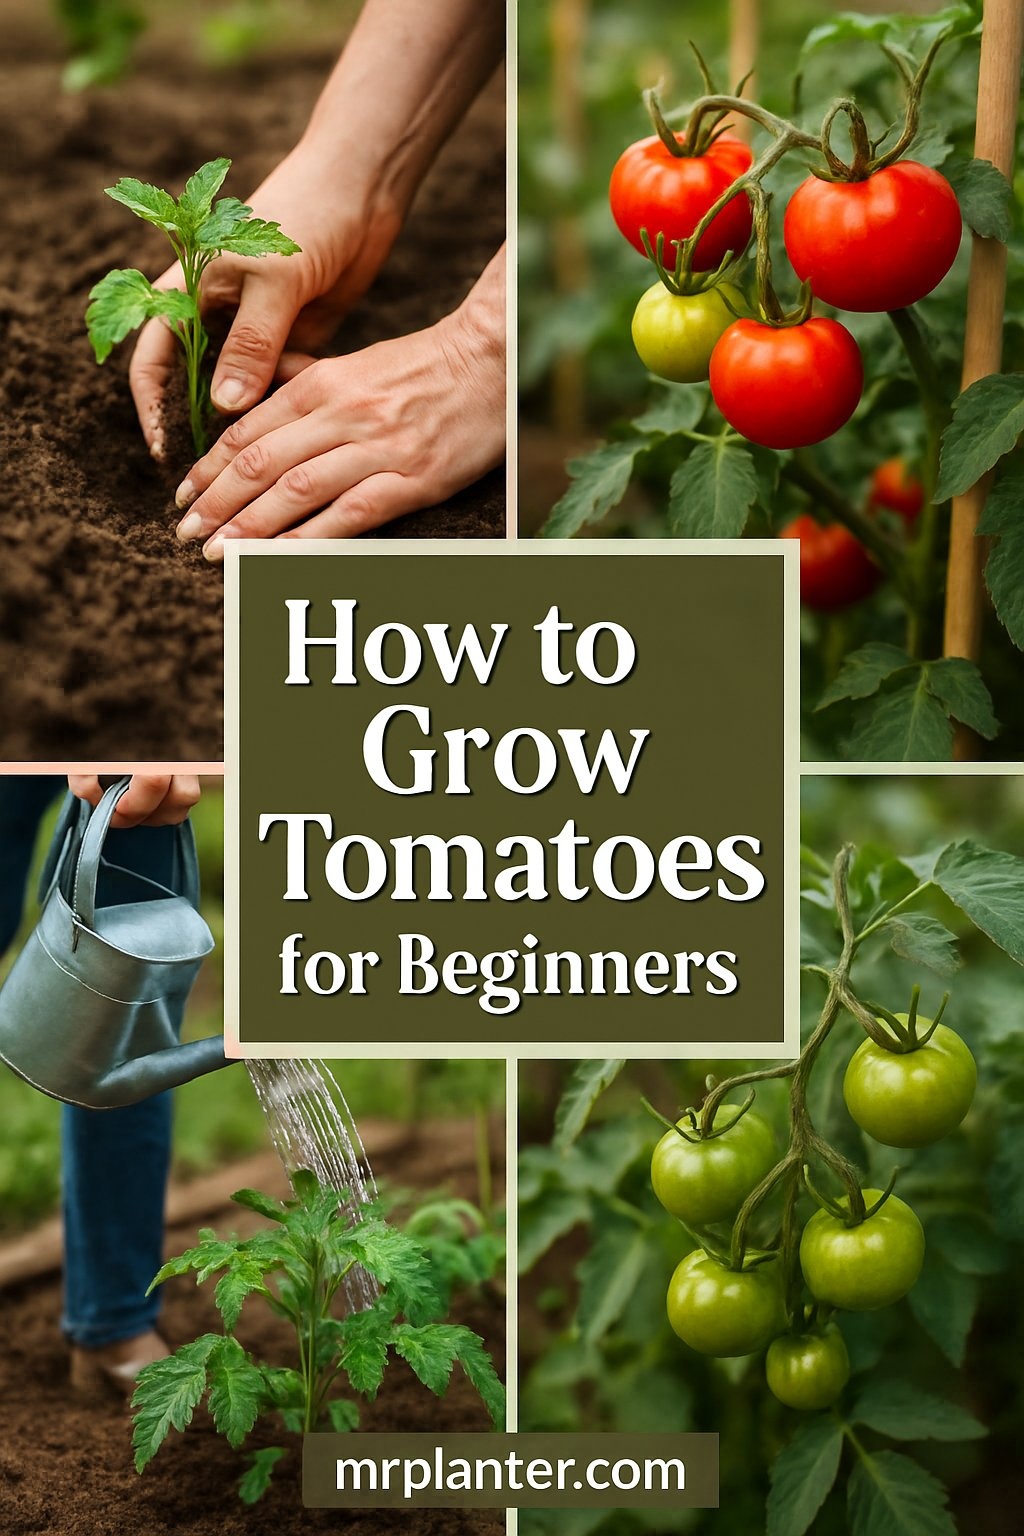
And honestly, there’s nothing like the feeling of picking your own ripe tomato, still warm from the sun, and slicing it up for dinner. That first harvest is the moment you realize: this was worth it.
In this guide, I’ll walk you through the basics—straightforward, beginner-friendly tips that help you dodge the common headaches and actually enjoy the process.
Let’s get started!
Picking the Right Tomato Variety
Picking the right tomato variety can make or break your season. You want something that fits your space, matches your timeline, and gives you tomatoes you’ll actually use.
Some tomatoes keep producing all summer, while others give you one big batch. Choosing easy types helps you skip extra work.
Differences Between Determinate and Indeterminate Tomatoes
Determinate tomatoes grow to a certain size and stop. They usually stay bushy and pump out fruit all at once over a couple weeks.
If you want a big batch for canning or making sauce, these are solid. Once they’re done, the plants mostly wind down.
Indeterminate tomatoes just keep growing and producing until frost. They can get pretty tall, so you’ll want to stake or cage them.
You’ll get fresh tomatoes for months, which is great if you like a steady supply for salads or snacks. These need a little more attention, but it’s worth it.
Best Tomato Types for Beginners
Go with varieties that don’t need a lot of fuss. Cherry tomatoes like ‘Sweet 100’ or ‘Sungold’ are super popular because they grow fast and give you loads of sweet little fruits.
Roma tomatoes are another good pick if you want something meatier for sauce.
Look for plants labeled “disease-resistant.” This saves you a ton of trouble with common tomato problems.
If you’re after bigger tomatoes, try ‘Better Boy’ or ‘Celebrity.’ Both are reliable and pretty forgiving for first-timers.
You can find more info on picking tomato types in this simple guide.
Choosing the Best Location
Where you plant your tomatoes really matters. You want a spot with plenty of sun and a little protection from strong winds.
Choosing the Best Location
Where you plant your tomatoes really matters. They need lots of sun, good airflow, and protection from harsh winds.
Sunlight and Shade Needs
Tomatoes thrive with at least 6 hours of direct sunlight daily. Morning and early afternoon sun is best.
- Too little sun = leggy plants, bland fruit.
- Too much harsh heat = stressed plants, especially in the afternoon.
If growing in pots, you can move them around to chase the sun.
👉 Useful for container growers:
No products found.
Protecting Tomatoes from Wind
Wind can break stems, dry out soil, and spread diseases. Choose a spot with a gentle breeze but no harsh gusts.
- Near a fence, hedge, or wall works great.
- In open yards, add stakes, cages, or mesh as a windbreak.
- Young plants especially benefit from shelter until established.
👉 Wind protection helpers:
No products found.
Getting Your Soil Ready
The dirt you plant in makes a huge difference. You want soil that drains well, holds onto nutrients, and isn’t too acidic or alkaline.
Checking and fixing your soil before planting gives your tomatoes a head start.
Soil Quality and Texture
Tomatoes like soil that drains but still holds moisture.
- Sandy soil dries out too fast and loses nutrients.
- Clay soil holds water too long and can drown roots.
- Loamy soil is the sweet spot—a mix of sand, silt, and clay. It feels soft and crumbly and holds nutrients well.
You can improve your soil by mixing in compost or well-rotted manure. Spread 2–3 inches of organic matter and work it into the top 8 inches before planting. This boosts nutrients and keeps soil loose so roots can grow deep and strong.
Mulching with straw or leaves also helps keep moisture in and weeds out.
👉 Recommended for soil enrichment:
No products found.
How to Test and Balance Soil pH
Tomatoes do best with a pH between 6.5 and 6.7. If the soil is too acidic or too alkaline, they can’t take up nutrients properly.
You can test pH with a simple home soil test kit or by sending a sample to your local extension office.
- If soil is too acidic (below 6.5), add lime (about 5 pounds per 100 square feet, a few weeks before planting).
- If soil is too alkaline (above 6.7), add sulfur — but note, it takes time to work.
- Always test again after adjustments to make sure you’re in range.
👉 Recommended for soil testing:
No products found.
✅ Bottom line: Start your tomatoes in healthy, balanced soil. Add compost for nutrients and test your pH so your plants can soak up everything they need for a strong season.
Starting Seeds Indoors vs. Buying Seedlings
When it comes to growing tomatoes, you’ve got two main options: start seeds indoors or buy seedlings from a nursery. Each path has its pros and cons.
Starting Seeds Indoors
Starting from seed gives you more control. You can choose exactly what you want to grow, including rare or heirloom varieties that nurseries may not stock. It’s also more cost-effective in the long run, since a packet of seeds can yield many plants.
The tradeoff? It takes patience and attention. You’ll need to keep soil moist, monitor temperature, and provide the right lighting. If you’re new to gardening or short on time, this part of the process can feel a little demanding.
👉 A great option to start with is Sow Right Seeds – Tomato Seeds. They’re non-GMO heirloom seeds, meaning they haven’t been genetically modified and are true to their original variety. Many gardeners prefer non-GMO seeds for peace of mind, tradition, and sustainability.
Buying Seedlings
On the other hand, seedlings are quick and convenient. You can plant them directly in your garden with minimal fuss. They’ve usually been started in ideal conditions, so they tend to be strong and healthy.
The downsides? They cost more per plant, and you’ll have fewer options—nurseries may not carry every variety you’re hoping to grow.
Quick Comparison
| Starting Seeds Indoors | Buying Seedlings | |
|---|---|---|
| Variety | Wide range, including rare & heirloom types | Limited selection |
| Cost | Lower cost per plant | Higher cost per plant |
| Time & Effort | Requires care, lighting, and patience | Quick and easy |
| Control | Full control over growing conditions | Less flexibility |
Planting Your Tomatoes
Getting your tomatoes in the ground the right way makes a big difference. Give them enough space and plant them deep enough for strong roots.
Spacing Between Plants
Tomatoes need room to breathe. If you plant them too close, they fight for water, sun, and food.
Most types do best with 18 to 24 inches between plants.
If you’re growing indeterminate types (the tall, vining ones), go with 24 inches. Determinate types (the bushy ones) can handle 18 inches.
Leave 2 to 3 feet between rows so you can move around and work.
Good spacing helps air flow, which cuts down on diseases like blight. Plus, it makes pruning and picking way easier.
How Deep to Plant Tomatoes
When you plant tomatoes, dig the hole deep enough to bury part of the stem—about two-thirds of the plant.
Tomatoes grow roots along their buried stems, so deeper planting means a sturdier plant.
Snip off any leaves that’ll be under the dirt to avoid rot.
If you’re using seedlings from pots, gently pop them out, loosen up tight roots, and bury the stem up to the first set of true leaves.
Make sure roots can spread out, not get bunched up. Firm the soil around the stem, but don’t pack it too tight.
Water right after planting to help the soil settle and get your tomato off to a good start.
Watering Tomato Plants
Tomatoes love steady, deep watering. Too much and the roots drown, too little and the plants dry out. The goal is to keep the soil evenly moist — not soggy, not bone dry.
Best Times of Day to Water
- Morning is best. Plants soak up the water before the sun gets hot.
- Morning watering also lets leaves dry off quickly, which helps prevent disease.
- If you can’t water in the morning, late afternoon is okay — just be sure the leaves dry before nightfall.
💡 Tip: A good watering can with a gentle shower head helps you water at the base of the plant instead of splashing the leaves, which keeps diseases away.
How Much Water Is Enough
- Tomatoes need about 1–2 inches of water per week, enough to soak the soil about 6 inches deep.
- Check with your finger: stick it 2 inches into the soil.
- Feels dry? Time to water.
- Feels damp? Wait a little longer.
- Add mulch around the base to hold in moisture so you won’t need to water as often.
Why Use a Watering Can?
- More control: You can target the soil right at the base of the plant.
- Gentle flow: No flooding seedlings or splashing leaves.
- Beginner-friendly: Easier than dragging out a hose or risking overwatering.
👉 Here are some great watering cans for tomato growers:
No products found.
✅ Bottom line: Water deeply, water in the morning, and pair your routine with a quality watering can to keep your tomato plants thriving.
Feeding and Mulching
Feeding your tomatoes and mulching the soil helps them grow stronger and give you more fruit. Good food gives them energy, and mulch keeps moisture in and weeds out.
Fertilizing Schedule for Tomatoes (Beginner-Friendly Guide)
Tomatoes need steady feeding to grow strong vines and produce lots of fruit. The trick is to start them with a solid base and then keep up with regular feeding as they grow. Don’t worry — it’s simple if you follow these steps:
Step 1: Before Planting – Build a Strong Foundation
Mix a balanced fertilizer into the soil when you first plant your tomatoes. A slow-release option like 10-10-10 Plant Fertilizer from GARDENWISE works great. It feeds your plants steadily for weeks, helping them grow strong roots and healthy leaves.
👉 Think of this as giving your tomato plants a healthy breakfast before they start their busy season.
Step 2: Keep Feeding During the Season
Once your tomatoes start flowering and making fruit, they need extra nutrients to keep up with the heavy work of producing tomatoes. You have two good choices here:
-
Low-Maintenance, Organic Option:
Use Burpee Organic Tomato & Vegetable Plant Food. Just sprinkle it in the soil every couple of months and it slowly feeds your plants. Perfect if you want to “set it and forget it.” -
High-Performance, Weekly Option:
Use Farmer’s Secret Tomato Booster (3-8-7). This one is made just for tomatoes. You mix a small amount with water and feed once a week. It has calcium (helps prevent blossom-end rot) and other nutrients that give you bigger, healthier harvests.
👉 Choose whichever style fits you: hands-off organic OR hands-on weekly booster.
Step 3: Watch and Adjust
- Water before and after feeding so nutrients soak in.
- Too many leaves but not much fruit? Cut back on nitrogen.
- Yellowing leaves? They may need a bit more food.
✅ Bottom line:
- Use 10-10-10 GARDENWISE at planting.
- Then pick one ongoing method: either Burpee Organic for simplicity, or Farmer’s Secret for maximum tomato harvests.
Types of Mulch for Healthier Plants
Mulch does a lot for tomatoes. It keeps the soil temperature steady, blocks weeds, and helps hold moisture.
You can use straw, shredded leaves, or compost.
Straw is easy to spread and lasts a while, but sometimes it brings slugs. Compost adds nutrients and holds moisture but is less likely to attract bugs.
Don’t pile mulch right against the stem or you’ll risk rot.
Black plastic mulch warms the soil in cooler spots. Whatever you use, spread it 2 to 3 inches thick.
Add more as it breaks down over the season.
Supporting Tomato Plants
Tomato plants can get heavy and tall, so they need help to stay up. Support keeps fruit off the ground and makes caring for them easier.
It also helps air flow, which keeps diseases down.
Using Stakes, Cages, and Trellises
You’ve got a few options: stakes, cages, or trellises.
- Stakes are just wooden or metal poles you push in next to the plant. Tie the main stem loosely with something soft so you don’t damage it. Stakes work best for indeterminate (tall) types.
- Cages are wire frames you set around the plant. They hold up branches as the plant grows and are pretty low-maintenance.
- Trellises are vertical supports for training tomato vines to climb. These save space and work well if you’re growing a bunch in a row.
Whatever you use, set it up early so you don’t mess up the roots later.
👉 Recommended tomato supports:
Cages to support your tomato plant:
No products found.
Tomato trellis support:
No products found.
Pruning for More Fruit
Pruning tomato plants lets them put more energy into growing fruit instead of just making more leaves. You’ll end up with bigger, juicier tomatoes—who doesn’t want that?
- First, check your plant type: determinate (don’t prune much) or indeterminate (benefits a lot from pruning).
- Remove the little “suckers” between the main stem and branches.
- Take off dead or yellow leaves.
- Always keep plants supported with stakes, cages, or trellises so they don’t snap.
- Prune in the morning for faster healing.
👉 Handy tools for pruning:
No products found.
Spotting and Preventing Common Tomato Problems
Tomato plants run into some classic problems every season. Pests can wreck leaves and fruit in no time, and diseases seem to pop up when the weather isn’t on your side.
Catching these issues early and knowing what to do keeps your tomatoes looking and tasting great.
Dealing with Pests
One of the worst pests is the tomato hornworm. These chunky green caterpillars can eat through leaves fast. Check your plants often (especially underneath leaves) and remove any you see by hand.
For prevention, sprays like neem oil keep bugs away without harming good insects. Aphids and whiteflies are another pain — if blasting them off with water doesn’t work, try insecticidal soap to knock them out.
Keep weeds and garden debris cleared away since pests love to hide there.
👉 Recommended for pest control:
No products found.
Avoiding Tomato Plant Diseases
Tomato diseases usually show up after stretches of wet, cool weather. Watch for yellow spots on leaves or black patches on fruit.
Fungal blight is the most common. It spreads quickly if plants stay damp. To prevent it:
- Water at the base of the plant (not the leaves).
- Space plants apart for good airflow.
- Remove any yellow, dead, or diseased leaves right away.
- Rotate crops yearly and consider resistant varieties if you’ve struggled before.
👉 Recommended for disease prevention:
No products found.
✅ Bottom line: Check your plants often, keep them clean and dry, and use beginner-friendly solutions like neem oil and fungicide sprays when needed.
Deciding When and How to Harvest
Picking tomatoes at the right time makes such a difference. You want that perfect flavor and texture, not some bland, mealy mess.
There are a few signs to look for, and how you pick them matters too.
Spotting Ripe Tomatoes
Check for a deep, even color—whether that’s red, orange, yellow, or even purple, depending on what you planted.
The skin should look smooth and feel firm but just a bit soft when you squeeze it gently.
If it’s hard, it’s not ready yet. If it’s really soft or wrinkly, it’s probably gone too far.
A ripe tomato usually comes off the vine with a little twist. I also like to give them a sniff; they should smell sweet and fresh at the stem.
Harvesting Tips for Beginners
When you’re picking, use your fingers to gently twist or snip the tomato off with garden shears. Don’t yank or pull hard—you don’t want to mess up the plant or nearby fruit.
Leaving a bit of stem on helps the tomato last longer, at least in my experience.
Try to pick tomatoes in the cooler parts of the day, like early morning or late afternoon. That helps keep them from getting too warm and spoiling fast.
I always keep ripe tomatoes at room temperature. They taste way better that way, and they’ll stay good for a few days. Don’t bother with the fridge unless you absolutely have to.
Saving Tomato Seeds for Next Year
Want to save tomato seeds for next season? Start by picking a fully ripe tomato from a plant you actually like. I always go for the ones that taste best and seem the healthiest.
Wash the tomato, then slice it open. Scoop out the seeds along with the jelly-like pulp and drop everything into a clean jar. That gooey coating around the seeds? You need to break it down so the seeds sprout well later.
Let the jar sit out at room temperature for three to five days. The pulp starts to ferment and gets loose. After that, rinse the seeds really well with water to wash away any leftover pulp.
Spread the seeds out on a paper towel or a clean plate. Let them dry all the way—usually takes about a week. Try to keep the seeds from sticking together as they dry.
Once they’re good and dry, put your seeds in a paper envelope or a glass jar. Keep them in a cool, dark spot. I always write the tomato variety and date on the container, just so I don’t forget.
Heads up: Only save seeds from open-pollinated or heirloom tomatoes. If you use hybrids, the plants you get next year might surprise you—and not always in a good way.