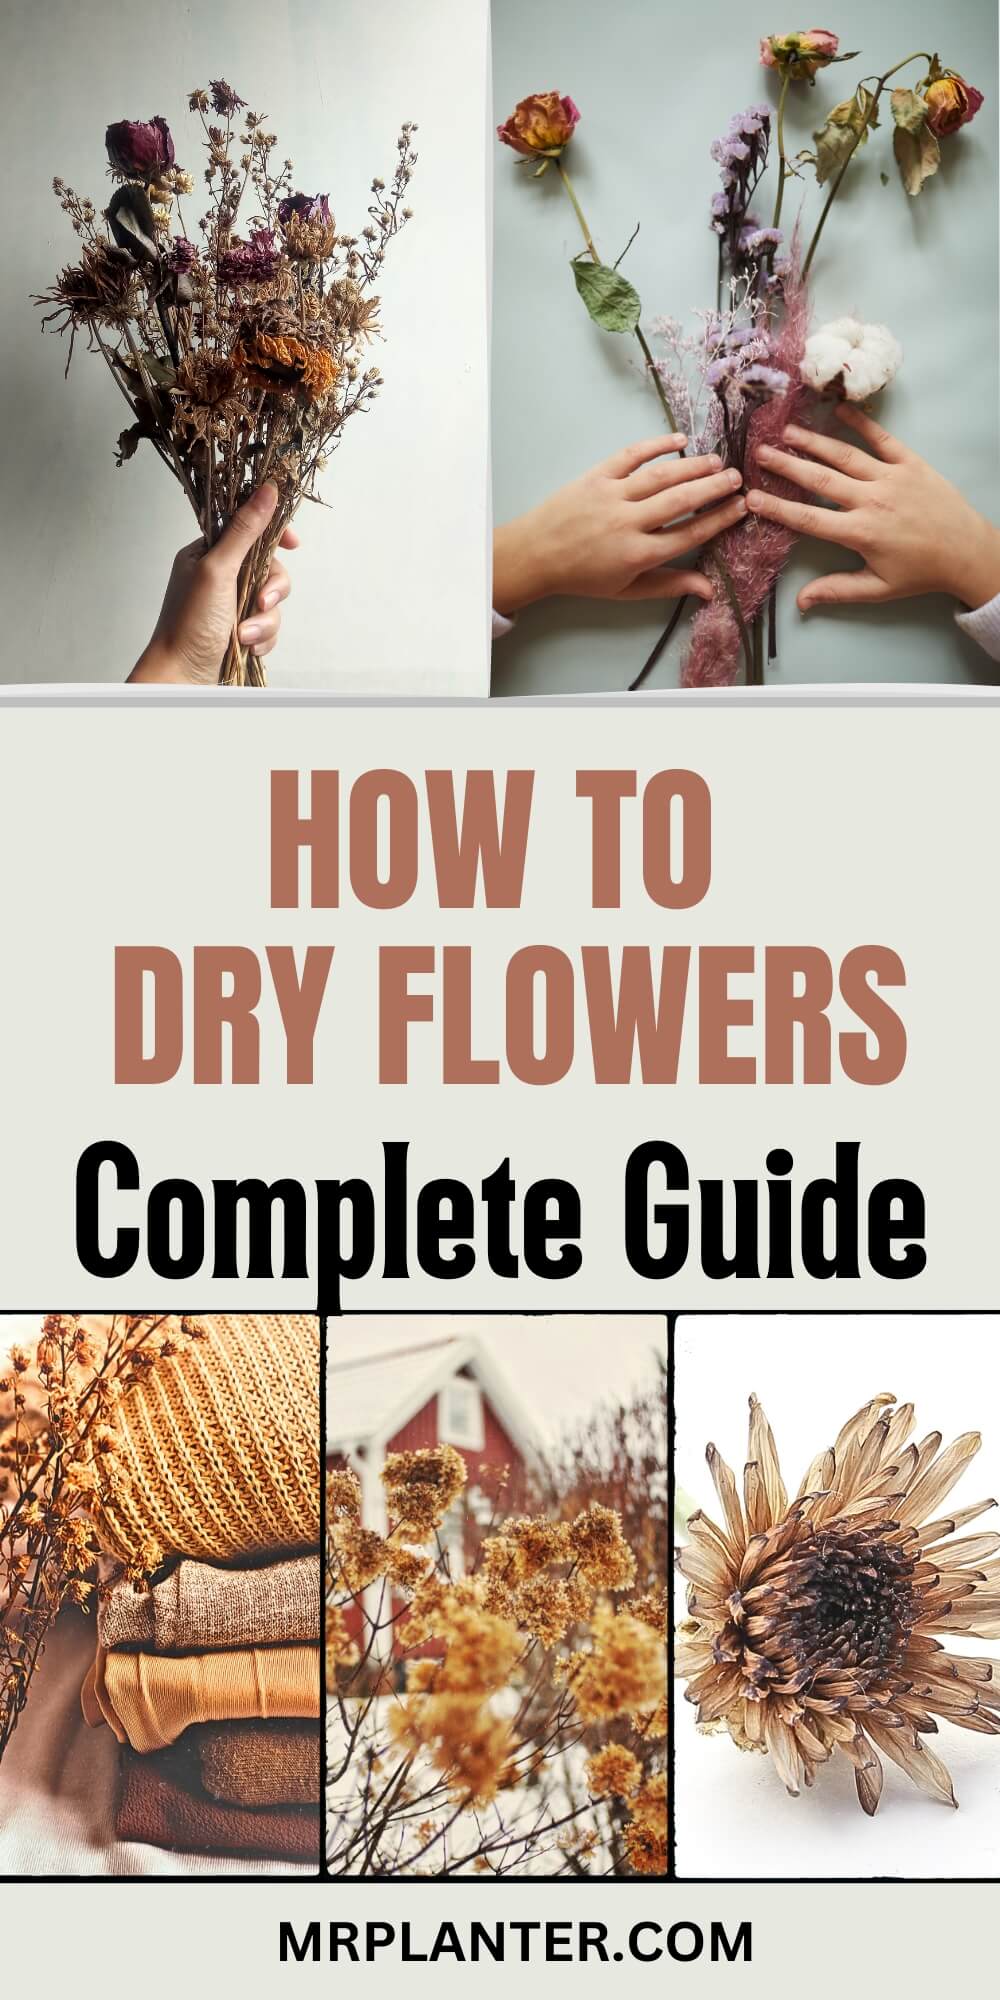
Preserving the beauty of your favorite flowers is easier than you might think!
Drying flowers is a simple and enjoyable way to create lasting decorations for your home or to give as heartfelt gifts.
In this post, we’ll guide you through the various methods of drying flowers, ensuring that you can enjoy their vibrant colors and delicate shapes for months or even years to come.
Whether you’re a seasoned gardener or a curious beginner, you’ll find that drying flowers is a rewarding and accessible hobby.
So, let’s dive in and discover how you can transform your fresh blooms into beautiful, timeless treasures!
Choosing the Right Flowers to Dry
When you’re looking to preserve the beauty of your garden, choosing the right flowers to dry is crucial. Some blooms hold up well to the drying process, retaining their color and shape, while others may wilt or discolor.
Types of Flowers Best Suited for Drying
Some flowers are just better when it comes to withstanding the drying process. Here’s a quick list:
Everlastings: Their name says it all; these blooms, like strawflowers, retain their color and shape very well.
Ornamental Grasses: These can add texture and variety to your dried arrangements.
Lavender: This fragrant flower dries beautifully and keeps its scent.
Roses: With their classic shape and array of colors, they’re a popular choice.
Hydrangeas: They maintain their full, lush appearance when dried.
Optimal Blooming Stage for Drying
Timing is everything when it comes to drying flowers:
Just before full bloom: Flowers like roses and peonies should be dried right before they’re fully open. This way, they won’t lose petals during the drying process.
Full bloom: Flowers such as lavender look best when dried at full bloom, keeping their natural, vibrant look.
Prepping Flowers for Drying
Before you jump into drying your flowers, you’ll need to ensure they are clean and neatly trimmed. Proper preparation will set you up for success, giving you beautifully preserved blooms.
Cleaning and Stem Trimming
First things first, you want your flowers free of dirt and little critters.
Gently wipe each petal with a soft brush or a piece of cloth, being careful not to bruise the delicate petals.
After they’re clean, grab some sharp scissors or garden shears for stem trimming.
Cut the stems to your desired length, but leave enough room – typically six inches or more – to allow for easy hanging or placement in a drying container.
Cleaning: Soft brush or cloth
Stem Trimming:
Sharp scissors or garden shears
Leave a minimum of six inches
Grouping and Bundling Techniques
Now, let’s bundle up.
Take small groups of flowers, about 4-6 stems, which helps maintain airflow between them.
Use string, twine, or rubber bands to tie the bundles at the base of the stems.
If you’re going for the hanging method, make sure the tie is snug but not too tight; you don’t want to damage the stems.
Bundle Size: 4-6 stems
Tying Material: String, twine, or rubber bands
Tying Technique: Secure but gentle, at the base of the stems
Drying Methods Overview
Drying flowers is a great way to preserve their beauty for long-lasting arrangements. Here’s a quick look at some popular methods you can use.
Air Drying
To air dry flowers, simply tie the stems together and hang them upside down in a dry, dark location.
This method works best with flowers that have less moisture, like roses or lavender.
Pressing
For pressing, place the flowers between two sheets of absorbent paper and weigh them down with a heavy object.
This is ideal for preserving the shape and color of individual petals or smaller flowers.
Desiccant Drying
Desiccant drying involves burying flowers in a material that absorbs moisture, such as silica gel, sand, or borax mixtures.
This technique is suitable for chunkier blooms that may not air dry well.
Microwave Drying
You can also dry flowers quickly by placing them in the microwave with a desiccant.
Check the flowers frequently to avoid over-drying, which can cause brittleness.
Step-by-Step Guide to Air Drying
Air drying flowers is a simple and traditional method to preserve their beauty. You’ll need some space, time, and attention to detail.
Hanging Flowers Upside Down
Gather Your Flowers: Choose flowers with sturdy stems and vibrant colors.
Tie Them Up: Group your flowers in small bunches and secure them with rubber bands or twine.
Hang Them: Find a dry and warm space with good airflow and hang your bunches upside down.
Drying in a Dark, Dry Space
Choose a Spot: A closet, attic, or any room with minimal light and humidity is ideal.
Spread Them Out: Make sure the flowers aren’t touching each other to prevent mold growth.
Wait Patiently: It can take two to three weeks for flowers to dry completely. Check them regularly to monitor the drying process.
Step-by-Step Guide to Pressing Flowers
Pressing flowers is a method for preserving their beauty. It involves flattening them to dry, which helps retain color and shape.
Using Heavy Books
Select Flowers: Choose flowers that are not fully bloomed and are free of moisture.
Preparation: Trim the stems and any unwanted leaves.
Arrange: Place the flowers between two pieces of parchment paper.
Placement: Put the parchment paper with the flowers into the pages of a heavy book.
Weight: Stack additional books or heavy objects on top.
Wait: Leave the setup undisturbed for 2-3 weeks for the flowers to dry completely.
Using a Flower Press
Assembly: If you have a flower press, open it to expose the layers.
Layering: Place the flowers between layers of cardboard and sheets of paper within the press.
Tightening: Close the press and tighten the screws or bolts evenly.
Check: After one week, check the flowers and tighten the press again if necessary.
Duration: Wait another 1-2 weeks before removing the dried flowers.
Step-by-Step Guide to Desiccant Drying
When you want to preserve the color and shape of your flowers, desiccant drying is a reliable method. This technique involves using a material that effectively absorbs moisture to dry out your flowers quickly.
Choosing the Right Desiccant
Various desiccants can be used for drying flowers, such as silica gel, white sand, borax, or blends that include both.
Silica gel is favored for its rapid action and minimal color alteration on the petals.
You’ll want to select a desiccant that suits the type of flowers you’re drying and your desired drying duration. Here’s a quick list to guide your selection:
Silica Gel: Fast drying, excellent for maintaining color and form.
White Sand: Inexpensive, good for larger blooms, slower drying.
Borax Mixes: Suitable for delicate flowers, though it can be more time-consuming and gentle.
Drying in Containers
Once you’ve chosen your desiccant, follow these steps to dry your flowers:
Prepare your flowers by removing any unwanted leaves.
Fill the bottom of a microwave-safe container with a layer of the desiccant (about 1-2 inches).
Place your flowers on top of the base layer, ensuring they don’t touch each other.
Gently sift more desiccant over the flowers until completely covered.
Seal the container with a tight-fitting lid or a piece of plastic wrap to prevent any moisture from entering.
Allow the flowers to dry, which may take anywhere from a few days to a week depending on the flower type and desiccant.
Microwave drying is a quick method to preserve flowers. It involves using low heat and a desiccant like silica gel to retain the blooms’ colors and shapes.
Microwave With Silica Gel
Materials:
Microwave-safe container
Silica gel
Flowers
Microwave
Instructions:
Place a layer of silica gel at the bottom of the container.
Arrange your flowers on top of the silica gel.
Gently cover the flowers with more silica gel until completely submerged.
Set your microwave to 30% power or the lowest setting.
Heat the flowers in 30-second intervals, checking between each interval.
Note: Flower types vary in moisture content. Delicate ones may need less time, while thicker blooms might need more.
Controlling the Heat
Preventing Overheating:
Always use the lowest power setting, which is typically between 20-30%.
Start with a short time frame, such as 30 seconds, then increase in 30-second intervals as necessary.
Checking Readiness:
After each interval, carefully inspect the flowers.
They should feel dry to the touch but not brittle.
Tip: If the petals feel squishy or damp, they need more time. If they start to feel too dry or brittle, stop and remove them from the microwave.
Post-Drying Care and Storage
Once your flowers are dry, it’s crucial to check their condition regularly and store them properly to maintain their beauty.
Condition Checking
Regularly inspect your dried flowers for signs of deterioration, such as brittleness or color fading. If you notice any mold or a musty smell, it implies excess moisture, and you need to address it immediately to prevent decay.
Proper Storage Methods
Containers: Store your dried flowers in airtight containers to protect them from humidity and dust. Transparent containers help you enjoy their beauty while keeping them safe.
Location: Choose a cool, dark place for storage. Sunlight can cause colors to fade over time.
Silica Gel: If you live in a humid area, consider placing silica gel packets inside the storage containers to absorb any excess moisture.
Creative Uses for Dried Flowers
Dried flowers offer a timeless charm that can be incorporated into numerous creative projects. From enhancing your home décor to crafting personalized gifts, the possibilities are diverse and exciting.
Home Decor Projects
You can make your living spaces more inviting with dried floral arrangements. Create a stunning centerpiece for your dining table using a variety of dried flowers such as roses, lavender, or baby’s breath. For a more eclectic look, design a wall hangings or a dried flower wreath to add a rustic touch to any room. These pieces can easily become focal points and conversation starters.
Shadow Boxes: Display dried flower bouquets in shadow boxes for a 3D wall art effect.
Glass Domes: Arrange dried flowers under glass domes to create vintage-inspired ornaments.
Personalized Gifts
Next time you need a thoughtful gift, consider using dried flowers to make it unique and personal. Bookmarks, greeting cards, or photo frame borders adorned with small dried flowers can be charming presents.
Custom Jewelry: Embed dried flowers in resin to create personalized pendants or earrings.
Pressed Flower Phone Cases: Design custom phone cases by layering pressed flowers onto the case and sealing them in.
Unleash your creativity by incorporating dried flowers into different craft projects. You can use them in scrapbooking to add a floral flair to your memories, or try making handmade paper infused with petals for an artistic touch.
Candle Making: Embed dried flowers into candles for an elegant look.
Soap Crafting: Sprinkle dried petals into homemade soaps for added texture and visual appeal.
Tips and Tricks for Perfect Dried Flowers
To get the best results when drying flowers, focus on maintaining their color and preventing mold growth. Here’s how you can achieve that.
Maintaining Color
Choose Fresh Flowers: For vibrant colors, start with the freshest flowers you can find. Wilted or old blooms may not retain color as well.
Quick Drying: The faster the drying process, the better your flowers will retain their original color. Methods like pressing flowers between parchment paper inside heavy books or using silica gel are effective.
Avoid Direct Sunlight: While drying, keep the flowers in a dark, dry area to prevent color fading. Direct sunlight can bleach the petals over time.
Preventing Mold Growth
Ensure Optimal Airflow: Make sure there’s good air circulation around the flowers. You can do this by hanging them upside down in a well-ventilated room.
Choose Low-Humidity Areas: Dry flowers in areas with low humidity to prevent mold. Basements and bathrooms are often too damp.
Use Silica Gel for Thick Blooms: For thicker flowers, cover them in silica gel to absorb moisture quickly and prevent mold from setting in.
Troubleshooting Common Problems
Sometimes you might encounter a few hiccups while drying flowers. Here’s how to address some common issues to ensure your blooms retain their beauty.
Dealing with Fragile Petals
Fragile petals can easily break or get damaged during the drying process. If you notice petals falling off or starting to crumble:
Gently position the flowers between layers of absorbent paper.
Use a microwave-safe container to support the shape of the petals when using a microwave method.
Avoid direct handling as much as possible. Instead, use tweezers to manipulate the flowers.
Addressing Uneven Drying
If you find that your flowers are drying unevenly:
Check the air circulation in the drying area. It should be consistent. However, it should not be too strong to disturb the petals.
Rotate the flowers every few hours to ensure all sides dry evenly.
Space out flowers when hanging or laying on a flat surface to allow for more thorough airflow around them.
Thank You For Reading!
Hope you liked reading this article. Please do support us by saving this Pin to Pinterest and Give us a Follow.
I’m Anirban Saha, the Founder and Owner of MrPlanter.com. I pay the bills as a software developer, although my BTech is actually in Electronics and Communication. I really love my day job, but what gives me energy every day is interacting with my indoor plants and taking care of them. I have been successfully nurturing and maintaining houseplants for over 10 years now.
📚🔍 Our content undergoes thorough review and fact-checking before publication. For additional details, explore our strict Editorial Policy to deliver helpful content. 📝🔒