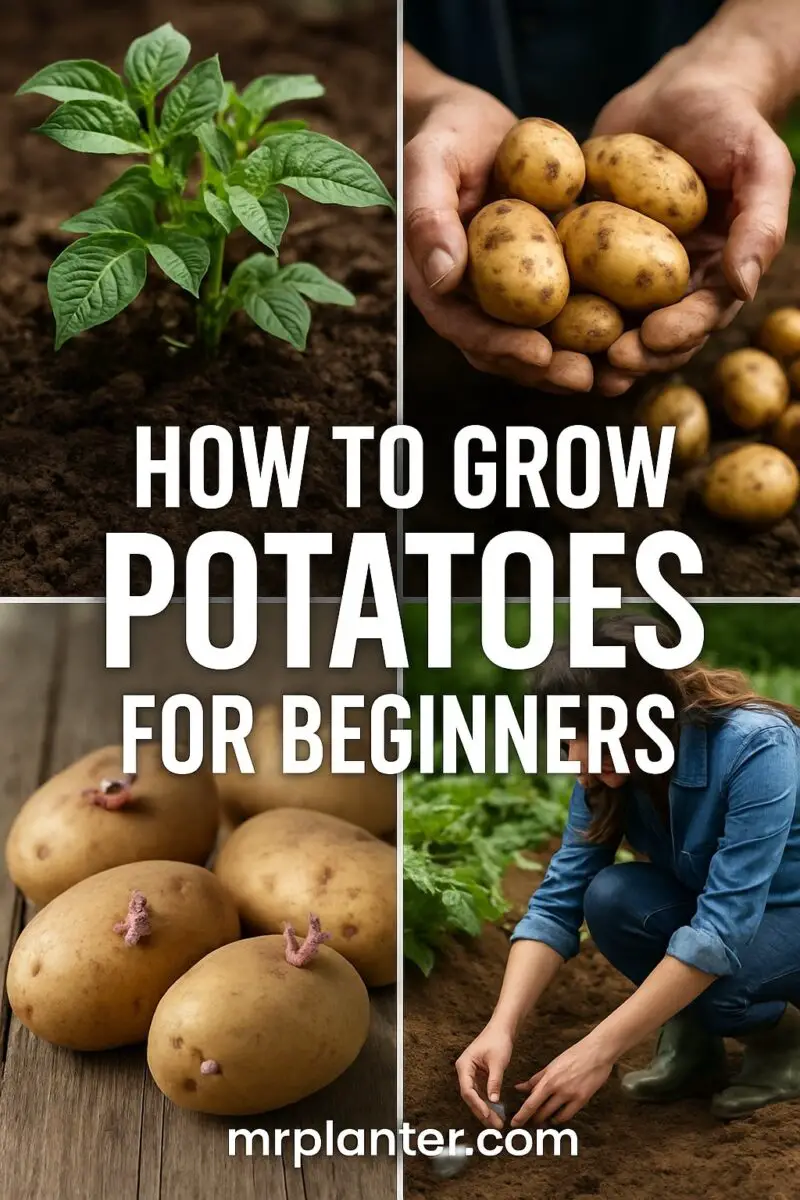
Growing potatoes might sound tricky, but honestly, it’s not as complicated as people make it out to be. All you really need is a sunny spot, some loose soil, and a handful of seed potatoes.
Give them a bit of attention, follow a few basic steps, and you’ll end up with fresh potatoes, whether you’ve got a garden or just a container on your porch.
Potatoes are pretty forgiving. You don’t need a huge yard—just a few pots will do.
Once you get the hang of planting, caring for, and eventually digging them up, you’ll save some cash and probably eat tastier potatoes than what you find at the store.
The process is more straightforward than people think. It’s honestly kind of fun to watch those first little sprouts break through the dirt.
If you’re curious about the step-by-step, and maybe want to dodge a few rookie mistakes, keep reading.
Choosing the Right Potato Variety
Picking the right potato starts with what you want and what works in your area. Some types are just easier, and it can really pay off to start with good seed potatoes.
Think about how you like to cook potatoes and what grows well where you live.
Best Types for Beginners
If you’re new to all this, go for varieties that are known to be easy. Russet and Yukon Gold are both solid choices.
Russets are great for baking or frying because they’re fluffy inside. Yukon Gold is more versatile—it’s creamy and works for boiling or roasting.
Want something a little different? Red potatoes, like Red Bliss, are perfect for salads and soups since they hold their shape when cooked.
Sticking with these common types gives you a better shot at a decent harvest without a ton of hassle.
Understanding Seed Potatoes
Despite the name, seed potatoes are just small potatoes or chunks of potato that you plant. Certified seed potatoes are the way to go since they’re disease-free and healthy.
Cut up larger seed potatoes so each piece has at least one eye (that’s the little sprout). Let the pieces dry out for a day or two before planting to help prevent rot.
Plant them about 4 inches deep and 6 inches apart. Good seed potatoes give your plants a strong start and usually mean a better harvest.
Heirloom vs. Hybrid Varieties
You’ll see potatoes labeled as heirloom or hybrid. Heirlooms have been passed down for generations and often have unique flavors or cool colors, like Purple Majesty. They can be a bit touchier, though.
Hybrids are bred to resist pests and usually give you a bigger harvest. If you want something reliable, hybrids make sense. But if you’re after something unusual, heirlooms add some fun and flavor to your garden.
Picking a Good Spot to Grow Potatoes
Where you plant your potatoes really matters. Go for soil that doesn’t stay soggy and a spot that gets plenty of sun.
These two things make a huge difference for healthy plants right from the start.
Sunlight and Shade Needs
Potatoes need at least six hours of direct sunlight each day. Find a place that stays bright, with as little shade as possible.
If you plant them somewhere shady, your plants might struggle and your potatoes could end up small or sparse.
Morning and early afternoon sun works best. It helps keep the soil warm and dry, which potatoes love.
Soil Drainage and Texture
Potatoes hate soggy ground. If water pools around their roots, you’ll probably lose some to rot or disease.
Look for soil that drains well but still holds a bit of moisture—sandy loam or loose dirt is ideal. If you’ve got heavy clay, mix in compost or sand to loosen it up.
Before you plant, dig down and loosen the soil so potatoes can grow easily. Airy, well-drained soil helps roots breathe and keeps plants happy.
Quick tip: Dig a hole and fill it with water—if it drains in a few hours, you’re good to go. If not, you might want to pick another spot or amend your soil.
Preparing Your Soil
Good soil is the secret to healthy potato plants. You want dirt that drains well, holds a bit of moisture, and has the right nutrients and pH.
Spending a little time on your soil before planting really pays off.
Improving Soil with Compost
Compost does wonders for potatoes. It adds nutrients and keeps the soil light and fluffy—perfect for tubers to spread out.
Mix a few inches of compost into the top 8 to 12 inches of your garden bed. This helps with drainage and feeds your plants as they grow.
You can use homemade or store-bought compost. Just steer clear of fresh manure—it’s too strong and can burn the plants. Well-aged compost or manure is much safer.
Spread 2 to 4 inches and mix it in with a shovel or tiller. That’s usually enough.
Balancing Soil pH for Potatoes
Potatoes like slightly acidic soil, somewhere between 5.5 and 6.5 pH. It’s worth testing your soil with a simple kit from the garden store.
If your pH is too low, add some lime to bring it up. If it’s too high, use sulfur or peat moss to lower it. Make these changes a few weeks before planting so everything settles in.
Keeping the pH in the right range helps prevent disease and lets potatoes soak up nutrients.
Getting Rid of Rocks and Debris
Potatoes need soft, clear soil. Rocks, sticks, and other junk just get in the way and can cause weird-shaped tubers.
Before planting, grab a rake or just use your hands to clear out anything that doesn’t belong. You want loose, easy-to-dig soil without big lumps.
This makes it easier for your potatoes to grow and for you to dig them up later. Plus, it just makes the whole process smoother.
How to Plant Potatoes
Planting potatoes isn’t rocket science. You’ll cut and prep your seed potatoes, space them out, and plant them at the right depth.
It’s all about giving them room to grow and a good start in the ground.
Cutting and Curing Seed Potatoes
Start with healthy seed potatoes—not the ones from the supermarket. Cut up the bigger ones so each chunk has at least one or two eyes (those little sprouts).
Let the pieces dry out for a couple of days. This step, called curing, helps the cuts heal and lowers the risk of rot.
Don’t rush this. Fresh-cut pieces rot easily if you plant them right away. If your seed potatoes are small, you can just plant them whole.
Spacing Your Potatoes
Give your seed pieces about 3 to 4 inches of space in each row. If you crowd them, you’ll end up with smaller potatoes.
Keep your rows 24 to 36 inches apart. That gives the plants plenty of room for roots and tubers to grow without fighting over nutrients.
Good spacing also means better airflow, which helps prevent disease. If you’re using containers, stick with similar spacing for best results.
Planting Depth and Row Setup
Plant your seed potatoes about 4 inches deep in loose, well-drained soil. Cover them gently so they’re not buried too deep.
When the plants reach about 6 inches tall, start piling soil around the base—this is called hilling. It protects the potatoes from sunlight and encourages more to grow.
Try to keep your rows straight. Marking them out ahead of time helps, especially if you want watering and harvesting to be easier later on.
Caring for Potato Plants
Taking care of your potato plants comes down to three things: watering, feeding, and hilling. Doing these right helps your potatoes grow big and healthy.
Let’s break it down a bit.
Watering Tips
Keep the soil moist, but not soggy. Potatoes need consistent moisture, especially once they start flowering.
If the soil dries out, you’ll probably get smaller or weird-shaped potatoes. Water deeply about once a week, but bump it up if the weather’s hot and dry.
Stick your finger in the soil about two inches deep—if it’s dry, it’s time to water. Try not to soak the leaves; aim for the soil at the base of the plant instead.
If you can, use a soaker hose or drip system. It’s just easier and keeps the leaves dry, which cuts down on disease.
Feeding and Fertilizing
Potatoes are kind of hungry plants. Use a balanced fertilizer—equal parts nitrogen, phosphorus, and potassium—when you plant, and again as the plants start to grow.
Don’t overdo the nitrogen or you’ll get lots of leaves and not many potatoes. Spread the fertilizer around the plants, but keep it away from the stems.
Adding compost or well-rotted manure before planting helps, too. Feed your potatoes every few weeks for the best results.
Hilling Up Soil
Hilling means piling soil up around the potato stems as they grow. When your plants get to about 6-8 inches tall, gently mound soil or compost around the base, but leave the leaves showing.
This keeps the developing potatoes from getting sunburned and turning green (which makes them bitter). It also encourages more tubers to form along the stem.
Hill again every couple of weeks while the plants grow. Use loose soil so you don’t damage anything.
Dealing with Potato Pests and Diseases
Potatoes can run into plenty of trouble from bugs and diseases. If you know what to watch out for and catch problems early, you’ll have a much better shot at a healthy crop.
It’s not always possible to prevent everything, but a little attention goes a long way.
Common Potato Bugs
Potato beetles, aphids, and leafhoppers often cause headaches for gardeners. Potato beetles chew holes right through the leaves, and they can weaken your plants fast.
Aphids suck out the sap, which curls leaves and slows everything down. Leafhoppers munch on leaves too—and, annoyingly, they bring diseases with them.
Here’s what you should watch for:
- Holes or leaves that look like lace
- Sticky stuff or curled, yellow leaves
- Clumps of tiny bugs on stems or under leaves
If you spot beetles, just pick them off by hand or try insecticidal soap. Treat seed potatoes with insecticides before planting if you want to get ahead of the bugs.
Organic sprays can help if you’d rather not use chemicals. Sometimes, a mix of both works best, depending on how stubborn the pests are.
Signs of Disease
Diseases in potatoes usually show up as spots, rot, or strange growth. Early blight leaves small dark patches with rings on the leaves. Potato scab makes rough, crusty spots on the tubers.
Wilting, yellowing, or moldy patches might also mean you’ve got trouble. Check leaves, stems, and potatoes often. If you see something weird, pull up and destroy the sick plants so things don’t get worse.
Don’t use cracked or scabby potatoes from your garden for next year’s seed. They can just bring the problem back.
Practical Prevention Steps
Start with clean, certified seed potatoes to dodge most diseases. Change up where you plant potatoes every year so pests and fungi don’t stick around in the soil.
Soil pH matters—a lot. Scab loves alkaline soil, so try not to plant in soil with pH over 7 if you can avoid it.
Water evenly, and try to keep leaves dry. Wet leaves just spread fungal spores faster.
Spray with organic insecticides if pests get out of hand. Rotating potatoes with nitrogen-fixers like beans can make your crop stronger and healthier.
Harvesting Your Potatoes
When it’s time to dig up your potatoes, a bit of care can save your harvest. Honestly, timing and technique make a big difference.
When to Harvest
Wait until the plants dry out. Look for yellow or brown leaves and dying stems—usually 2 or 3 weeks after flowering ends.
That’s when the skins have toughened up enough for storage. If you dig too soon, the potatoes have thin skins and bruise easily. Wait too long, and the tubers can get tough or start to rot.
How to Dig Up Potatoes
Grab a garden fork or shovel and start digging about a foot away from the plant’s base. That way, you won’t stab the tubers by accident.
Push the fork in, loosen the soil, and then pull the plant out by the stems. Potatoes can hide close to the surface or deeper down, so poke around gently but don’t cut them up.
Brush off any extra soil. Don’t wash them until they’re totally dry—this helps them last longer in storage.
Curing and Storing Potatoes
After digging up your potatoes, you’ll want to get them ready to store. This lets the skins toughen up and helps heal small cuts. The right storage spot keeps them fresh and stops sprouting or rotting.
How to Cure for Longer Storage
Curing really matters if you want your potatoes to last. Spread them in a single layer in a dark, airy place. Aim for temperatures between 55 and 70°F, with humidity around 85 to 95 percent.
Leave them like this for a week or two. The skins get thicker, and minor bruises heal up. If you poke or slice them before curing, they’ll rot fast.
Any damaged potatoes? Just cook or use those right away instead of storing them.
Best Storage Conditions
Once they’re cured, stash your potatoes in a cool, dark spot. The sweet spot is 40 to 45°F. If it’s too warm, they’ll sprout or go soft. Too cold—like in the fridge—and the starches turn to sugar, which makes them taste off.
Keep humidity moderate so the potatoes don’t shrivel or get soggy. Use something breathable, like a burlap sack or a basket. Skip clear plastic bags—they trap moisture and cause rot.
Keep potatoes out of the light to prevent greening, which is toxic. Check your stash every so often and pull out any spongy or spoiled ones.
Growing Potatoes in Containers and Small Spaces
Growing potatoes in containers can be surprisingly easy. It saves space and gives you more control over soil and water. The right container and well-draining soil are key.
Best Pots and Bags
Pick containers at least 16 inches wide and 18 to 24 inches deep. That gives the tubers room to grow down.
Plastic pots, fabric grow bags, or big buckets with drainage holes all work. Make sure the container drains well. Potatoes hate sitting in water—it just causes rot.
Space seed potatoes about 10 inches apart in the container. If you go with bags, choose thick, breathable fabric so roots get air and mold stays away. Containers that hold at least 3 gallons of soil give the best results.
Soil and Watering for Containers
Use loose, well-draining potting soil mixed with compost. Skip regular garden soil—it’s dense, doesn’t drain well, and might bring diseases or weeds.
A half-and-half mix of potting soil and compost works great. Water when the top inch feels dry. Too much water rots the tubers, but if you let them dry out, they’ll stay small and hard.
During hot spells, add a little water every few days. Make sure extra water can drain out, or you’ll end up with soggy soil and unhappy potatoes. Wet soil slows growth and attracts pests.
Saving Seed Potatoes for Next Year
If you want to grow potatoes again, saving some of your harvest for seed is a solid plan. Pick healthy, disease-free potatoes from your best plants for the best shot at a good crop.
After picking your seed potatoes, store them in a cool, dark spot—around 45-50°F is ideal. This keeps them from sprouting too early or drying out.
Use a cardboard box or a breathable bag to let air flow. Check your potatoes every so often. If you spot soft spots or mold, toss those potatoes right away to stop problems from spreading.
Quick tips for saving seed potatoes:
- Pick potatoes about the size of a chicken egg
- Keep them dry, but not bone dry
- Protect them from light to avoid green spots
- Rotate your stored potatoes every few weeks
Saving your own seed potatoes saves money and lets you keep the varieties you actually like.
Troubleshooting Potato Problems
When your potato plants just aren’t thriving, start by taking a look at the soil. Potato roots need some air, so too much water can actually drown them.
Check if the soil feels damp but not soggy. If it’s soaked, that’s a problem.
Ever notice rough, scabby spots on your potatoes? Potato scab usually causes that.
The taste stays the same, but the skin turns tough and kind of unattractive. Try to keep your soil’s pH below 5.5—test it now and then, and tweak as needed.
If your plants seem healthy but you dig up the ground and find no potatoes, your soil probably needs more nutrients. Potatoes really want rich, well-drained soil to make tubers.
Add some compost or a balanced fertilizer to give them a boost. Sometimes that’s all it takes.
Pests and disease can also show up and cause trouble. Watch for yellow leaves, spots, or holes—those are big warning signs.
If you spot infected plants, pull them out and try some natural pest control. It can make a real difference.
Here’s a quick checklist for spotting common potato problems:
| Problem | Sign | What to Do |
|---|---|---|
| Overwatering | Wilting, soggy soil | Water less, improve drainage |
| Potato scab | Rough patches on skin | Adjust soil pH, plant resistant types |
| No tuber growth | Healthy plants, no potatoes | Add nutrients, check soil quality |
| Pests or diseases | Damaged leaves or stems | Remove affected parts, use safe treatments |
Keep an eye on your plants every few days. Spotting problems early can save you a lot of headaches.