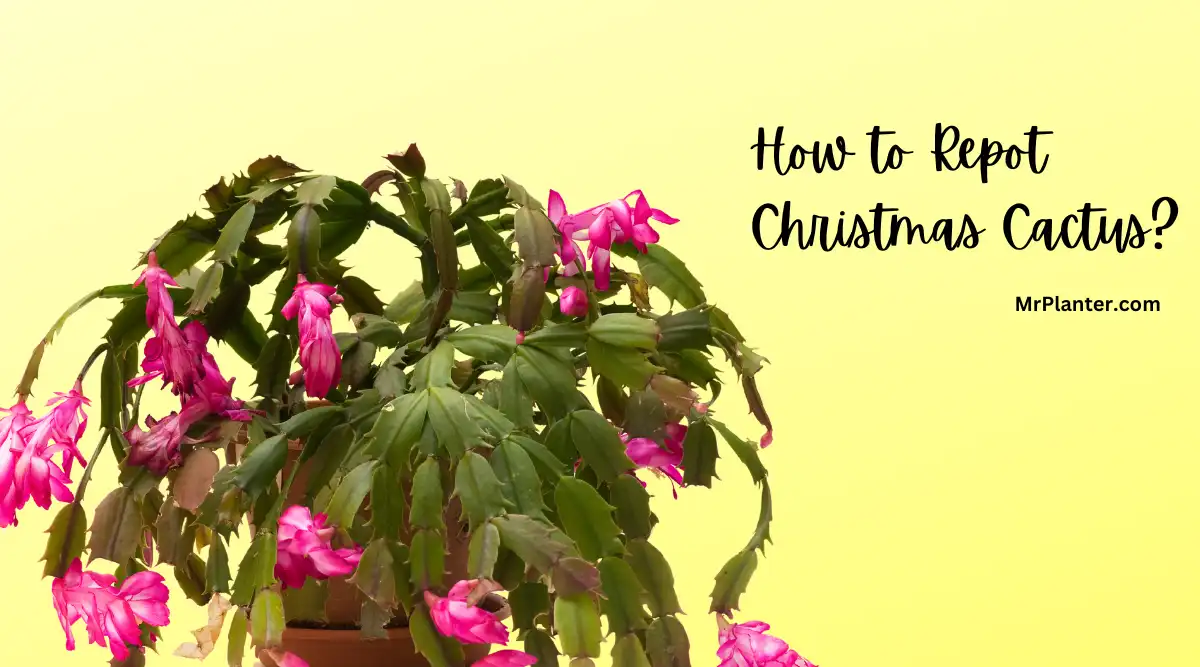
Welcome to our guide on how to repot Christmas cactus! Christmas cacti are popular houseplants that bloom in the winter, adding a festive touch to your home.
However, to keep your Christmas cactus thriving, you need to know how and when to repot it. Repotting is an essential part of caring for your Christmas cactus, as it helps to ensure that the plant has enough space to grow and access to fresh soil and nutrients.
In this article, we’ll guide you through the simple process of repotting your Christmas cactus at home, including when to repot and how to do it correctly. Plus, we’ll share tips on caring for your plant after repotting to keep it healthy and blooming year after year.
So, if you’re ready to give your Christmas cactus the care it needs to thrive, let’s get started!
When to Repot
Repotting your Christmas cactus is an important part of its maintenance.
However, it’s essential to know when to repot it to avoid damaging the plant.
Here are some guidelines on when to repot your Christmas cactus:
Signs Your Christmas Cactus Needs Repotting
Christmas cactus only needs repotting once every three or four years.
However, it’s crucial to keep an eye on your plant to ensure it’s healthy and thriving. Here are some signs that your Christmas cactus needs repotting:
- The roots are growing out of the pot’s bottom.
- The soil is compacted and doesn’t drain well.
- The plant looks wilted, and the leaves are drooping.
- The pot is too small for the plant, and it’s becoming root-bound.
If you notice any of these signs, it’s time to repot your Christmas cactus.
However, avoid repotting while the plant is actively blooming.
Wait until the blooming cycle is over, and the flowers have wilted in late winter or early spring.
Repotting at the right time will ensure that your Christmas cactus continues to grow and thrive.
It’s also an excellent opportunity to check the plant’s roots and soil health and ensure that it has enough space to grow.
Preparing to Repot
Supplies You Will Need
Before repotting your Christmas cactus, make sure you have all the necessary supplies on hand. Here’s a list of what you’ll need:
- New pot – choose a pot that is only slightly larger than the current pot to prevent over-potting
- Potting mix – use a well-draining mix specifically formulated for cacti and succulents
- Gloves – to protect your hands from spines and prickles
- Trowel or spoon – to help remove the plant from its current pot and transfer it to the new pot
- Watering can – to water the plant after repotting
Choosing a Pot and Soil
When choosing a new pot for your Christmas cactus, it’s important to select one that is only slightly larger than the current pot.
This will prevent over-potting, which can lead to waterlogged soil and root rot. The new pot should also have drainage holes to allow excess water to escape.
For soil, use a well-draining mix specifically formulated for cacti and succulents.
This type of soil will help prevent overwatering and root rot. You can also add some perlite or sand to the mix to improve drainage.
It’s important to avoid using regular potting soil or garden soil, as these can be too heavy and retain too much moisture, which can lead to root rot.
Repotting Your Christmas Cactus
Removing the Cactus from Its Current Pot
When it comes to repotting your Christmas cactus, the first step is to remove the plant from its current pot.
Carefully slide a trowel or your fingers around the edge of the pot to loosen the soil.
Once the soil is loosened, gently lift the plant out of the pot. Be careful not to damage the roots as you do so.
Trimming the Roots
Once you have removed the cactus from its pot, you’ll need to trim the roots.
Use a clean, sharp pair of scissors to cut away any dead or damaged roots.
You should also trim any roots that are circling around the root ball, as these can cause problems later on.
It’s important to note that you don’t want to remove too many roots, as this can stress the plant. Aim to remove no more than one-third of the root mass.
Placing the Cactus in the New Pot
After you have trimmed the roots, it’s time to place the cactus in its new pot. Choose a pot that is slightly larger than the current one, and make sure it has drainage holes in the bottom.
Add a layer of fresh potting mix to the bottom of the new pot, and then place the cactus on top.
Make sure that the top of the root ball is about an inch below the rim of the pot. Add potting mix around the sides of the root ball, gently pressing it down to eliminate any air pockets.
After you have repotted your Christmas cactus, give it a good watering. Be sure to let the soil dry out slightly before watering again.
Remember, repotting your Christmas cactus can help it thrive and grow for years to come.
By following these simple steps, you can ensure that your plant has plenty of room to grow and access to the nutrients it needs to thrive.
Aftercare
Watering and Fertilizing
After repotting your Christmas cactus, it is important to adjust your watering and fertilizing routine to ensure the plant’s health.
Water the cactus thoroughly after repotting, and then wait until the soil is dry to the touch before watering again. Overwatering can lead to root rot, so be sure to allow the soil to dry out before watering.
During the growing season, from spring to fall, fertilize your Christmas cactus every two weeks with a balanced fertilizer.
During the dormant season, from fall to spring, reduce fertilization to once a month. Be sure to follow the instructions on the fertilizer package, as overfertilizing can damage the plant.
Reintroducing Your Cactus to Sunlight
After repotting, it is important to reintroduce your Christmas cactus to sunlight gradually.
Place the plant in a shady location for the first week, and then gradually move it to a brighter location over the course of the next few weeks. This will help prevent sunburn and other damage to the plant.
Once your Christmas cactus is acclimated to its new environment, be sure to provide it with bright, indirect sunlight for at least six hours a day.
Direct sunlight can scorch the plant, so be sure to provide some shade during the hottest part of the day.
In summary, after repotting your Christmas cactus, adjust your watering and fertilizing routine to ensure the plant’s health.
Reintroduce the plant to sunlight gradually to prevent damage. With proper care, your Christmas cactus will thrive in its new pot for years to come.
Final Thoughts
Let’s conclude the post on how to repot Christmas Cactus!
Repotting a Christmas cactus is essential for its overall health and longevity.
While it may seem daunting at first, following the right steps and using the proper tools and materials can make the process a breeze.
Remember to choose a pot that is slightly larger than the current one, use well-draining soil, and water the plant thoroughly after repotting.
It’s best to repot the Christmas cactus after flowering but before new shoots appear, typically between February and March.
Additionally, propagating a Christmas cactus can be a great way to expand your collection or share the joy of these beautiful plants with others.
With the right care and attention, your Christmas cactus can thrive for years to come.
Overall, repotting and propagating a Christmas cactus requires patience and attention to detail, but the rewards are well worth the effort.
By following the tips and techniques outlined in this article, you can ensure that your Christmas cactus remains healthy and vibrant for years to come.

")