Hydrangeas, with their lush leaves and bountiful blooms, are the crowning glory of many gardens.
I understand the excitement that comes with nurturing these plants and the disappointment when things don’t go as expected.
They may seem like hardy plants, but they demand specific care and attention to truly thrive.
Knowing the common pitfalls to avoid can make the difference between a hydrangea that stuns and one that just survives.
I’ve spent plenty of time talking to fellow hydrangea enthusiasts and experts, as well as learning from my own experience.
Let’s get started!
Key Takeaways
- Selecting an appropriate location and ensuring correct soil pH is crucial for healthy hydrangea growth.
- Maintaining proper watering, fertilization, and pruning routines supports vibrant blooms.
- Ensuring good air circulation, the right planting depth, and seasonal protection aids in preventing common hydrangea issues.
1. Planting in the Wrong Location
Choosing the right location is crucial for the health and blooming of your hydrangeas.
Most varieties prefer partial shade, especially in hot climates where intense sunlight can scorch the leaves and stress the plant.
When it comes to where I plant my hydrangeas, I ensure they get just the right amount of sunlight. Too much or too little can lead to problems.
Hydrangeas need a good balance of sun and shade, especially if you’re planting the bigleaf variety.
- Morning sun is perfect since it’s gentler, and it’s better to give them
- afternoon shade to protect them from harsh rays.
Here’s what I’ve learned:
- Location: Aim for a spot with morning sun and afternoon shade.
- Duration: Ideally, hydrangeas should get about 3-6 hours of direct sunlight a day.
If I plant a panicle hydrangea, those guys are more sun-tolerant.
They can handle more sun, but even then, I watch out during heat waves to make sure they’re not getting scorched.
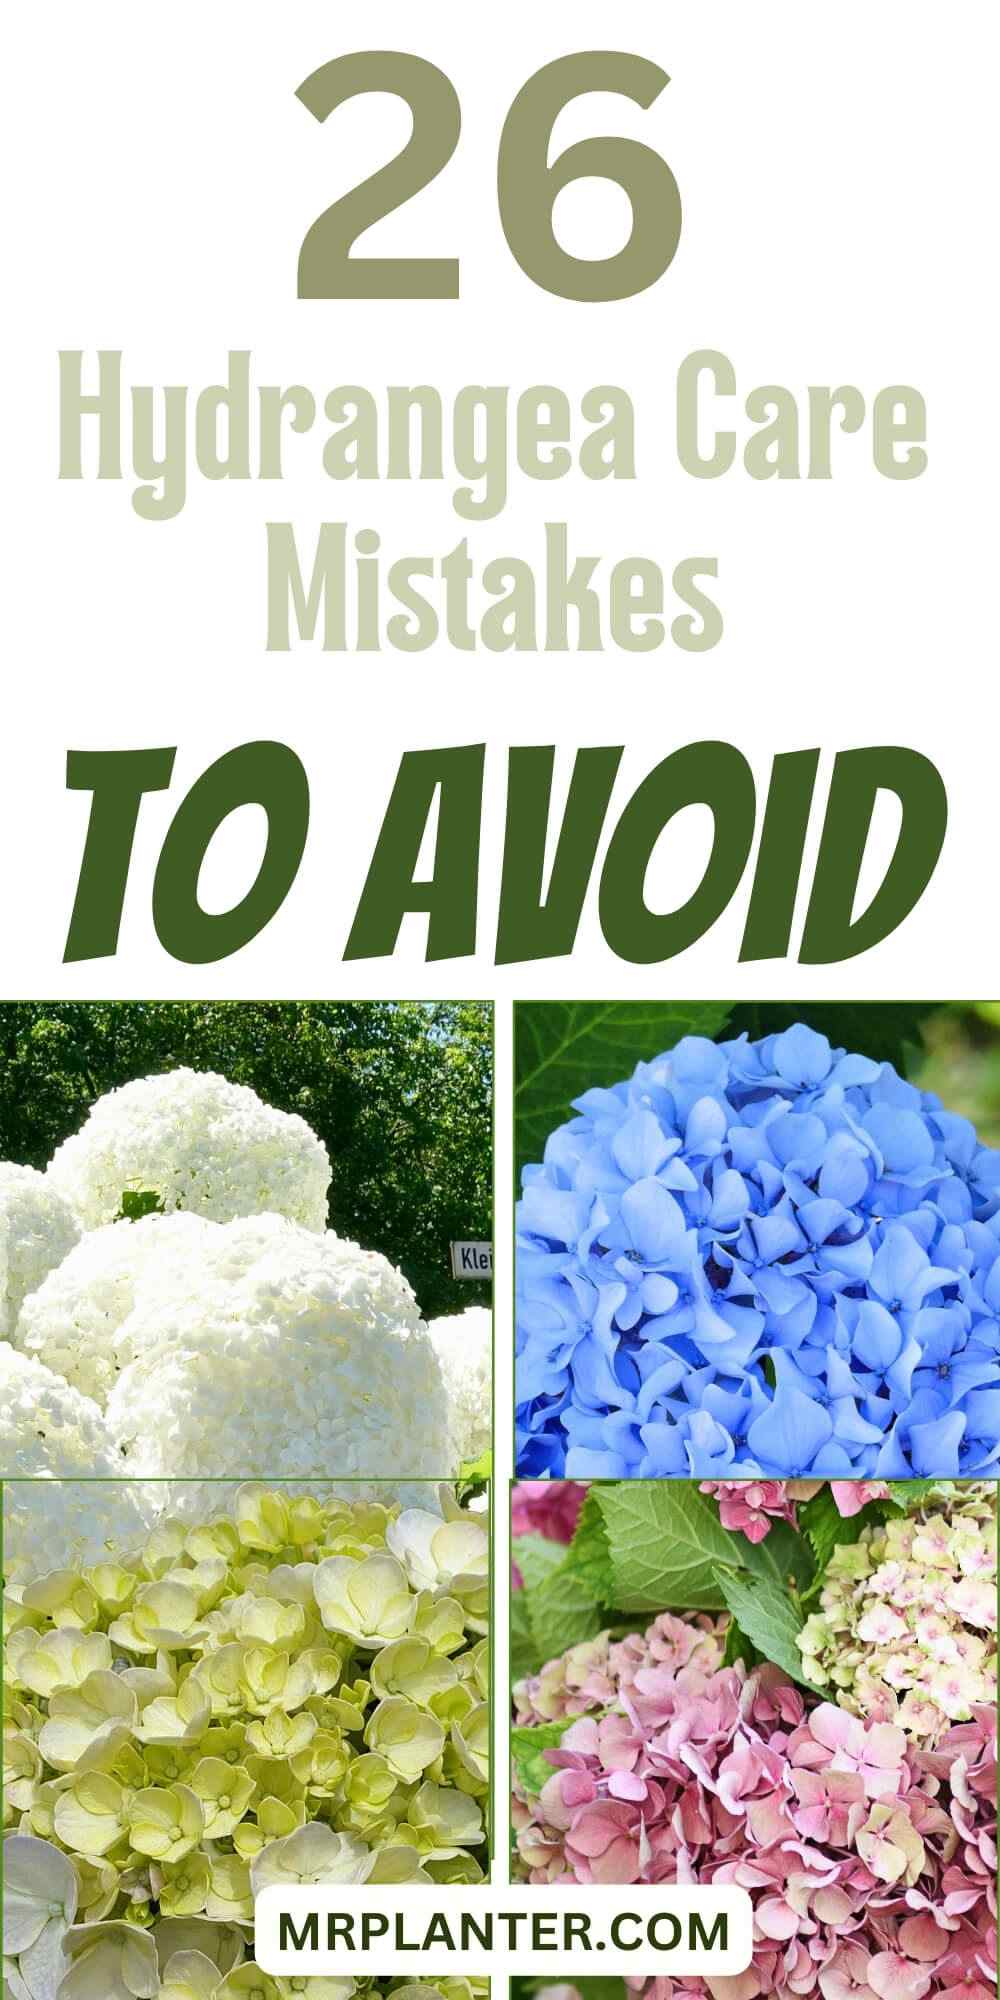
2. Ignoring Soil pH
Before we talk about specifics, let’s remember that hydrangeas are a bit like Goldilocks with their soil pH; not too high, not too low, but just right.
Hydrangeas have this superpower – they can change flower color based on the soil pH.
If I want bright or deep blue blooms, I make sure my soil is more acidic, with a pH that’s lower than 6.
If I’m after pinker petals, a more alkaline soil with a pH above 7 is the way to go. For those lovely lavenders or a mix of blue and pink, I aim for a neutral pH, right around 6 to 7.
-
For blue flowers:
- Aim for a soil pH of 5.2 to 5.5
- Add garden sulfur or a soil acidifier to lower the pH
-
For pink flowers:
- Target a soil pH of 6.0 to 6.2
- Add lime to the soil to raise the pH
It’s pretty cool that with a little tweak here and there, I can directly influence the vibrancy and tone of my hydrangeas.
A pH test kit is my best friend for keeping tabs on the soil conditions. I just take a sample, follow the kit instructions, and adjust as needed.
Remember, changes in soil pH take time, so patience is key. Also, water can affect soil pH, so I make sure mine isn’t too acidic or alkaline – it needs to be just right for my hydrangea’s art show.
3. Over Or UnderWater
When it comes to hydrangeas, I’ve found that getting the watering right is crucial for their health and blooms.
Overwatering Issues
If you over them, the soil will be soggy and Hydrangeas cannot tolerate soggy soil and may cause root rot.
Underwatering Issues
If I don’t give my hydrangeas enough water, I notice they start to droop pretty fast—this is a clear SOS signal.
Their water needs depend on the climate and soil, but I make sure to keep the soil moist, especially during dry spells.
Here’s a quick checklist I follow to fix:
- Check the top inch of soil; it should feel damp.
- Morning Watering: It’s the best time to water to avoid evaporation and give plants a good start to their day.
- Evening Watering: If I can’t do mornings, I water in the late afternoon but always before nightfall to prevent mildew.
4. Pruning At the Wrong Time
Improper pruning timing is a common mistake that can leave you with a lack of blooms.
Different hydrangea species have different pruning requirements.
Early spring, right before new growth starts, is the sweet spot for pruning some types of hydrangeas.
Bigleaf (Hydrangea macrophylla), oakleaf (Hydrangea quercifolia), climbing (Hydrangea anomala subsp. petiolaris), and mountain hydrangeas (Hydrangea serrata) prefer this period because they bloom on old wood.
Here’s what I usually do:
- Look for dead stems and snip them at their base.
- Cut back about a third of the oldest stems to encourage rejuvenation.
PeeGee (Hydrangea paniculata) and smooth hydrangeas (Hydrangea arborescens) are an exception, though.
They bloom on new wood, so pruning them in early spring is perfect. They’ll bounce back with fresh blooms on the growth they produce in the same year.
I just:
- Make sure to remove only the top third of the stems, which promotes a fuller plant.
- Shape them a little if they’re getting unruly. It’s like giving them a tidy up haircut.
5. Fertilizing Excessively
When it comes to nurturing hydrangeas, I pay close attention to how much fertilizer I use. It’s like a delicate dance — too little and the plant won’t thrive, too much and you risk harm.
If I overdo it on the fertilizer, it can lead to some pretty serious issues for my hydrangeas. These are the main consequences to watch out for:
- Burned Foliage: Excess fertilizer can cause the tips of leaves to brown and the edges to crisp up, giving a burnt look.
- Root Damage: Too much of a good thing can harm the roots, making it harder for the plant to absorb water and nutrients.
- Reduced Blooming: Overfertilization can lead to lush foliage with few to no blooms. Flowers are why I grow hydrangeas, after all.
It’s a balancing act — applying enough to feed them, but not so much that it disrupts their growth.
I stick to a schedule and always follow the recommended amounts on the fertilizer package.
6. Allowing Plants to Dryout During Bloom Time
Taking care of hydrangea blooms involves a few key steps that I’ve found crucial for keeping those gorgeous flowers thriving.
Let’s talk about preventing any unnecessary stress to the blooms, especially from drought.
To keep my hydrangeas looking their best, I make sure they’re well-watered during their blooming phase. Hydrangeas are pretty thirsty plants, and when they’re flowering, they need even more water. Here’s what I do:
- Watering Schedule: I check the soil moisture daily. Hydrangeas prefer consistently moist soil, so during dry spells, I water them every morning.
- Mulching: I apply a 2 to 3-inch layer of mulch around the base to help retain moisture. It works like a charm for keeping the soil cool and moist longer.
- Signs of Drought: I watch for drooping leaves, which often signal dehydration. If I see this, I give them a good soak at the base, avoiding the leaves to prevent fungal diseases.
- Morning Watering: I water early in the day to reduce evaporation. It’s the most efficient use of water and gives the plants time to drink up before the heat of the day.
7. Planting too deeply
When I’m planting hydrangeas, I pay special attention to the depth because it’s crucial for their success. Get it right, and you’re setting them up for a healthy life.
The root ball of your hydrangea should be level with the surrounding soil when you plant it. Here’s what I do:
- Inspect the root ball: Remove any wrapping and inspect the roots before planting. They should be healthy and intact.
- Dig the hole: Make the hole twice as wide as the root ball but no deeper. You want the base of the plant to sit on solid ground to prevent sinking.
- Set the hydrangea: Place your hydrangea in the hole so that the top of the root ball is level with or slightly above the ground level. This prevents water from pooling around the stem, which can cause rot.
- Backfill with care: Fill the hole gently with soil, ensuring not to bury the plant deeper than it was in the pot. I usually backfill halfway, water a little to settle the soil, then finish filling the hole.
8. Not providing adequate air circulation
Let’s talk about a common mistake people make when growing hydrangeas – not giving them enough room to breathe!
When you plant hydrangeas too close together, they’re more likely to develop powdery mildew, which is like the plant version of a stuffy nose.
Not fun!
Here’s a quick checklist I use when planting for optimal air flow:
- Spacing: Keep hydrangeas 2-3 feet apart.
- Pruning: Regularly remove dead or crossing branches.
- Position: Plant in areas where breezes are common, but avoid strong winds.
9. Neglecting to Deadhead
When I tackle hydrangea care, I’ve learned that bloom removal is more than a simple snip-snip. It’s about timing and technique to keep my plants thriving.
If you neglect this, then it will be harder to get rebloom from your Hydrangea plant.
As I’ve found, the golden rule for pruning hydrangeas is to do it just after they bloom.
My typical go-to method is to locate the first pair of full-sized leaves beneath the spent bloom. This is where the new buds will form for the next year.
I make my cut right above these buds, ensuring I don’t prune too far down or leave too much of a stem.
Here’s a rough idea of what I’m aiming for:
- Find the first pair of large leaves under the old bloom.
- Make a cut approximately ¼ inch above these leaves.
I’ve learned the hard way that pruning too late might mean cutting off next year’s flowers. So I keep my pruning shears handy and watch the flowering schedule like a hawk.
10. Not protecting from extreme cold
In colder regions, hydrangeas may need winter protection to survive the harsh conditions. Exposure to extreme cold, drying winds, and fluctuating temperatures can damage or kill the plants.
The key is to keep them shielded from those harsh winter chills if you’ve got them planted in a region that gets a bit frosty.
Now, I can’t stress enough the importance of mulching for your hydrangeas. Here’s the deal:
- Mulching Material: Use organic materials like straw, pine needles, or bark chips. They’re great for insulation.
- Thickness: Aim for a layer about 6 to 8 inches thick. Just pile it up around the base of your hydrangea plants.
- Timing: Get the mulch down before the first frost. It’s like giving your plants a warm blanket right when they need it.
- Coverage: Don’t forget to extend the mulch out to the drip line of the branches. That’s the perimeter where the branches end.
- Refresh: Check the mulch mid-winter and add more if needed. Winter can be tough, and a little refresh can make all the difference.
11. Transplanting at the wrong time
So, when is the wrong time to transplant hydrangeas, you ask? Well, it’s generally not a good idea to move them around during the peak of their growing season.
They’re putting all their energy into producing those gorgeous blooms, and if you disrupt them during this time, they might get a bit cranky with you.
Here’s a quick rundown of the right time to transplant:
-
Fall Transplanting:
- When: After leaves drop but before the ground freezes.
- Why: Plants are dormant, which minimizes shock.
-
Spring Transplanting:
- When: Just as the ground thaws but before leaves form.
- Why: Cool temperatures and moist soil encourage root growth.
But, if you do find yourself in a situation where you’ve accidentally transplanted your hydrangeas at the wrong time, don’t panic!
Just give them a little extra TLC – water them well, add some mulch to keep the soil moist, and maybe even offer them a few words of encouragement.
12. Not providing enough sunlight
You know, I’ve seen a lot of people make the mistake of thinking hydrangeas only need shade.
While they do love a bit of shade, they still need a few hours of direct sunlight each day to really thrive.
So, make sure you’re giving your hydrangeas a nice mix of sun and shade to keep them happy and healthy.
13. Overcrowding
I get it, you want a beautiful, lush garden filled with hydrangeas.
But, planting them too close together is just asking for trouble.
When you overcrowd your hydrangeas, they don’t get enough air circulation, which can lead to all sorts of fungal diseases.
Give them some room to breathe, and they’ll thank you for it!
14. Ignoring pests and diseases
It’s easy to get caught up in the excitement of growing hydrangeas and forget about the little things, like keeping an eye out for pests and diseases.
But let me tell you, if you ignore problems like powdery mildew or leaf spot, you’re going to have a sad-looking plant on your hands.
Take a few minutes every now and then to check on your hydrangeas and address any issues before they get out of hand.
15. Using the wrong type of mulch
Mulch can be a great way to keep your hydrangeas’ roots cool and moist, but using the wrong type can do more harm than good.
I’ve seen people use mulch that’s too heavy or dense, which can actually suffocate the roots and lead to rot.
Stick with a light, airy mulch that allows water and air to reach the soil easily.
16. Not supporting large blooms
Have you ever seen those gorgeous, giant hydrangea blooms that look like they’re about to topple over?
Well, if you don’t give them a little support, that’s exactly what will happen!
Some hydrangea varieties have blooms that are just too heavy for their stems to handle, so don’t be afraid to use stakes or supports to keep them standing tall and proud.
17. Failing to amend poor soil
If you want your hydrangeas to really shine, you’ve got to start with good soil.
I know it’s tempting to just stick them in the ground and hope for the best, but trust me, taking the time to improve your soil quality will make a world of difference.
Add some compost, make sure it drains well, and your hydrangeas will be the envy of the neighborhood.
18. Not adjusting care based on climate
I know you want the best for your hydrangeas, so don’t forget to consider your climate when tending to your plants.
Hydrangeas grown in hot, dry conditions may need more frequent watering to keep them happy and hydrated.
On the flip side, if you live in a colder region, your plants might require some extra protection to survive the winter months.
Be sure to adjust your care routine based on the unique challenges of your climate, and your hydrangeas will flourish!
19. Overusing chemical pesticides:
We all want to keep those pesky bugs and critters away from our beloved hydrangeas, but using too many chemical pesticides can do more harm than good.
Not only can it harm beneficial insects that actually help keep pests in check, but it can also throw off the natural balance in your garden.
Try using more natural pest control methods, and only reach for the chemicals as a last resort.
20. Not considering the mature size
It’s easy to fall in love with a tiny little hydrangea plant at the nursery, but don’t forget to think about how big it’s going to get!
I’ve seen too many people plant their hydrangeas without considering their mature size, and before they know it, they’re dealing with an overcrowded garden or constantly having to transplant their plants.
Do your research and make sure you’re giving your hydrangeas plenty of room to grow.
21. Ignoring the specific needs of different varieties
Last but not least, remember that not all hydrangeas are created equal!
Different varieties have different needs, so what works for one type of hydrangea might not work for another.
I know it can be overwhelming to keep track of all the different requirements, but taking the time to learn about the specific needs of your hydrangea variety will make a big difference in the long run.
Trust me, your plants will thank you for it!
22. Not providing adequate drainage
Hydrangeas are pretty sensitive when it comes to excess moisture, and if you don’t provide proper drainage, you might end up with some seriously sad-looking plants.
Root rot and other moisture-related issues can really take a toll, so make sure you plant your hydrangeas in soil that allows water to pass through easily. Your plants will thank you for it!
23. Ignoring the plant’s growth habit
Did you know that different hydrangea varieties have unique growth habits? It’s true!
Some are mopheads, others are lacecaps, and there are even climbing varieties.
When you’re planting and pruning your hydrangeas, it’s crucial to keep these differences in mind. I encourage you to research your specific variety and tailor your care routine accordingly.
By working with your plant’s natural growth habit, you’ll be rewarded with healthier, more beautiful hydrangeas in no time!
24. Failing to remove old, woody stems
Don’t neglect those old, woody stems. Over time, these stems can make your plant look a bit ungainly and may even hinder new growth.
By removing them, you’ll encourage your hydrangea to produce fresh, vibrant stems that will improve the overall health and appearance of your plant.
So, next time you’re out in the garden, take a few minutes to prune away those old stems and watch your hydrangea thrive!
25. Not providing enough water during establishment
If you’ve recently planted your hydrangeas, I want to remind you about the importance of consistent moisture during the establishment phase.
Your young plants are working hard to develop a strong root system, and they need plenty of water to make that happen.
Make sure to keep the soil evenly moist (but not soggy) while your hydrangeas settle into their new home. With a little extra TLC during this crucial period, you’ll set your plants up for long-term success!
26. Neglecting to refresh the soil:
I know you want to keep your plants looking their best, so don’t forget about the importance of refreshing the soil.
Over time, the soil can become depleted of essential nutrients, leaving your hydrangeas looking a bit lackluster. To keep your plants thriving, make sure to periodically add some compost or other organic matter to the soil.
This will give your hydrangeas the nutrient boost they need to produce those stunning blooms you love so much. Trust me, a little soil refresh can go a long way!