Inside: Discover essential tips for rubber plant care and learn how to successfully grow a thriving rubber plant in your home. Unlock the secrets to lush, green foliage.
Rubber plants, with their striking, glossy leaves, make a stunning addition to any indoor space. However, ensuring they thrive requires some specific care techniques.
In this post, we’ll guide you through the essentials of rubber plant care and provide expert advice on growing a healthy rubber plant.
Whether you’re a seasoned gardener or a beginner, these tips will help you cultivate a beautiful, vibrant plant.
About Rubber Plant
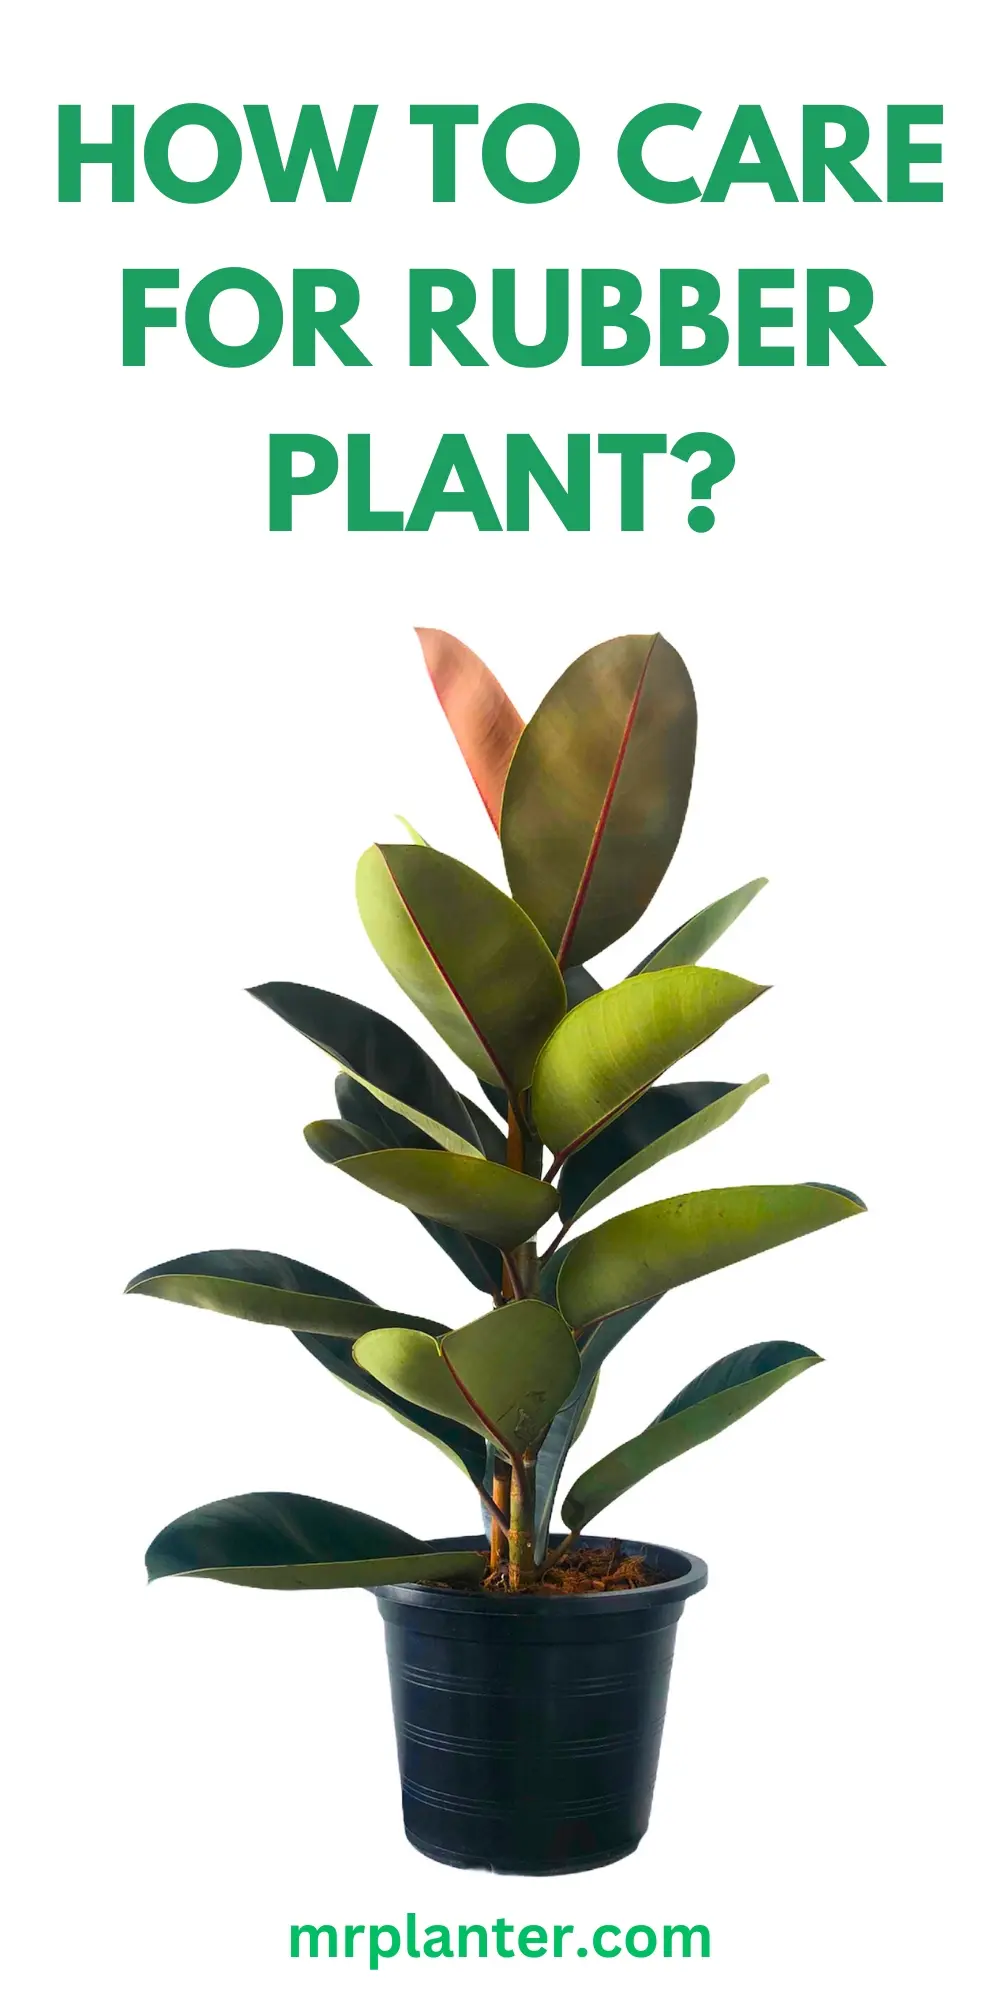
The rubber plant, also known as Ficus elastica, is a popular houseplant recognized for its broad, glossy leaves. There are a few species variants that you might find in homes and gardens.
The rubber plant is part of the Ficus genus, which includes various well-known plants like the fiddle-leaf fig. Ficus elastica is native to India and Southeast Asia, where it can grow to towering heights in its natural environment.
In a home setting, rubber plants are loved for their attractive foliage and can grow up to 10 feet tall indoors with proper care. They have thick, oval leaves that are usually dark green but can also feature shades of burgundy and pink.
These plants are known for their ability to purify indoor air, making them not only a beautiful addition to your space but also beneficial for your health. The rubber plant prefers bright, indirect light and well-draining soil to thrive indoors.
Species Variants
There are several variants of the rubber plant, each with slightly different characteristics. The most common type is the Ficus elastica ‘Decora’, which features large, glossy green leaves.
Another popular variant is the Ficus elastica ‘Burgundy’, which has dark, almost black foliage that can add dramatic contrast to your plant collection.
You might also encounter Ficus elastica ‘Tineke’, known for its striking variegated leaves in shades of green, cream, and pink. Each variant has similar care requirements but can offer a different visual appeal depending on your preference.
Getting Started to Plant Rubber Plant
Starting with the right tools and knowledge sets your Rubber Plant up for success. Focus on purchasing a healthy plant, selecting a suitable pot, and using the proper soil mix.
Selecting a Healthy Plant
When buying a Rubber Plant, look for one with bright, glossy leaves.
Avoid plants with brown spots, droopy leaves, or any signs of insects. Healthy leaves should be a rich green color and free from tears.
Check the plant for overall sturdiness by gently wiggling it. If it feels loose in the pot, it may be root-bound, which can cause problems.
Pro Tip: Look for new growth; this indicates a thriving plant.
Choosing the Right Pot
Pick a pot with good drainage holes at the bottom.
Rubber Plants dislike sitting in waterlogged soil. A pot that is 1-2 inches larger in diameter than the nursery pot is ideal.
Clay pots are good for drainage, but plastic pots hold moisture longer, which is beneficial in drier climates.
When choosing the pot, consider both aesthetics and functionality. The pot should complement your home’s decor while also being practical.
Rubber Plants thrive in well-draining, loamy soil.
A good mix includes 2 parts commercial potting soil, 1 part perlite, and 1 part pine bark. This blend ensures good drainage.
Ensure the soil pH is between 5.5 and 7. Most commercial potting soils are fine, but it’s helpful to mix in some extra pumice or perlite.
If making your own mix, avoid garden soil or heavy clay, which retain too much water. A well-draining soil mix helps prevent root rot.
Planting Your Rubber Plant
When you’re planting your rubber plant, it’s essential to choose the right pot and follow proper procedures to ensure healthy growth. Here are some detailed steps for potting and repotting.
Potting and Repotting Procedures
Use a well-draining pot with a drainage hole to prevent water from sitting at the bottom. For the soil, mix 2 parts commercial potting soil, 1 part perlite, and 1 part pine bark.
When potting, fill the pot halfway with soil mix. Place the rubber plant in the center and fill the rest with soil, pressing gently around the base. Water thoroughly.
Every 1-2 years, repot into a slightly larger container. Carefully remove the plant, shaking off old soil. Trim any tangled roots to encourage new growth. Make sure you use a fresh soil mix for repotting.
Rubber Plant Care Routine
Growing a healthy rubber plant involves understanding its watering needs, lighting conditions, temperature, humidity, and fertilization schedule. Following these key care routines will keep your rubber plant thriving.
Watering Needs
Rubber plants need consistent watering but be careful not to overdo it. Water the plant once the top inch of soil dries out. This helps prevent root rot, which can occur if the soil remains too wet.
Make sure your pot has drainage holes to allow excess water to escape. During the growing season (spring and summer), you might need to water more frequently. In fall and winter, reduce watering.
Keep an eye on the leaves. If they turn yellow, it might be a sign you’re watering too much. Always dump out any standing water in the saucer beneath the pot.
Lighting Conditions
Rubber plants prefer bright, indirect light but can also tolerate lower light conditions. Place your plant near a window with filtered light.
Direct sunlight can scorch the leaves, so avoid too much exposure.
If your plant doesn’t get enough light, it may become leggy and the leaves might drop. In low light, consider using a grow light to supplement natural light.
Rotate your plant occasionally to help it grow evenly. This ensures all sides get exposed to light, maintaining a balanced shape.
Temperature and Humidity
Rubber plants like warm, humid environments. They do well in temperatures between 60°F to 75°F (15°C to 24°C). Avoid placing them in drafty areas or near vents where the temperature fluctuates.
To maintain humidity, mist the leaves regularly or place the pot on a tray filled with pebbles and water.
In dry indoor conditions, consider using a humidifier to keep the air moist.
Cold drafts can stress your rubber plant and cause leaf drop, so keep it away from open windows during winter.
Fertilization Schedule
Feed your rubber plant with a balanced, water-soluble fertilizer every 4-6 weeks during the growing season.
Use a general-purpose fertilizer at 1/4 to 1/2 strength to avoid over-fertilization.
Spring and summer are the best times to fertilize. Reduce feeding in the fall and stop in winter when the plant’s growth slows down.
Always follow the instructions on the fertilizer package and never apply more than recommended. Over-fertilizing can damage the roots and lead to poor plant health.
Pruning and Maintenance
Keeping your rubber plant healthy and well-maintained involves regular pruning, preventing pests, and cleaning the leaves. Proper care helps boost growth and keeps your plant looking its best.
Pruning Techniques
Pruning is essential for shaping your rubber plant and ensuring it stays lush.
Always use sterilized pruning shears to avoid spreading diseases. Start by cutting just above a leaf node or stem junction, which encourages new growth. Remove any dead, diseased, or leggy branches first.
For a bushier plant, prune frequently and make cuts at the desired height. Propagating new cuttings from pruned branches back into the pot can also help fill out your plant.
Prune mainly in the spring when the plant is actively growing to avoid stressing it.
Pest Prevention
Rubber plants can occasionally attract pests like spider mites, mealybugs, and aphids.
Inspect your plant regularly for any signs of these pests. If you notice any, isolate the plant to prevent spreading and treat it promptly.
Use insecticidal soap or neem oil to get rid of pests. Avoid over-watering since damp conditions can attract pests.
Keeping your plant healthy with proper light and care can also make it less prone to pest infestations.
Cleaning the Leaves
Dust and grime can accumulate on the large, broad leaves of your rubber plant. Cleaning the leaves not only makes your plant look nicer but also helps it photosynthesize better.
Wipe down the leaves with a damp cloth every couple of weeks.
For a deeper clean, you can use a solution of a few drops of dish soap mixed with water. Gently wipe each leaf to remove any stubborn dirt.
Avoid using commercial leaf shine products as they can clog the pores of the leaves.
Troubleshooting Common Issues of Rubber Plant
Rubber plants sometimes face problems like yellowing leaves, drooping, and leaf loss. Fixing these problems can keep your plant healthy and looking great.
Yellowing Leaves
Yellowing leaves can mean your rubber plant is not happy with its environment. Common causes include overwatering or underwatering.
Too much water can lead to root rot, while too little causes dehydration. Check the soil moisture by sticking your finger an inch deep in the soil.
If it feels dry, it’s time to water. If wet, let the plant dry out a bit before the next watering.
Another issue can be poor light. Rubber plants need bright, indirect sunlight.
If your plant is in a dark spot, move it closer to a window but out of direct sunlight. This could also be a sign of nutrient deficiency. Feeding your plant with a balanced fertilizer once a month can help.
Drooping or Wilting
Drooping or wilting leaves are often signs of water stress. This can mean either too much or too little water. Check the soil.
If it’s soggy, reduce watering and ensure your pot has good drainage. On the other hand, if the soil is dry and crumbly, increase your watering frequency.
Temperature can also play a role. Rubber plants prefer temperatures between 60-75°F (16-24°C).
If your plant is too cold or too hot, you may see drooping leaves. Additionally, low humidity can cause leaves to wilt.
Maintain moderate humidity by misting your plant or placing a humidifier nearby.
Leaf Loss
Leaf loss in rubber plants can be alarming but is often fixable. Overwatering is a frequent cause.
When roots are waterlogged, they can’t supply enough oxygen to the leaves, causing them to fall. Ensure your plant isn’t sitting in water and that the soil drains well.
Another cause is sudden environmental changes. Rubber plants don’t like to be moved suddenly or exposed to drafts.
Keep your plant in a stable, draft-free spot. Nutrient deficiencies can also result in leaf drops. Using a balanced liquid fertilizer during the growing season can solve this issue.
Rubber Plant Propagation Methods
There are a couple of effective ways to propagate rubber plants: stem cuttings and air layering. These methods can help you grow new plants from your existing one.
Stem Cuttings
Stem cuttings are a popular way to propagate rubber plants. You’ll need a healthy stem that’s at least six inches long with several leaves.
Make a cut at a 45-degree angle just below a leaf using sharp pruning shears. This angle increases the surface area for rooting.
Remove any leaves near the base of the cutting. Dip the cut end into rooting hormone to encourage root growth.
Then, place the cutting into a pot filled with a mix of soilless potting mix and perlite. Keep the soil moist but not waterlogged.
Place the pot in a bright area with indirect sunlight. You should see roots developing in a few weeks. Change the water every few days if you choose to propagate in water instead.
Air Layering
Air layering is another method that works well for rubber plants. Find a healthy stem and make a cut around 12 to 18 inches from the tip.
Remove any leaves around the area you’re cutting. Using a sharp knife, make a cut around the stem but don’t cut all the way through.
Wrap moist sphagnum moss around the cut area. Cover the moss with plastic wrap to keep it moist. Secure the plastic wrap with ties or tape. Keep checking the moss to make sure it stays damp.
Place the plant in a bright, indirect light location. Roots should start forming in a few weeks.
Once roots are visible through the moss, cut the stem below the roots and plant it in a pot with fresh soil. Keep the soil moist and place it in a bright spot.
I’m Anirban Saha, the Founder and Owner of MrPlanter.com. I pay the bills as a software developer, although my BTech is actually in Electronics and Communication. I really love my day job, but what gives me energy every day is interacting with my indoor plants and taking care of them. I have been successfully nurturing and maintaining houseplants for over 10 years now.
📚🔍 Our content undergoes thorough review and fact-checking before publication. For additional details, explore our strict Editorial Policy to deliver helpful content. 📝🔒