Inside: Discover how to grow and care for spider plants. Learn essential tips for watering, light, and propagation to keep your spider plants thriving.
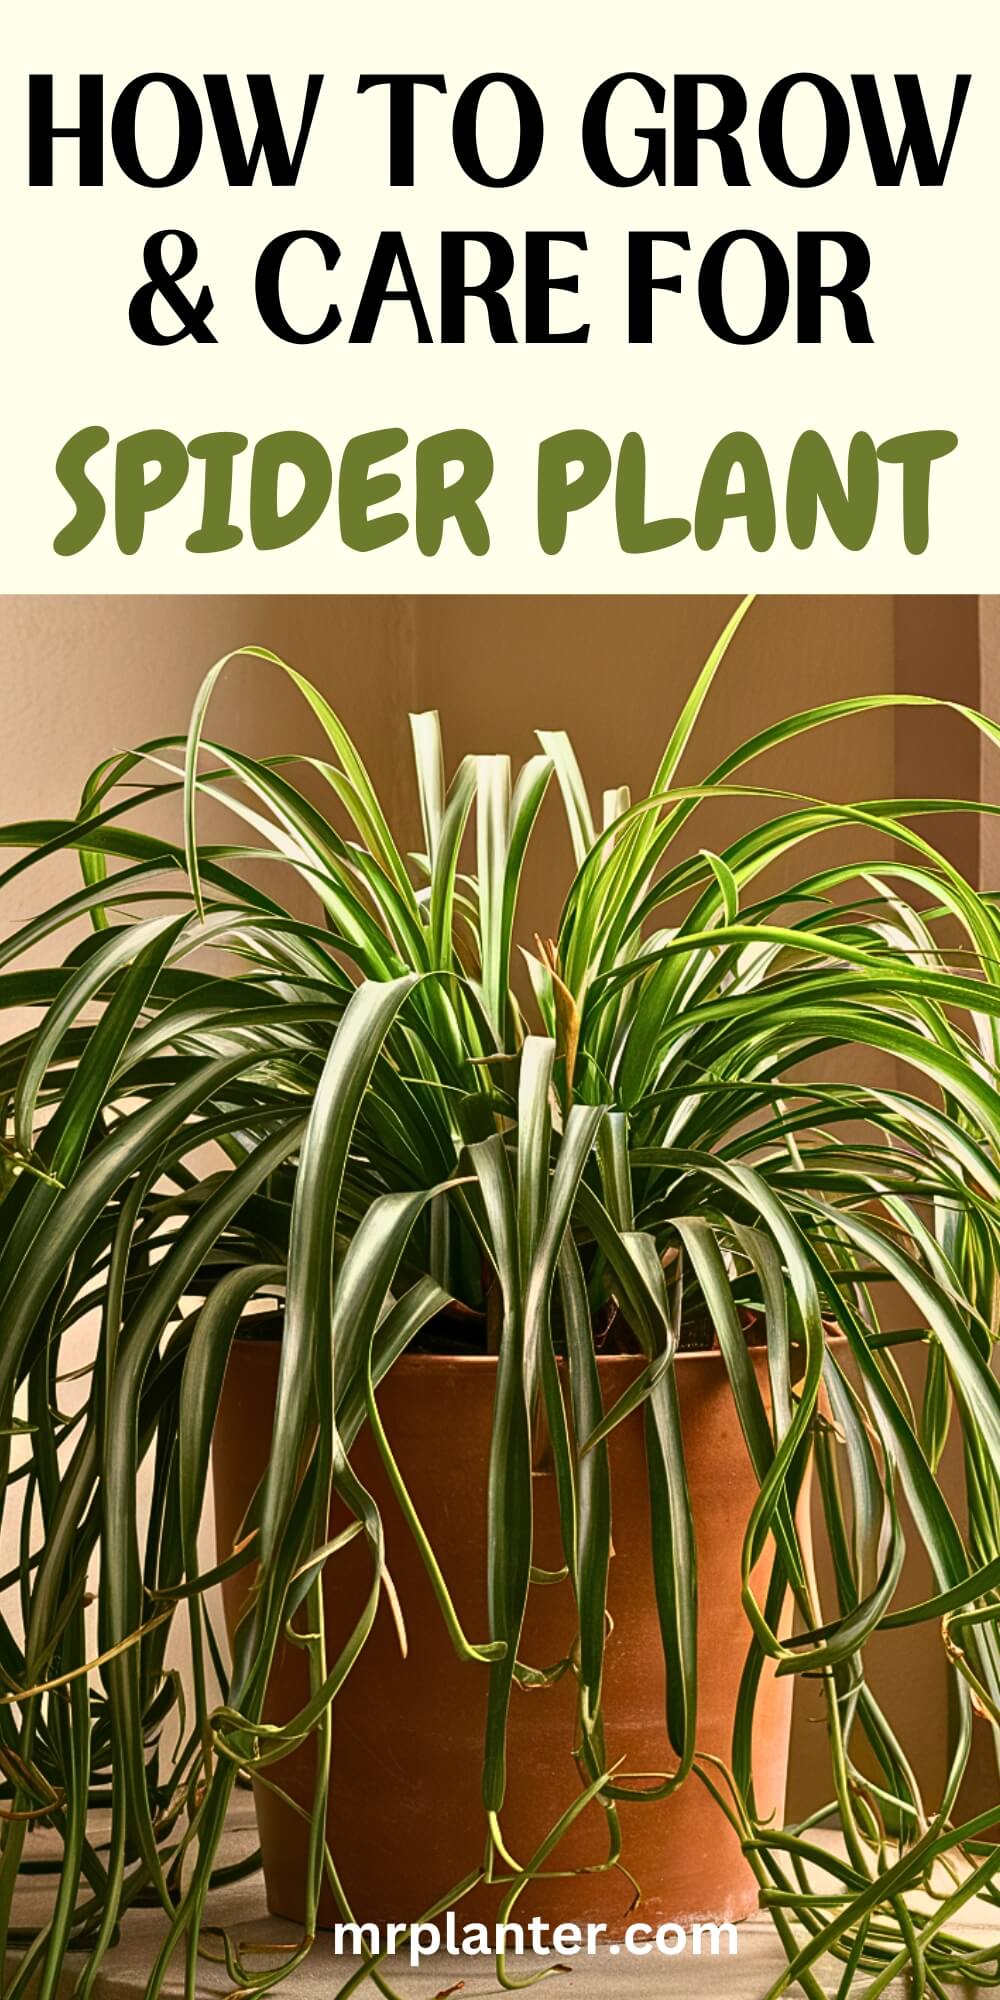
Spider plants are not just easy to grow; they’re also incredibly rewarding. These cheerful, cascading plants can brighten up any space with their arching leaves and tiny “spiderettes.”
Whether you’re a beginner or an experienced plant parent, spider plants offer a perfect blend of beauty and low-maintenance care that’s hard to resist.
Understanding Spider Plants
Spider plants are popular for their easy care and unique look. You’ll appreciate the simplicity they bring to your indoor garden while adding a touch of green beauty.
| Characteristic | Description |
|---|---|
| Scientific Name | Chlorophytum comosum |
| Common Name | Spider Plant |
| Leaf Type | Long, grassy, often green-and-white-striped |
| Flower | Small, white flowers |
| Growth Habit | Arching leaves with trailing stems |
| Size | Width: 8–18 in, Height: 0.2–1.0 in |
| Air Purification | Effective at purifying indoor air |
| Care Level | Low-maintenance, easy-care |
| Root System | Thick, fleshy, tuberous roots |
| Lifespan | Perennial |
Getting Started With Spider Plant
Spider plants are great for beginners because they are easy to care for and can thrive in various conditions. Here’s how to choose the right plant and meet its potting and soil needs.
Choosing the Right Plant
When picking a spider plant, look for bright green leaves without brown tips. Healthy plants should have firm, white roots. You can often find spider plants at nurseries or garden centers.
Spider plants come in varieties like the classic green or those with white stripes. Choose the type you like best.
Plantlets or “offspring” from a mother plant can be a budget-friendly option.
Ensure it’s pest-free. Check under the leaves for signs of insects or disease and avoid plants with any damage.
Potting and Soil Requirements
Use a pot with drainage holes to prevent waterlogging. Spider plants prefer well-draining soil. A mix of regular potting soil with a bit of perlite works well.
When potting, place the plant’s roots in the center of the pot and fill it with soil. Press the soil down gently to secure the plant. Water it thoroughly until water drains out.
Repotting every couple of years helps manage root growth. Choose a pot slightly larger than the current one to give the roots space to expand. Avoid going too big as it can hold too much moisture and cause root rot.
Light and Temperature
Spider plants thrive best with bright, indirect light and moderate temperatures.
Proper lighting ensures healthy growth, while maintaining the right temperature helps prevent stress on your plant.
Ideal Lighting Conditions
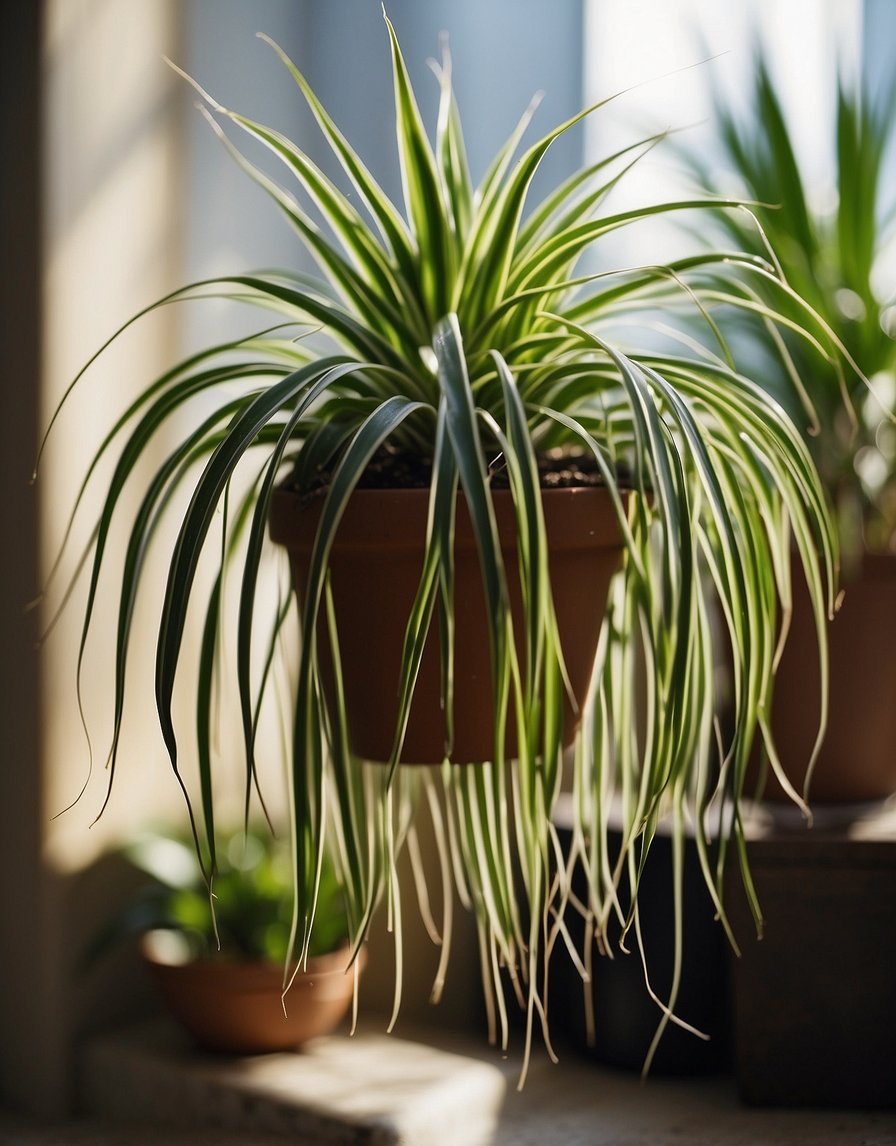
Spider plants love indirect sunlight. Place them near a window that gets plenty of light but not direct sun.
Direct sunlight can burn their leaves, causing brown tips and spots.
You can also grow spider plants under fluorescent lights if your home doesn’t get much natural light. Just make sure the light isn’t too intense.
Keep a distance of about 12 inches between the light source and your plant. If the leaves start to lose their vibrant green color, it might mean they need more light.
Temperature Tolerance
Spider plants do well in temperatures between 60°F to 80°F (16°C to 27°C). They’re pretty tolerant of changes in temperature, but don’t let it drop below 50°F (10°C) or rise above 90°F (32°C).
Keep your spider plant away from cold drafts or hot radiators. Sudden temperature changes can stress your plant, causing the leaves to wilt or turn yellow.
If the air in your home is too dry, consider placing a humidifier nearby to maintain humidity around 50-60%. This helps keep the leaves from getting crispy and dry.
Watering and Feeding
Spider plants need regular watering and occasional feeding to thrive. To keep your plant healthy, follow a consistent watering schedule and use the right fertilizers at the right times.
Watering Schedule
Spider plants like their soil to be kept evenly moist. Water your plant when the top inch of soil feels dry to the touch.
Avoid overwatering as it can cause root rot.
It’s best to use room temperature water and make sure any excess water can drain out from the pot.
You should water more frequently in summer as the plant may dry out faster. In the winter, your plant will need less water. Adjust based on the humidity and temperature of your home.
Always watch for signs of underwatering such as brown leaf tips.
Fertilizing Tips
Feed your spider plant with a balanced, water-soluble fertilizer every month during the growing season, which is usually from spring to early fall.
Dilute the fertilizer to half the recommended strength to avoid nutrient burn.
In winter, reduce feeding to once every two months, as the plant’s growth slows down. Look for fertilizers labeled 10-10-10 or 20-20-20 for best results.
Avoid over-fertilizing, as it can harm your plant. Watch for healthy, green growth as a sign your feeding schedule is working.
Pruning and Maintenance
Pruning and maintaining your spider plant helps keep it healthy and looking good.
Regularly pruning dead leaves and trimming plantlets can encourage growth and prevent overcrowding.
Pruning Techniques
When pruning your spider plant, focus on removing any dead or yellowing leaves. Use sharp scissors or shears to make clean cuts close to the base.
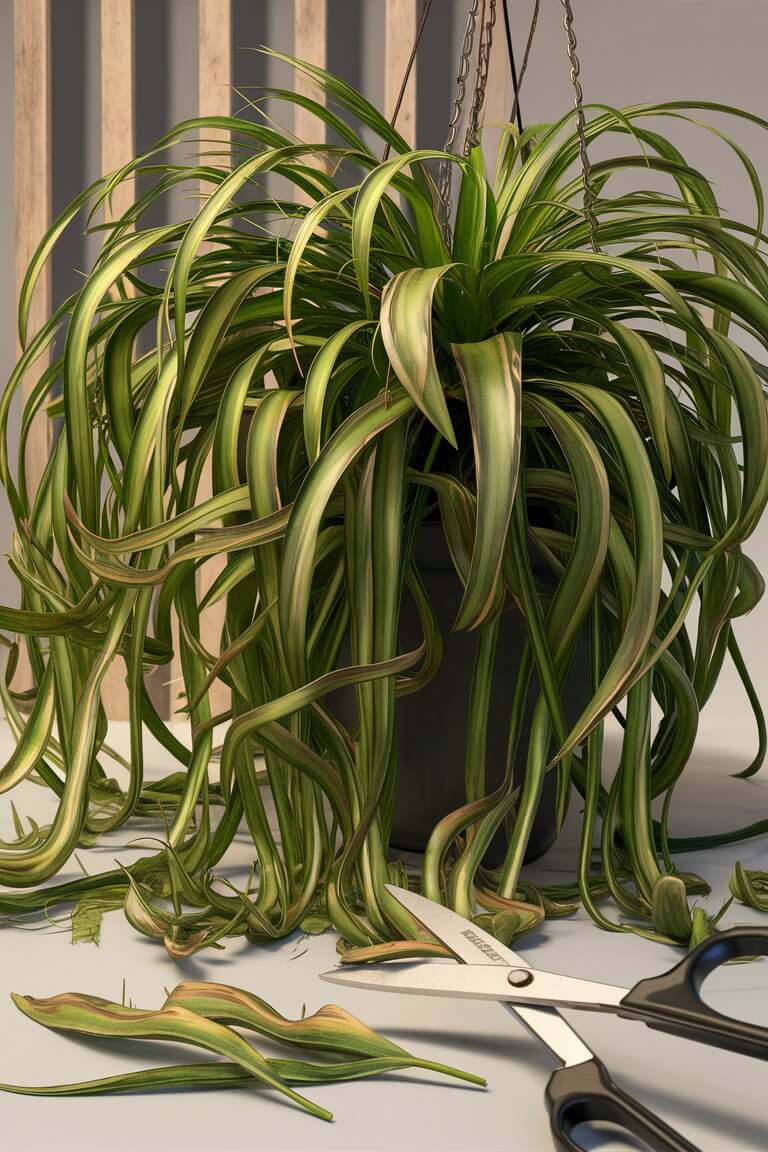
If you see baby spider plants, also known as plantlets, growing off the main plant, you can cut these off if they crowd the pot.
Snip the stem connecting the plantlet to the parent plant near the base. After cutting, you can either throw away the plantlet or try to propagate it in a new pot.
If your spider plant’s leaves start turning brown at the tips, check if it needs repotting. Roots growing at the bottom of the pot can cause crowded conditions. Remove the plant from its pot and trim the long roots, making sure to keep the plant’s root system healthy.
General Maintenance Tips
Keeping your spider plant in bright to moderate indirect sunlight is essential. Direct, hot sunlight can burn the leaves, causing brown tips.
Water your spider plant thoroughly, but allow the soil to dry a bit between waterings.
Spider plants prefer slightly humid environments, so an occasional misting can be beneficial.
Using a well-draining potting mix prevents root rot. If you notice your plant’s leaves are drooping, it might need more water.
Propagation
Spider plants can be propagated easily through different methods. This guide will help you understand how to create new plants using the plant’s baby spiderettes.
Propagation Methods
There are three main ways to propagate spider plants: water, soil, and division.
1. Water Method: Cut off the baby spiderette close to the parent plant. Place the cutting in a glass of water. Make sure the water covers the base of the spiderette.
Roots will usually form within 7 to 10 days. Change the water every few days to keep it fresh. Once roots are visible, the spiderette is ready to be potted.
2. Soil Method: Cut the spiderette as close to the stem as possible.
Fill a pot with a slightly moistened mix of potting soil and equal parts perlite and vermiculite.
If you have rooting hormone, dip the base of the spiderette in it before planting. This helps speed up the rooting process.
Stick the cut end into the soil, making sure it’s secure. Keep the soil moist but not waterlogged.
3. Division Method: Remove the parent plant from its pot. Gently separate the root ball into sections using your hands or a pruner.
Each section should have a good amount of roots and leaves. Plant each section in its own pot filled with potting soil. Water well after planting.
Potting New Spiderettes
When potting new spiderettes, use small pots to encourage quicker root development. Fill the pots with well-draining potting soil.
- Water Method: After roots have formed in water, gently move the spiderette to a small pot with soil. Be careful with the delicate roots.
- Soil Method: Ensure the soil is kept moist initially to help roots establish.You may cover the pot with a plastic bag to create a humid environment, which aids rooting.
- Division Method: Keep new divisions in a warm spot with indirect light. Water well but avoid overwatering.
Troubleshooting Common Issues
Spider plants are usually low-maintenance, but sometimes they can run into problems.
It’s important to know how to deal with pests and prevent diseases to keep your spider plant healthy.
Pest Problems
Spider plants can attract pests like aphids, spider mites, and mealybugs. These pests can cause leaves to become discolored or sticky.
- Aphids: Small green, black or white insects that suck the sap from leaves. You can remove them by spraying a mixture of water and a few drops of dish soap.
- Spider mites: Tiny red or white pests that create fine webs on the plant. They thrive in dry conditions, so you should increase humidity and wipe leaves with a damp cloth.
- Mealybugs: White, cotton-like pests that cluster on leaves and stems. Use rubbing alcohol on a cotton swab to dab the bugs and remove them.
Disease Prevention
Spider plants can suffer from diseases like root rot, caused by overwatering, and leaf diseases from fungus.
- Root Rot: Happens when roots are constantly wet. Signs include yellowing leaves and soft, brown roots. To fix this, you should remove the plant from its pot, cut away affected roots, and repot in fresh, well-draining soil.
- Leaf Fungus: Can happen in high humidity. Look for brown spots with yellow edges. Remove affected leaves and make sure your plant has good air circulation.
Design and Decorating
Spider plants not only purify the air but also add a touch of green to your home decor.
Here are some ways to display them creatively and pair them with other plants for a visually appealing effect.
Display Ideas
Spider plants are versatile and can be displayed in many ways.
Hanging baskets are a popular choice because the plant’s long, arching leaves create a beautiful cascade effect. This works well in living rooms or near windows where the plant can get indirect light.
Another idea is to use decorative pots that match your interior decor. Ceramic pots in bold colors or patterns can make the plant a focal point in any room. For a minimalist look, you can also use sleek, white or metallic pots.
If you have limited space, consider wall-mounted planters. These planters save floor space and can add greenery to vertical spaces like kitchen walls or hallways.
Companion Planting
Pairing spider plants with other houseplants can create a lush and attractive display.
Ferns and Pothos:
Ferns and pothos are good companions for spider plant. They also prefer similar light and water conditions.
Pots with varied heights and textures can create an interesting and layered look.
Succulents and cacti:
Succulents and cacti can be added to the mix for variety. But remember they need less water.
Grouping spider plants with these drought-tolerant plants can still work if you place them in separate pots within the same area.
Basil or Mint:
You can also use herbs like basil or mint if you have a sunny kitchen window.
This combo provides both beauty and functionality. It allows you to snip fresh herbs while enjoying the greenery.