As an Amazon Associate, MrPlanter.com earns from qualifying purchases.
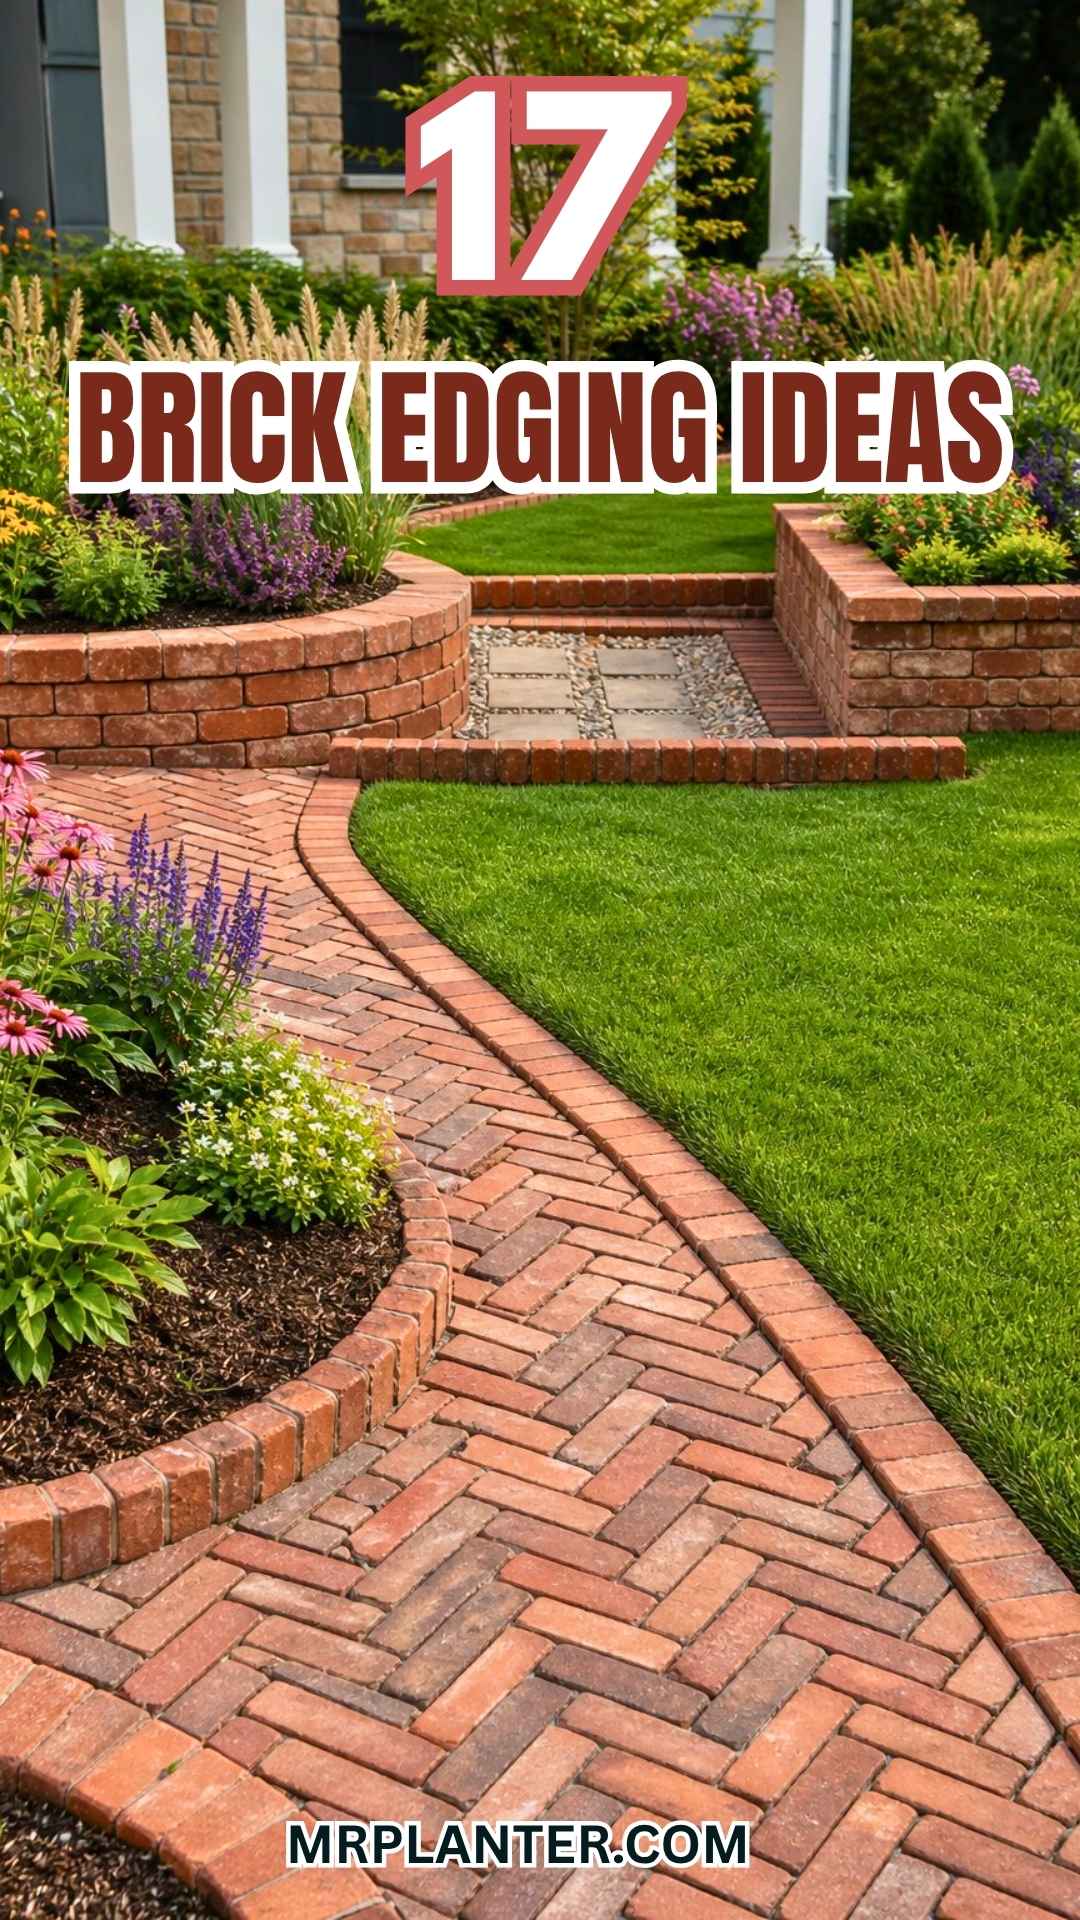
Brick edging gives your garden a crisp frame while keeping soil, mulch, gravel, and grass in their proper places. You can use a single row for a quiet border, stack bricks for height, or arrange them in patterns that add a little personality to a plain bed.
The best brick edging idea matches your yard’s shape, mowing routine, and drainage needs. A well-set base keeps the bricks level, while the right layout makes curves, paths, trees, and raised beds look intentional.
1. Diagonal Soldier-Course Brick Border
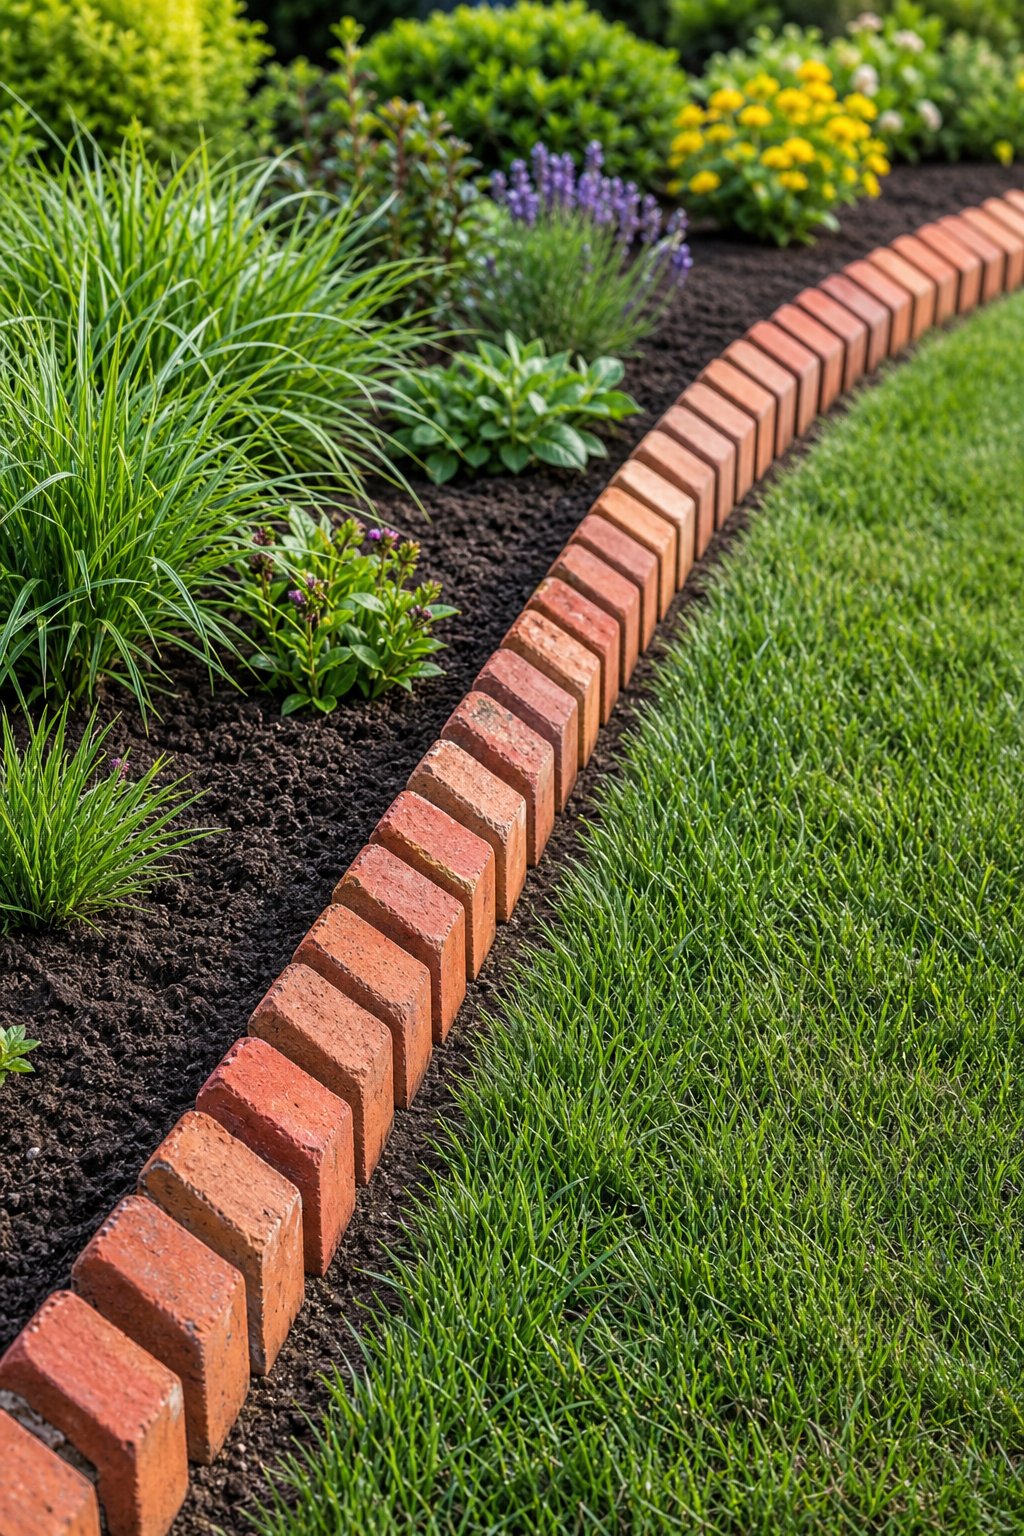
A straight garden edge can feel a little sleepy, and diagonal bricks wake it up fast. Set each brick upright at a slight angle so the tops form a repeating zigzag along the bed. The pattern suits cottage gardens, curved lawns, and flower beds filled with loose, natural planting.
Dig a narrow trench and bury about one-third of each brick. A compacted sand base helps keep the row steady, while a rubber mallet lets you adjust each piece without cracking it. Keep the angles consistent so the border looks planned instead of like the bricks wandered into the yard.
Expert Tip From MrPlanter: “Run a string line beside straight edges to keep the rhythm even. For curves, place the bricks close together and adjust the angle gradually.”
2. Flush Double-Brick Mower Strip
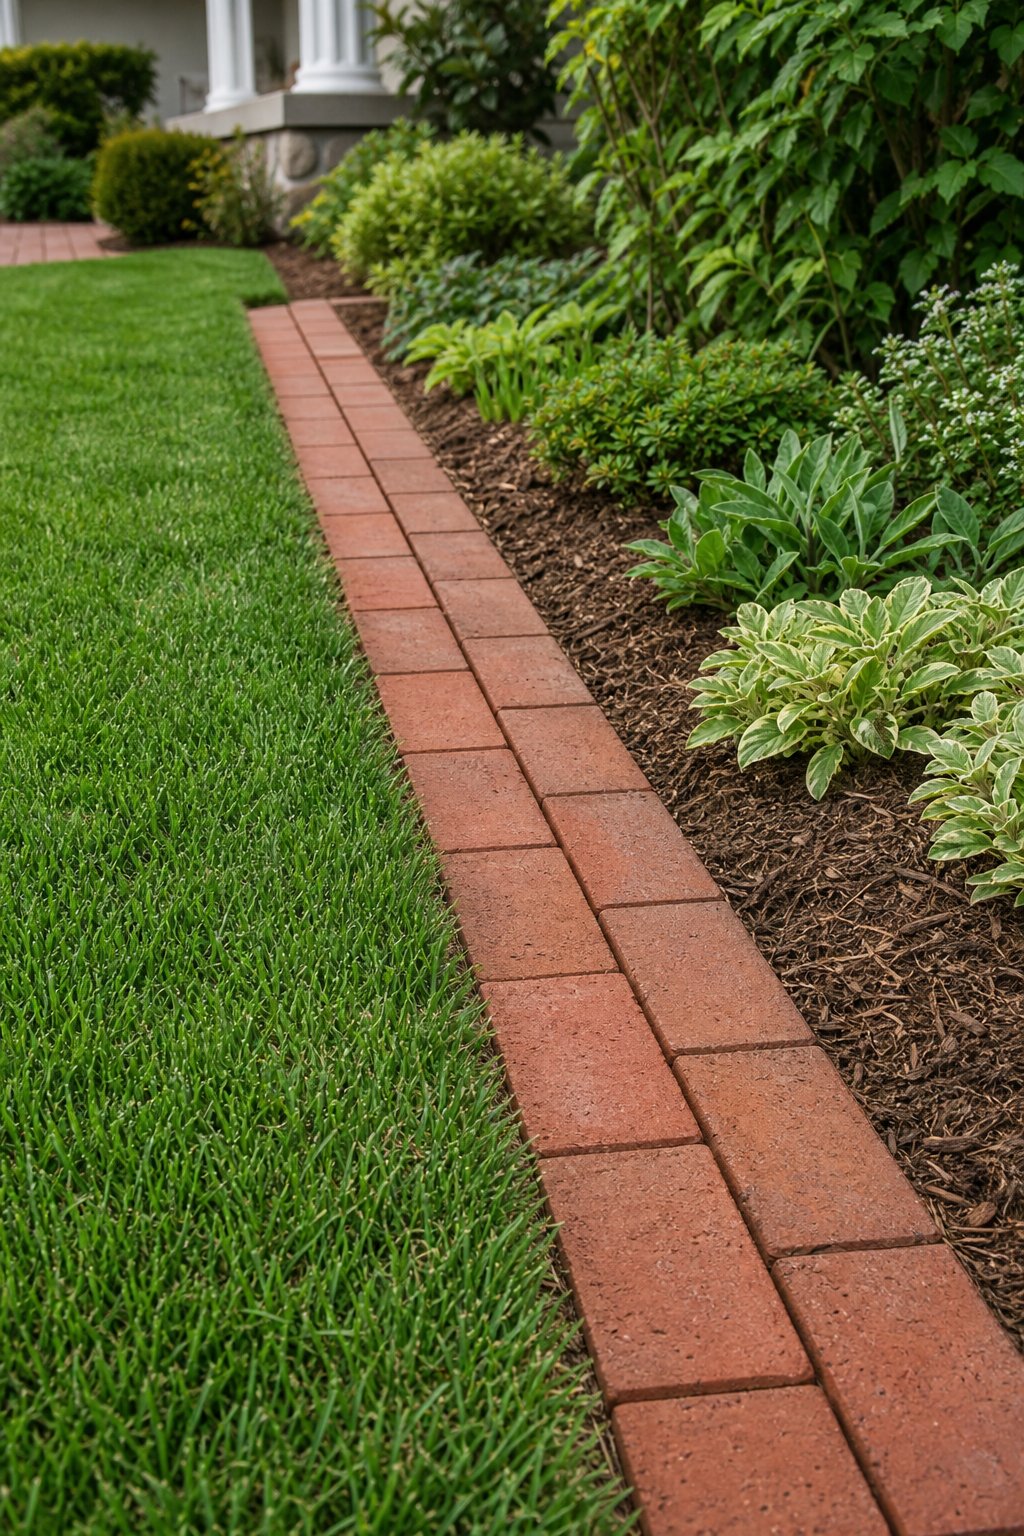
Grass sneaking into a flower bed turns trimming into a weekly treasure hunt. A double row of flush bricks creates a clean mowing strip that lets your mower wheel ride close to the plants. Lay two bricks side by side on a level, compacted base, with their top faces even with the lawn.
This arrangement works well around rectangular beds and broad curves. Sweep sand into the joints, then check the height with a straight board before you finish. Any brick sitting high becomes a mower bump, while a low spot collects soil and grass clippings.
Expert Tip From MrPlanter: “Set the bricks level with the turf, not above it. A narrow gap between the rows gives you room to correct small shifts later.”
3. Flat-Laid Brick Edge Along a Gravel Path
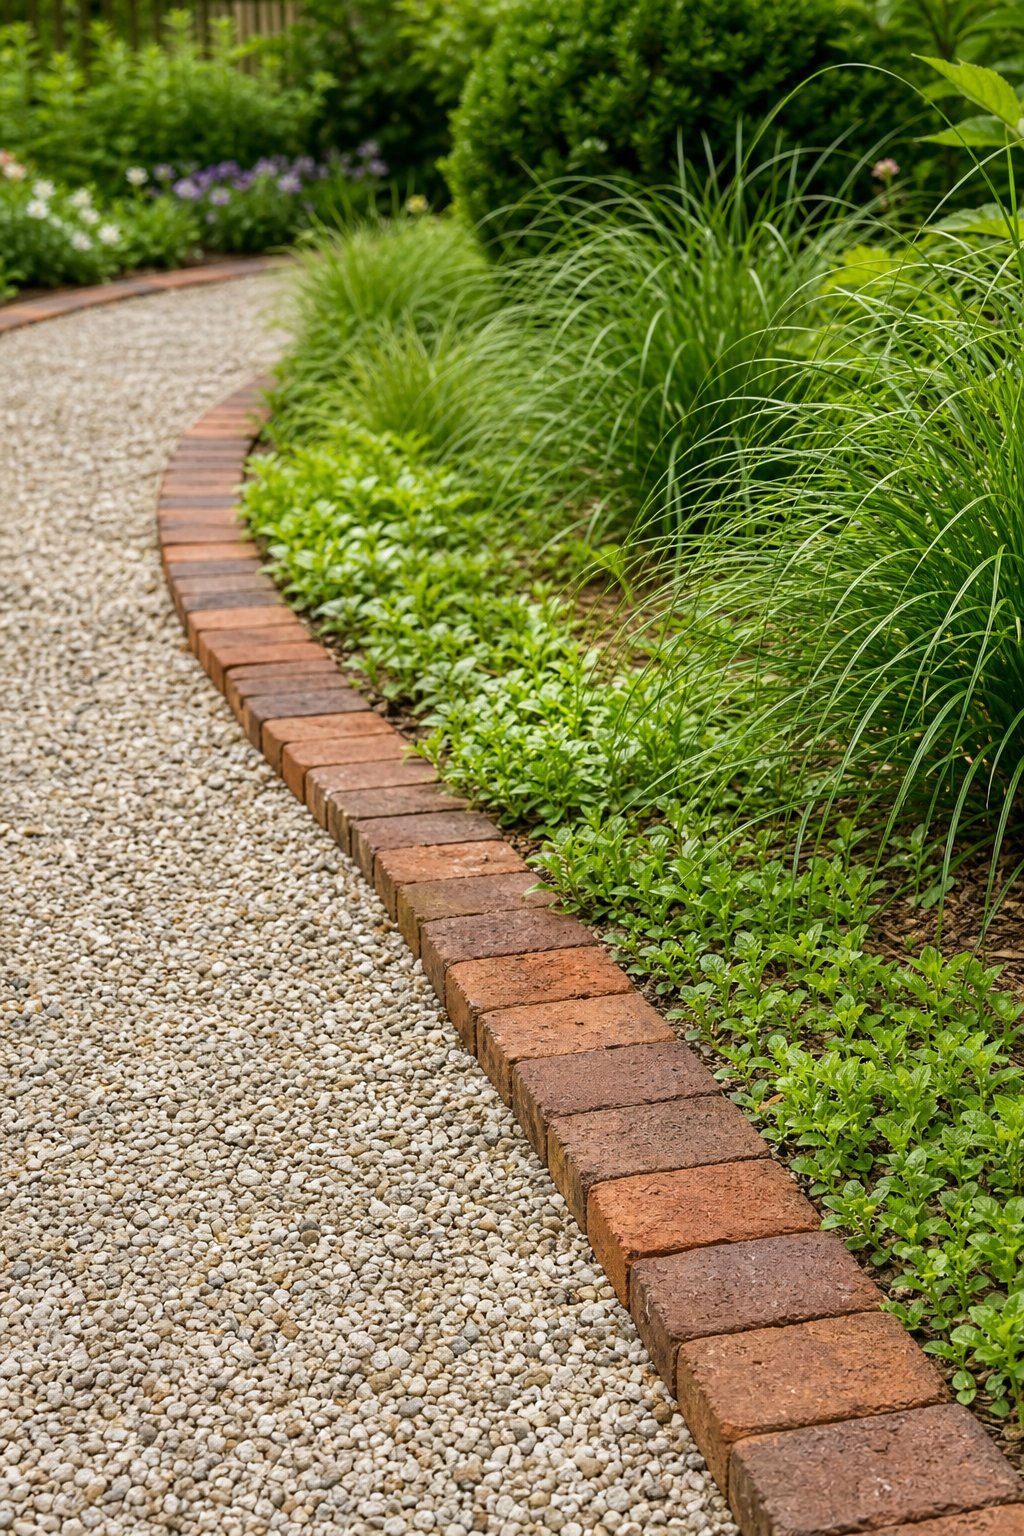
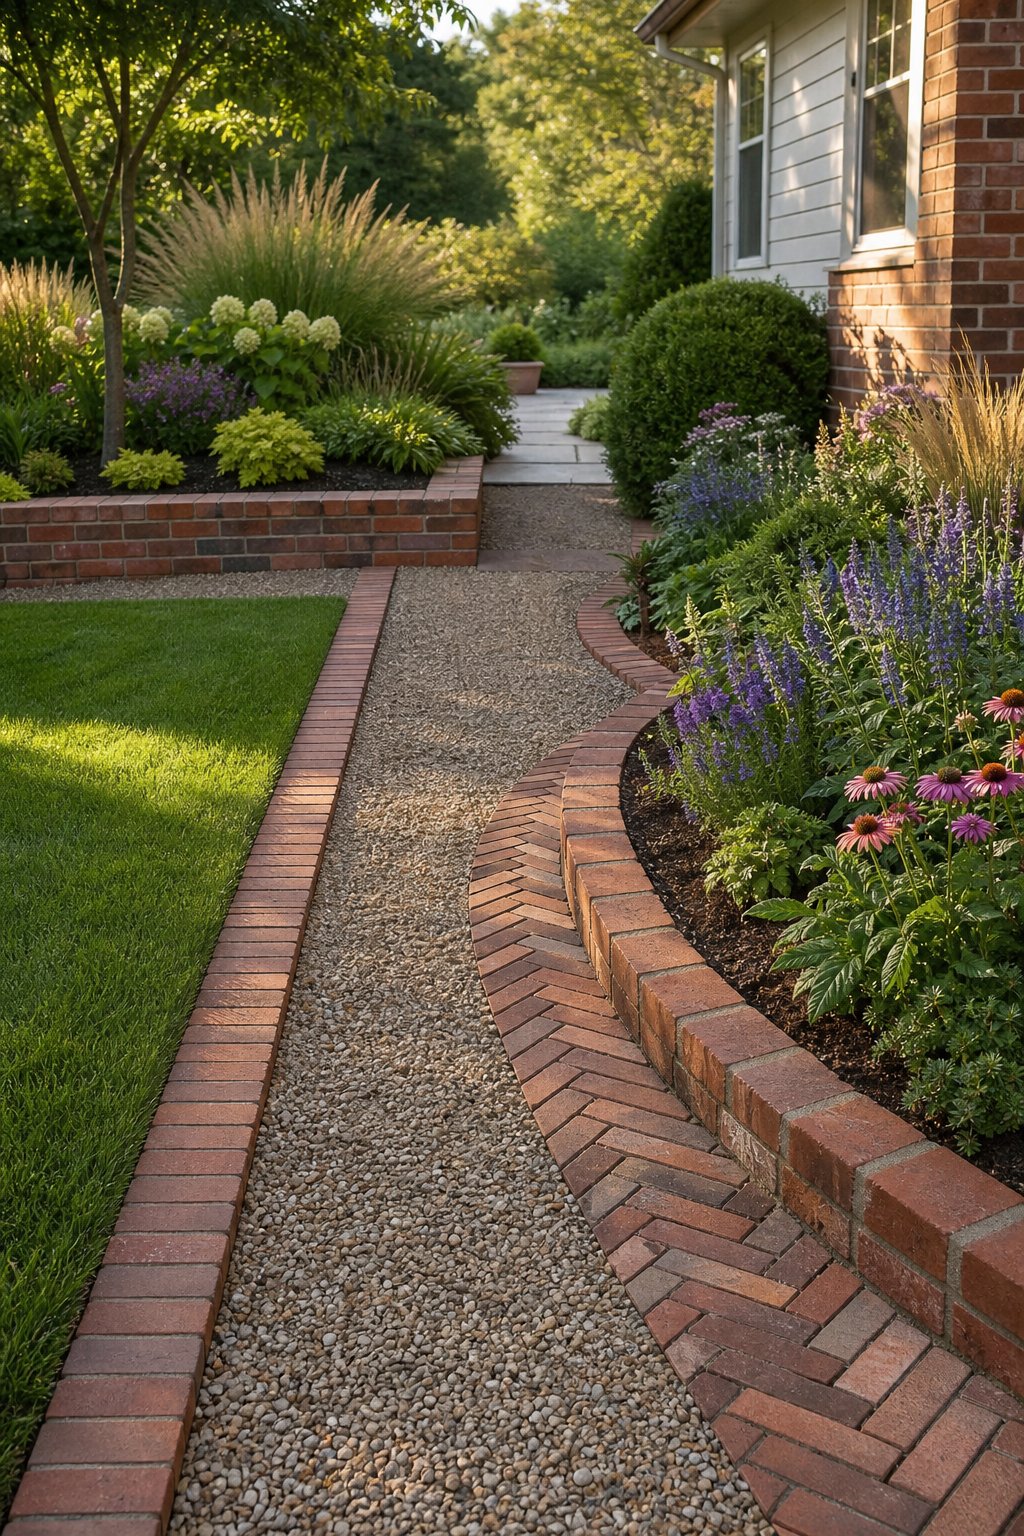
Loose gravel has a talent for escaping onto lawns and flower beds. Flat-laid bricks give the path a firm boundary and keep the stones where your feet need them. Place the bricks lengthwise on compacted gravel or sand, with the long face following the path.
Use a board to check that the edge stays straight as you work. For a curved walkway, use shorter brick sections or leave tiny, even joints between pieces. This style pairs neatly with gravel landscaping ideas when you want a low-maintenance path with a warm, traditional border.
Expert Tip From MrPlanter: “Compact the base in thin layers before laying the bricks. If the path carries a lot of foot traffic, sweep polymeric sand into the joints.”
4. Upright Brick Edging for Curved Flower Beds
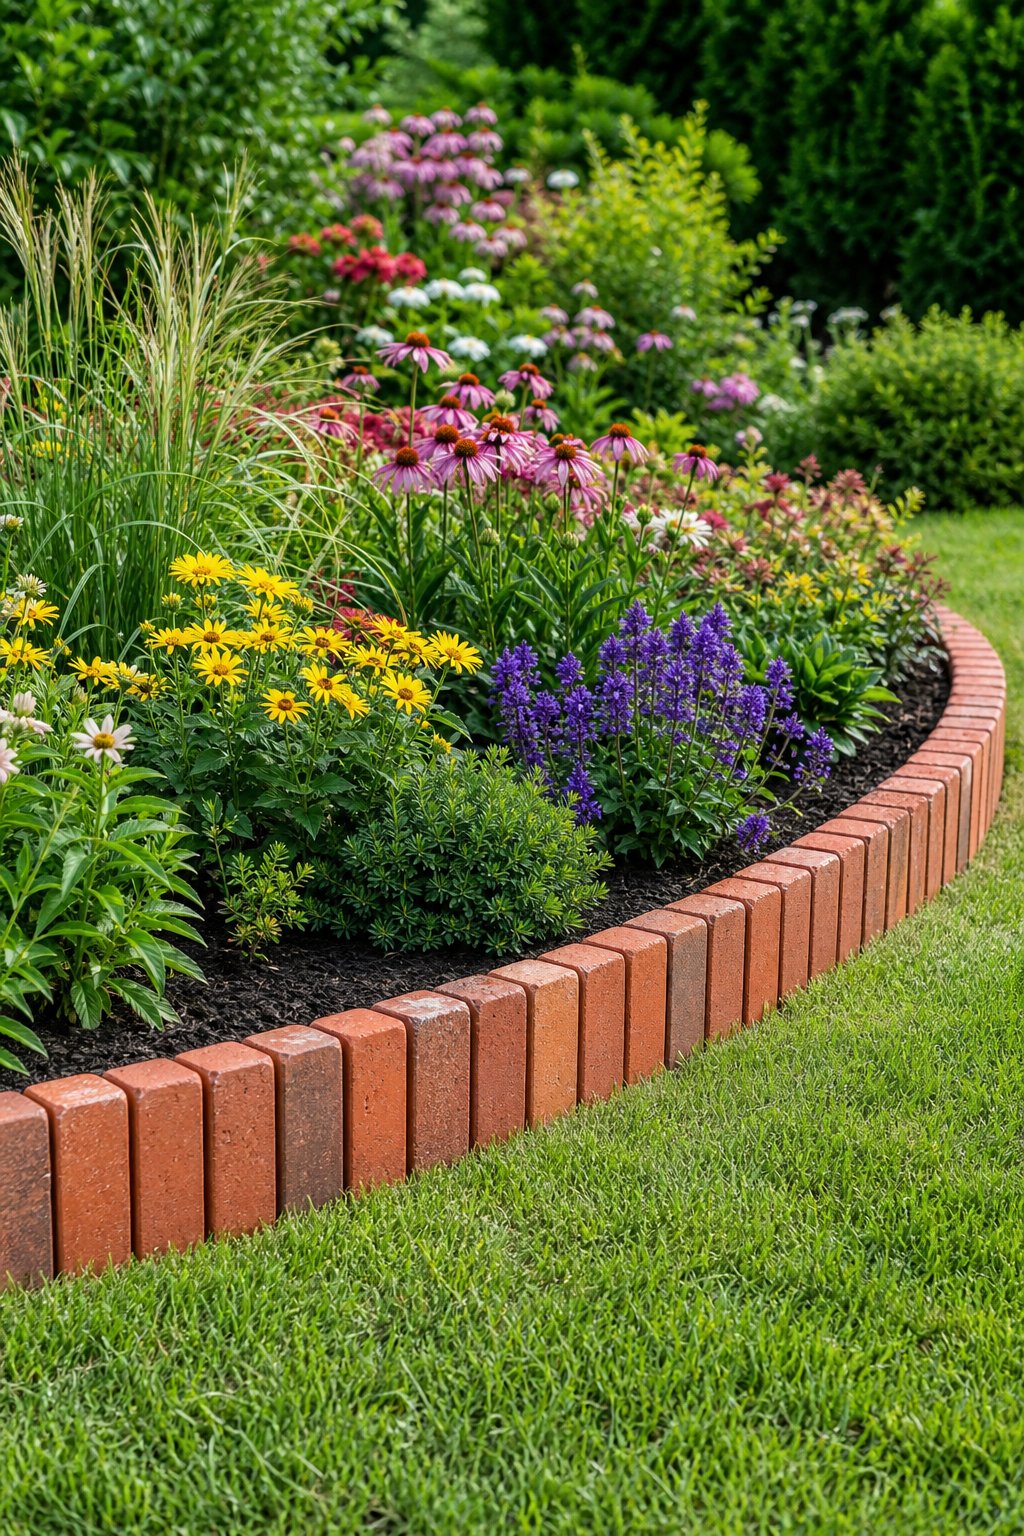
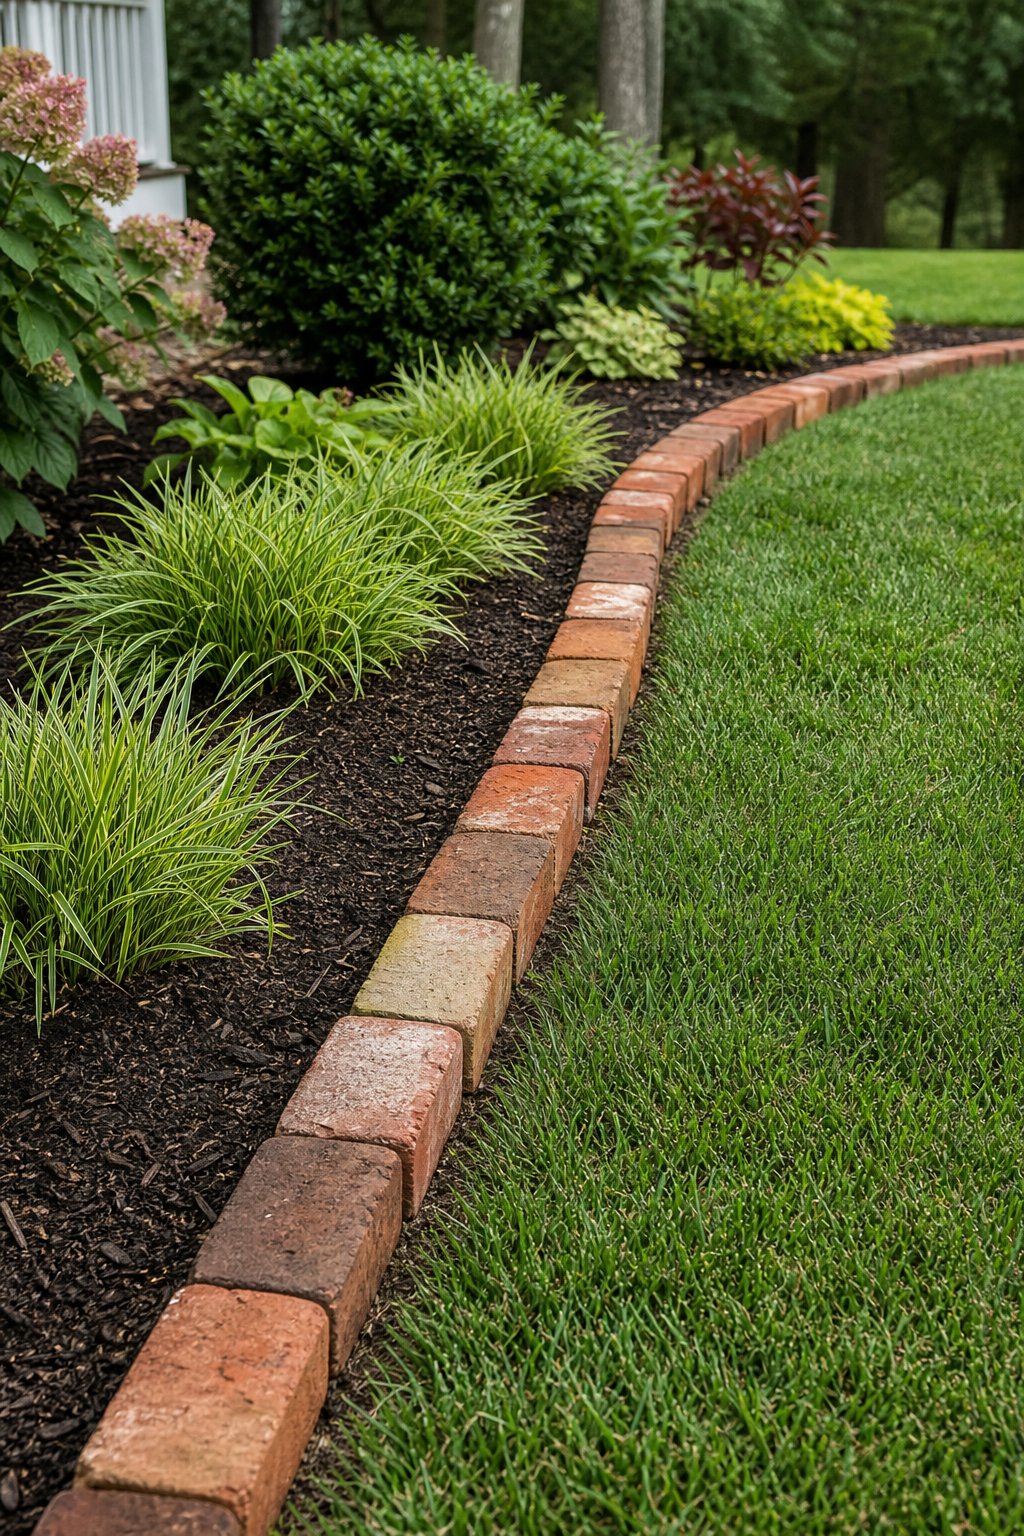
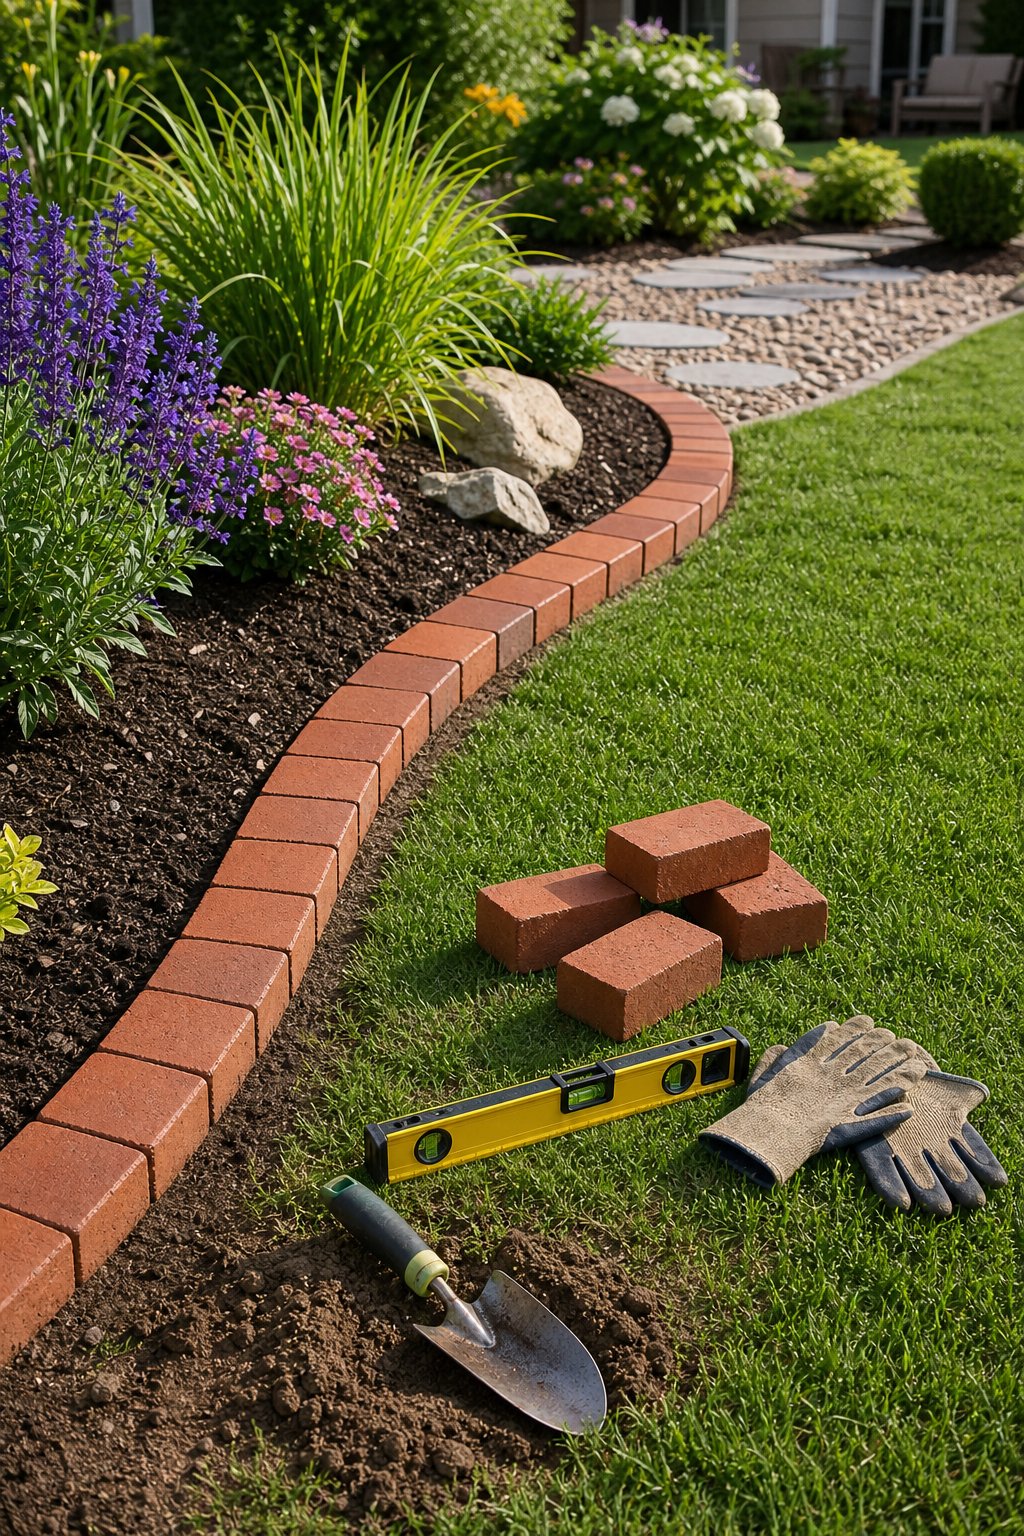
Curves look graceful until your edging starts forming corners. Upright bricks solve that problem by turning slightly with the bed and creating a clear, narrow wall. Trace the curve with a garden hose first, then dig the trench along its outside edge.
Bury one-third of each brick for a dry-set border that holds soil and mulch in place. Smaller curves need tighter spacing between bricks, while broad sweeps allow a smoother line. The warm red faces also look good beside lavender, ornamental grasses, and soft cottage flowers.
Expert Tip From MrPlanter: “Check the curve from several steps away before backfilling. Small angle changes are easy to make while the trench is open.”
5. Low Stacked Brick Border for Mulch Beds
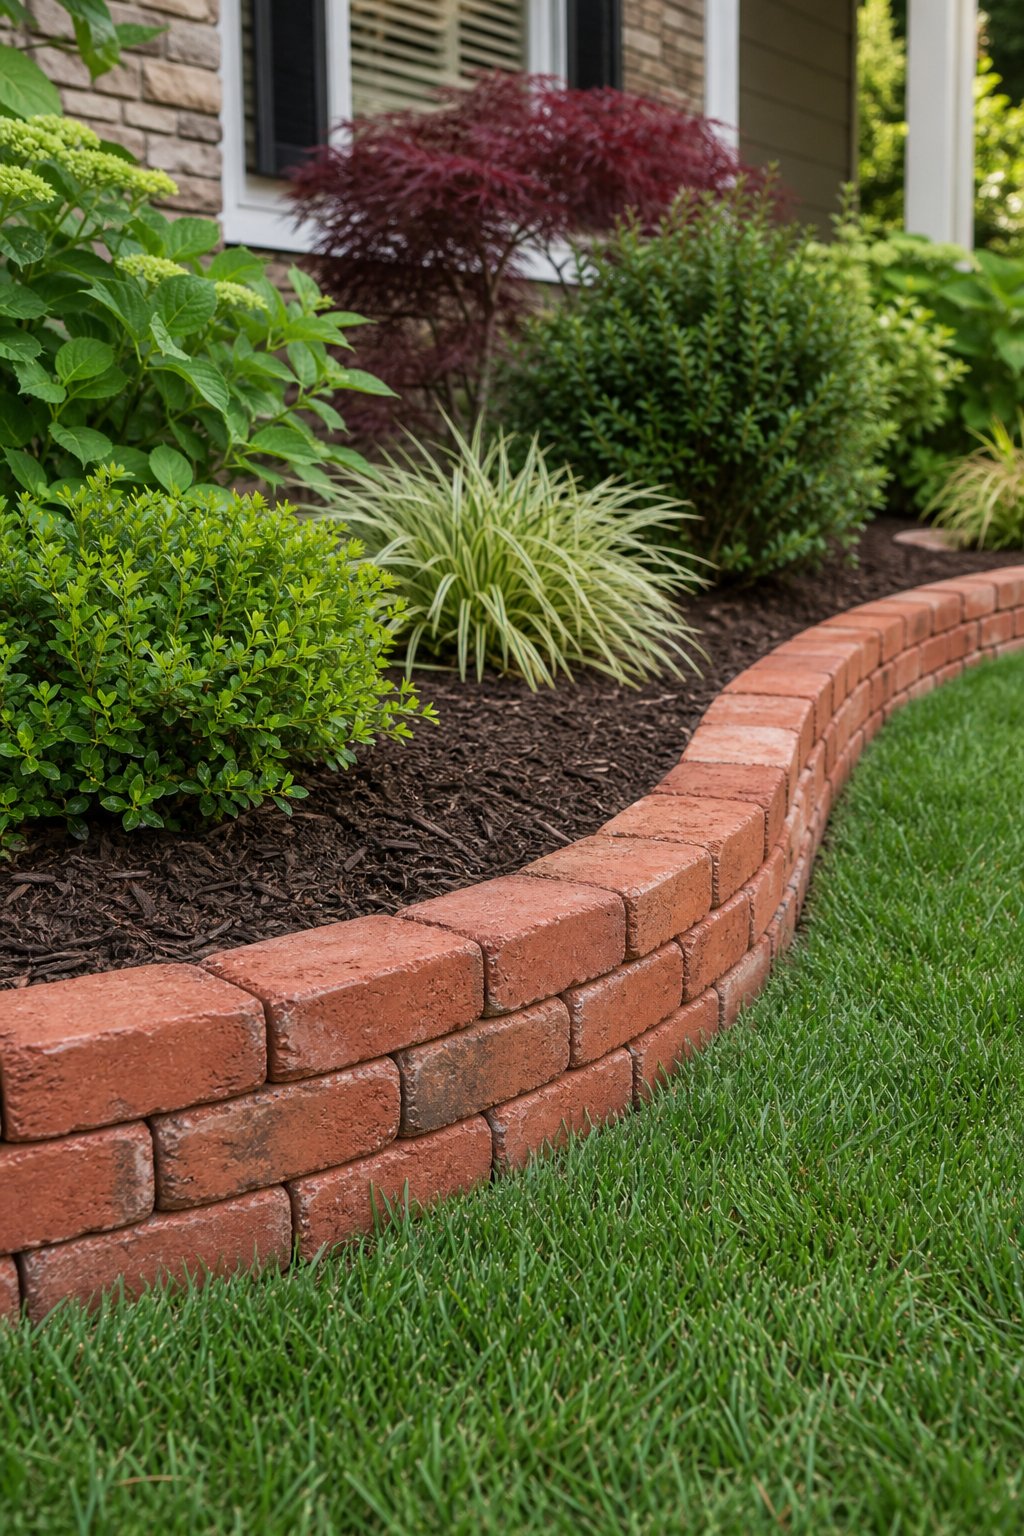
Mulch beds gain a tidy frame when you stack two rows of bricks along the edge. Lay the first course on a level base, then place the second course with staggered joints for better strength. The low wall holds mulch in place and gives the bed a more finished profile.
Choose matching bricks for a formal yard, or combine lightly weathered pieces for a relaxed garden. Keep the wall low if you want easy access for weeding and planting. For taller beds, mortar the courses and widen the foundation to support the added weight.
Expert Tip From MrPlanter: “Brush loose soil from each brick before stacking it. Clean contact faces sit more firmly and give the border a straighter line.”
6. Mortared Raised Brick Bed Border
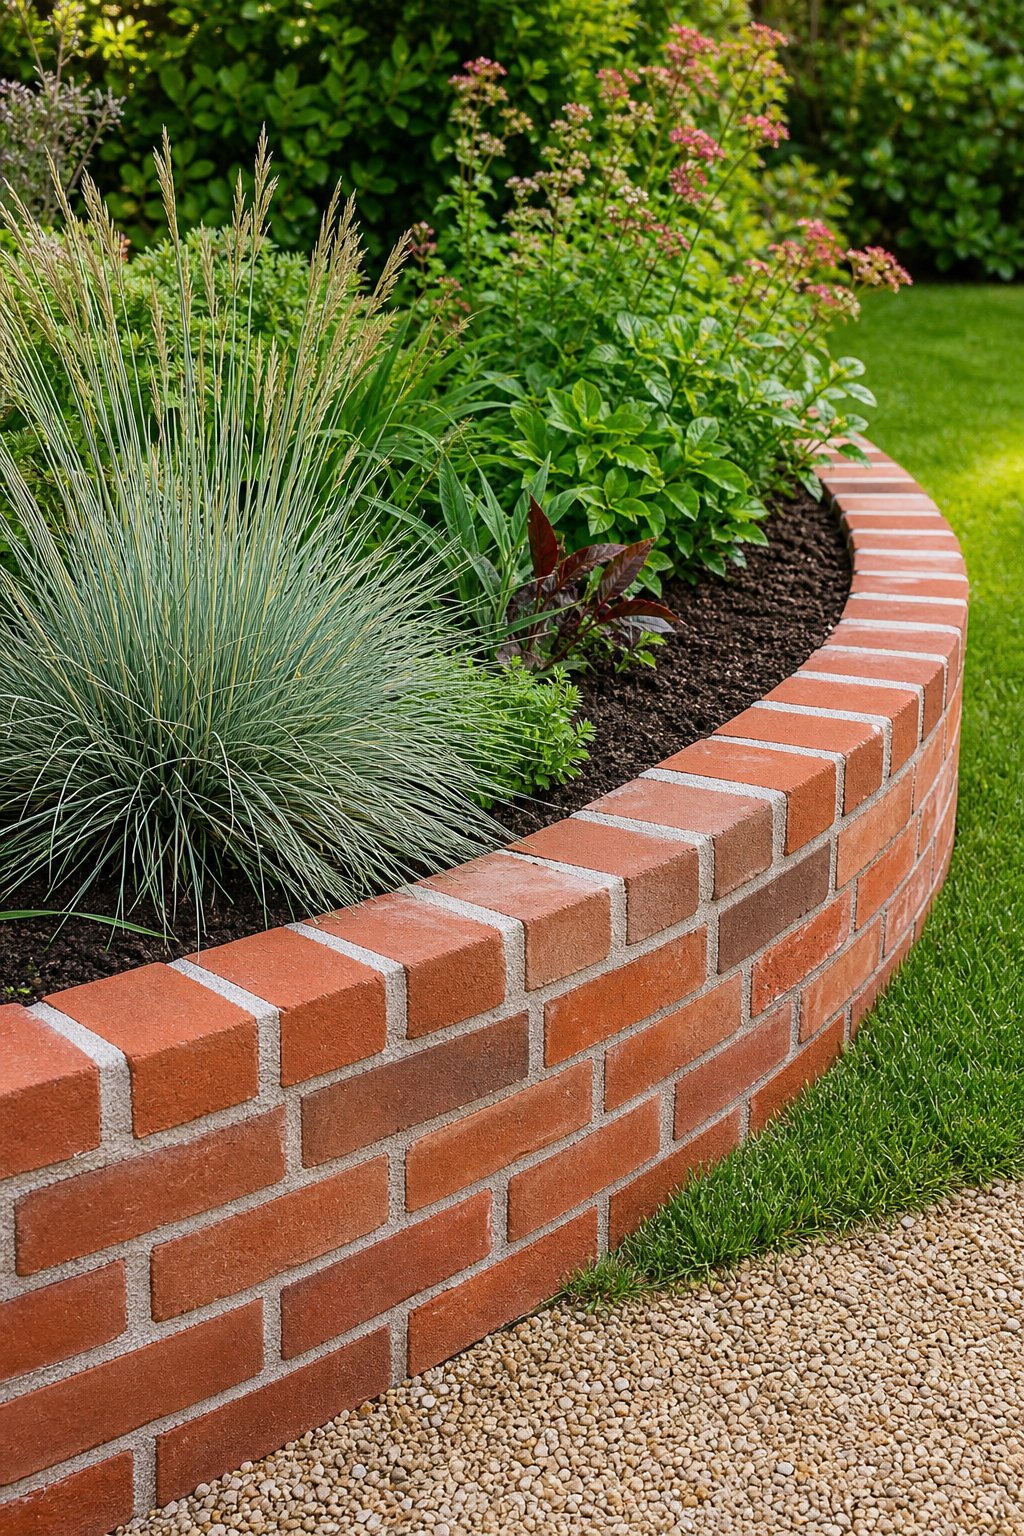
A raised bed needs a border that can handle soil pressure, and mortar gives stacked bricks a strong bond. Build on a level footing of compacted gravel and concrete, then lay each course with staggered joints. A smooth cap on top creates a comfortable edge for sitting or leaning while you garden.
This method suits front-yard beds, vegetable plots, and formal planting areas. Plan drainage before filling the bed, especially where the soil sits higher than the surrounding lawn. Let the mortar cure according to its package directions before adding heavy soil.
Expert Tip From MrPlanter: “Keep a small level beside you for every course. Fixing a crooked row while the mortar is fresh saves a great deal of repair work.”
7. Red Brick Barrier Between Gravel and Soil
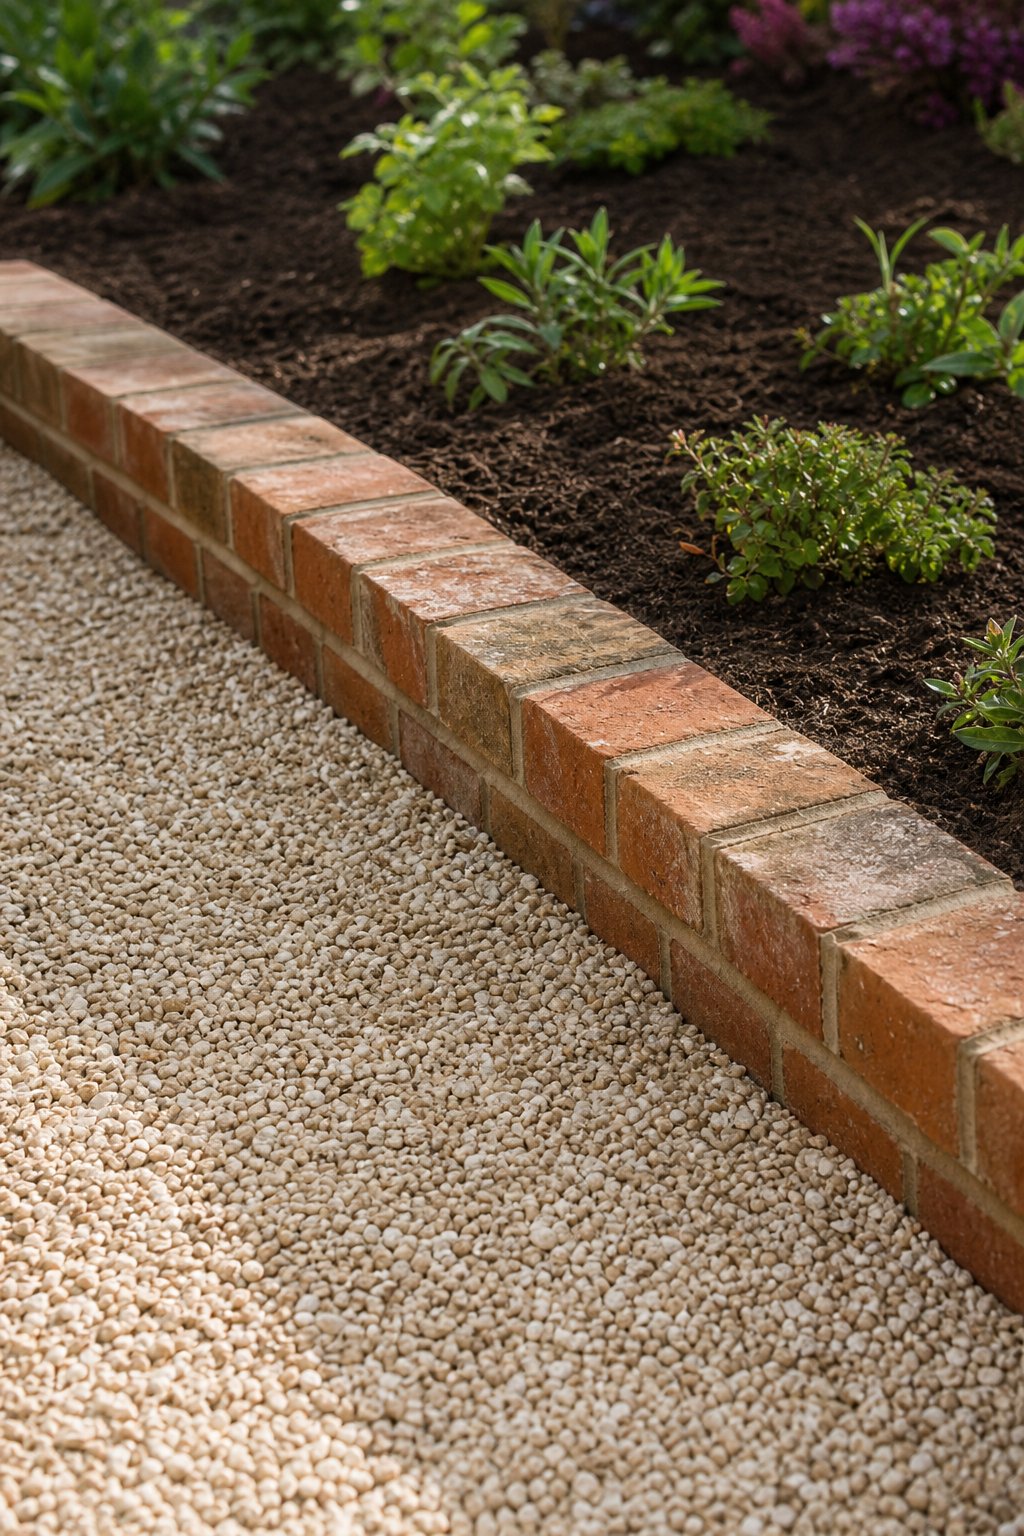
Dark soil and pale gravel look sharp together when a red brick line separates them. Lay the bricks flat or on edge in a shallow trench, depending on the height you need. The border keeps gravel from mixing into planting soil and makes both surfaces easier to rake.
Install landscape fabric beneath the gravel, stopping it just short of the brick edge. That small detail prevents fabric from peeking into the garden bed. A narrow border works well beside drought-tolerant plants, herbs, and gravel garden ideas.
Expert Tip From MrPlanter: “Set the brick slightly higher than the gravel surface so stones stay contained. Leave the soil side low enough for mulch to sit below the top edge.”
8. Herringbone Brick Edging Around a Patio
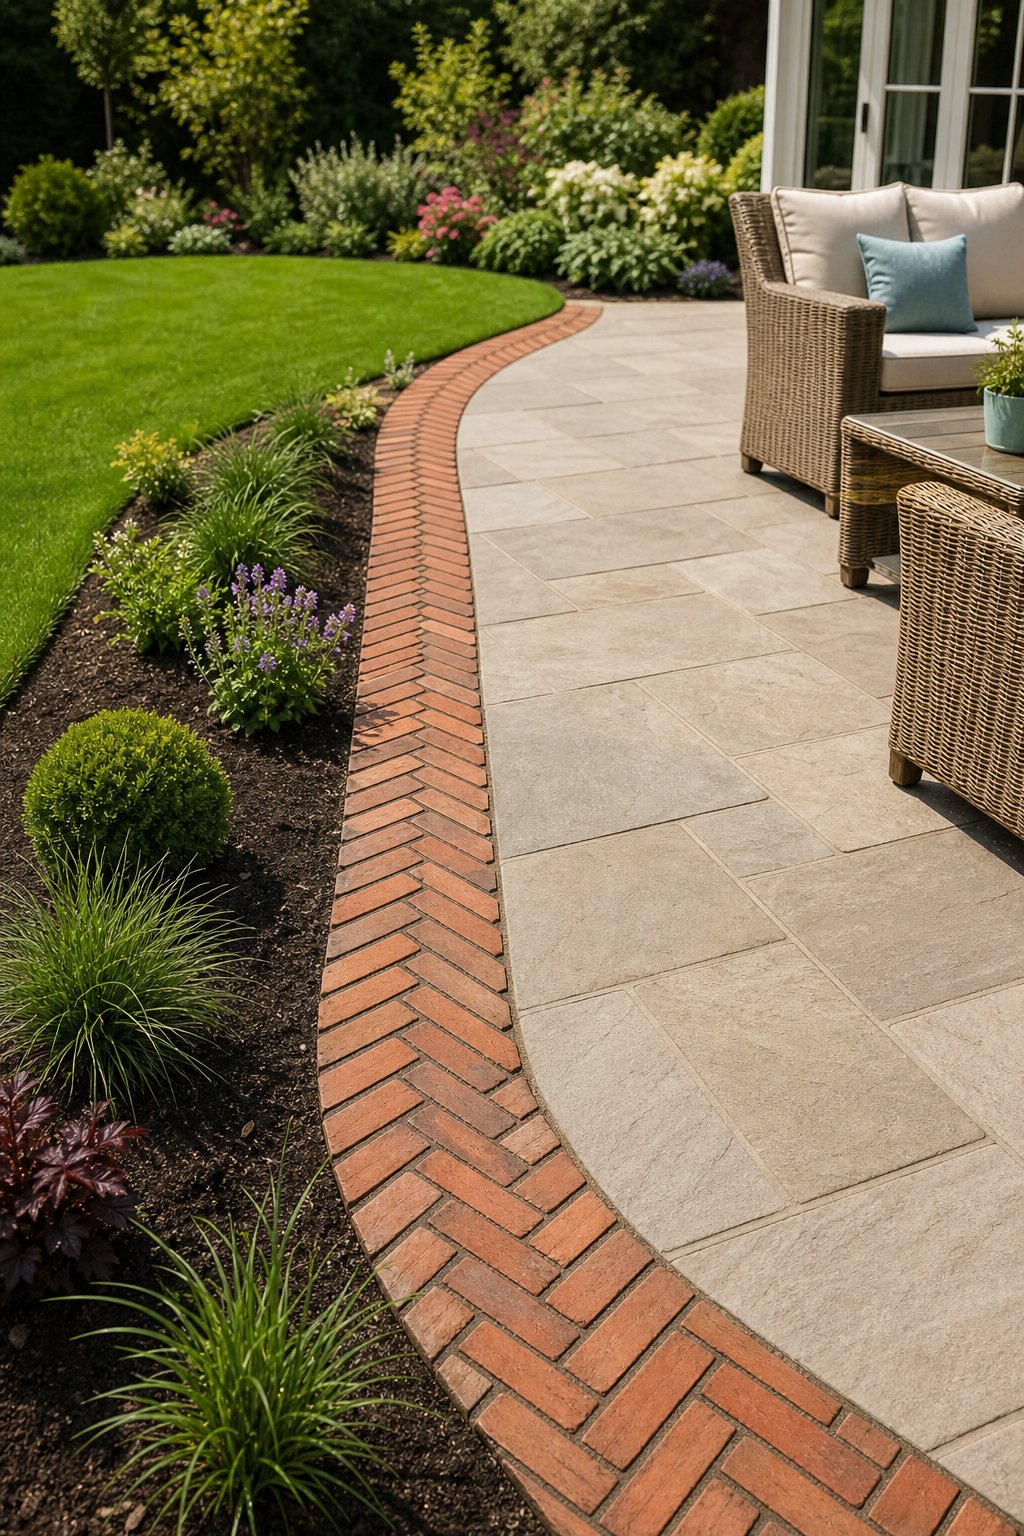
A herringbone border adds pattern around a patio without making the space feel fussy. Arrange bricks at alternating angles so each piece locks visually against the next. Use the pattern as a narrow frame around concrete, pavers, or a small seating area.
Because angled joints can shift under foot traffic, prepare a compacted gravel and sand base. A rigid edge restraint along the outside keeps the pattern from spreading into the lawn. Keep the pattern in a single band if the patio already has a strong surface design.
Expert Tip From MrPlanter: “Lay a few dry bricks first to confirm the direction of the pattern. Start at the most visible corner and keep the cut pieces in less noticeable spots.”
9. Single-Row Reclaimed Brick Lawn Border
Reclaimed bricks bring instant age and character to a lawn edge. Their faded colors and worn faces suit cottage beds, herb gardens, and older homes. Lay one row flat in a shallow trench, or set the bricks upright for a narrower border with more visible height.
Sort the bricks before installation so damaged pieces go in less visible areas. Scrub away loose dirt with a wire brush while keeping the natural patina intact. This rustic style works especially well with flower bed edging ideas that mix soft plants with informal shapes.
Expert Tip From MrPlanter: “Turn the best-looking brick faces toward the lawn. Small color changes give the border charm, while a shared top height keeps it neat.”
10. Curved Brick Wall for a Sweeping Garden Bed
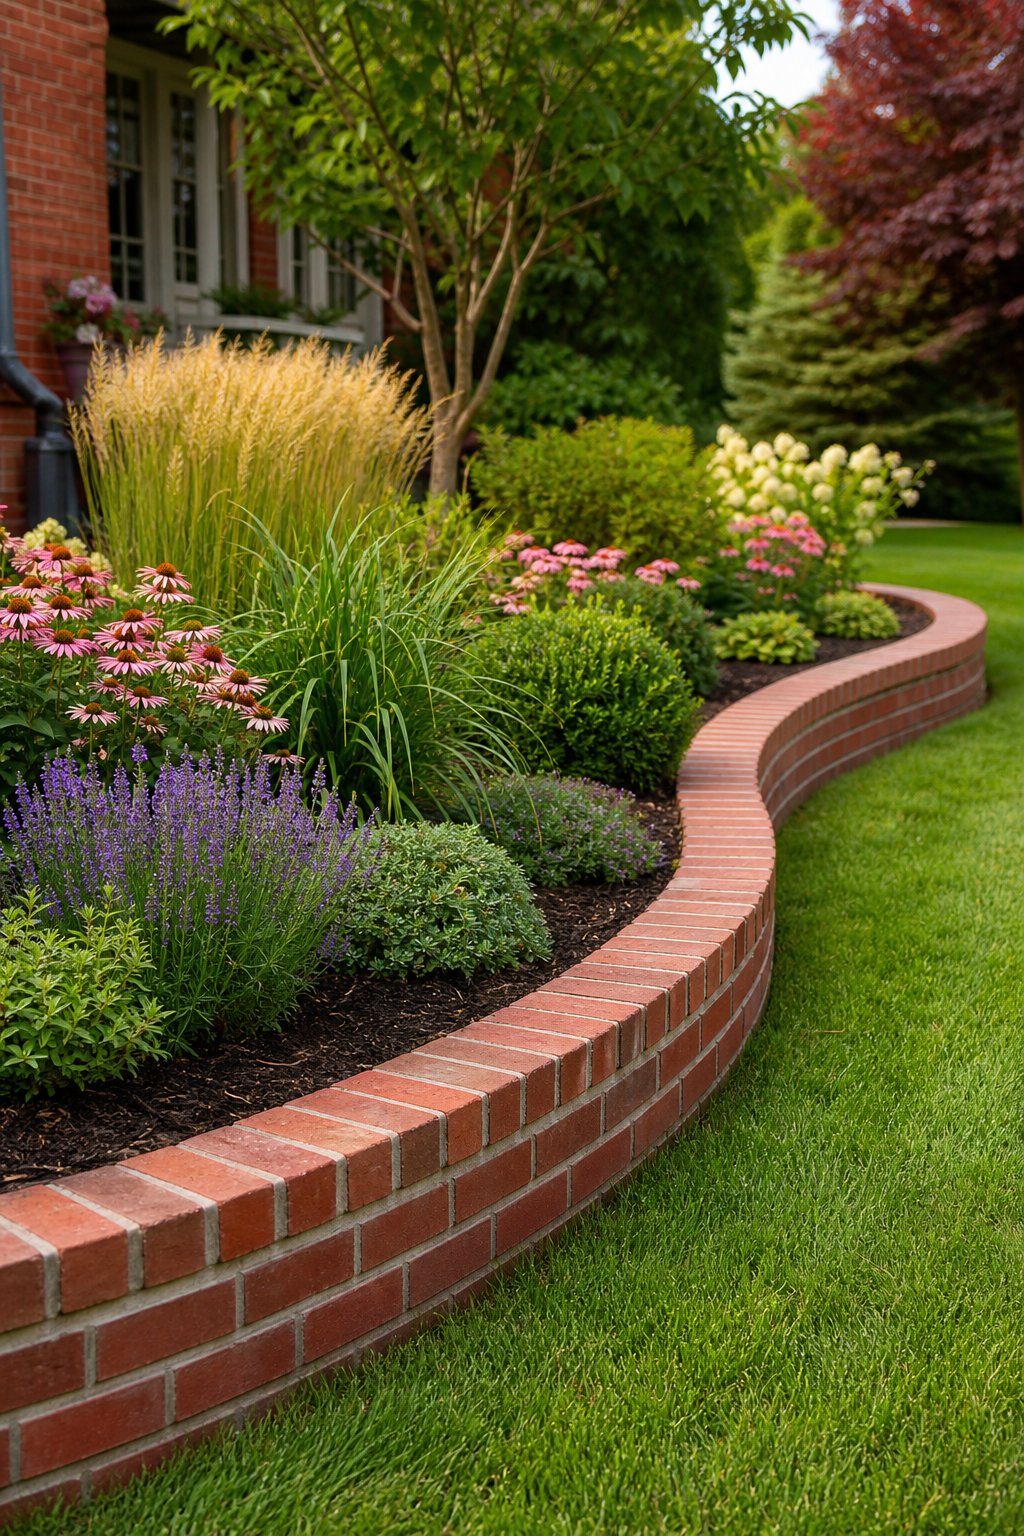
A sweeping bed gains presence from a low curved brick wall that follows its full shape. Build the wall in short courses, shifting each joint as the curve changes. The result frames large planting areas and gives the lawn a clear, flowing boundary.
Use mortar for a wall more than two bricks high, and give the base enough width to resist soil pressure. Mark the curve with a hose before digging so you can judge its shape from the house and street. Fill the bed gradually and tamp soil away from the wall.
Expert Tip From MrPlanter: “Keep the curve broad when the wall is tall. Tight bends place more pressure on the joints and make brick alignment harder.”
11. Brick Terrace Edging for a Sloped Backyard
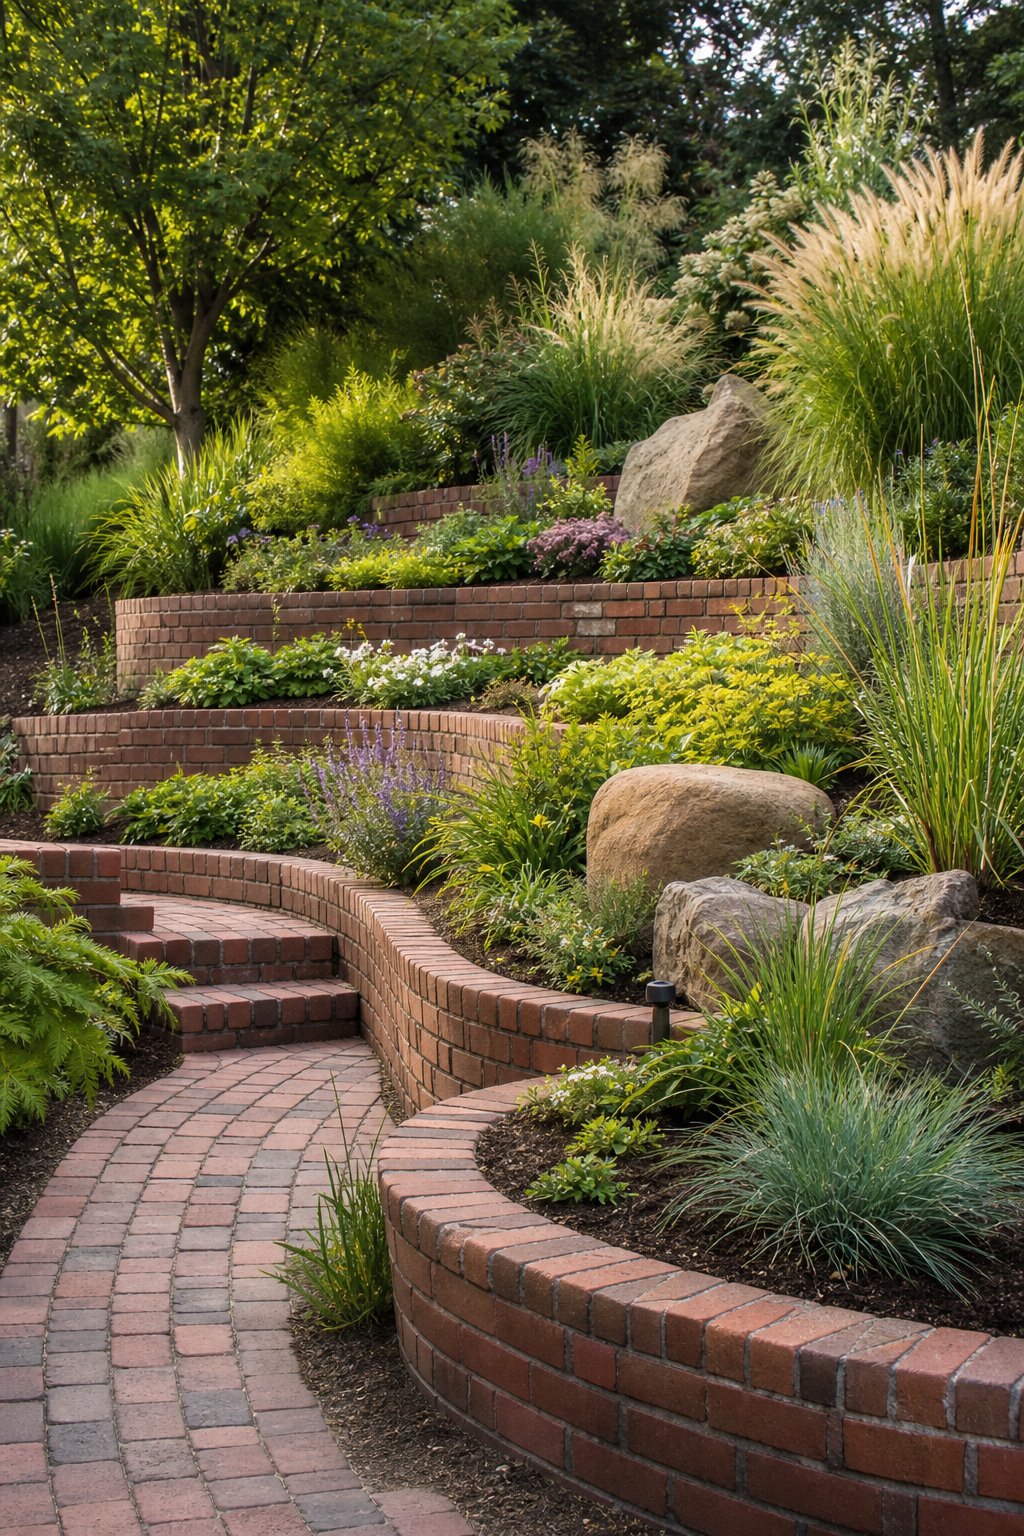
A slope becomes easier to plant when brick borders divide it into short terraces. Each low wall holds a level bed, slows soil movement, and creates planting zones across the yard. Set the terrace lines across the slope, following the contour instead of running straight downhill.
Mortar or a solid footing gives the walls added security where rain pushes soil downward. Include a way for water to move around each terrace, such as a gravel drain behind the wall. For more ideas, compare these layouts with beautiful sloped backyard landscaping ideas.
Expert Tip From MrPlanter: “Start with the lowest terrace and check its level carefully. A small error there spreads upward through every bed.”
12. Tiered Brick Border Along a Wooden Fence
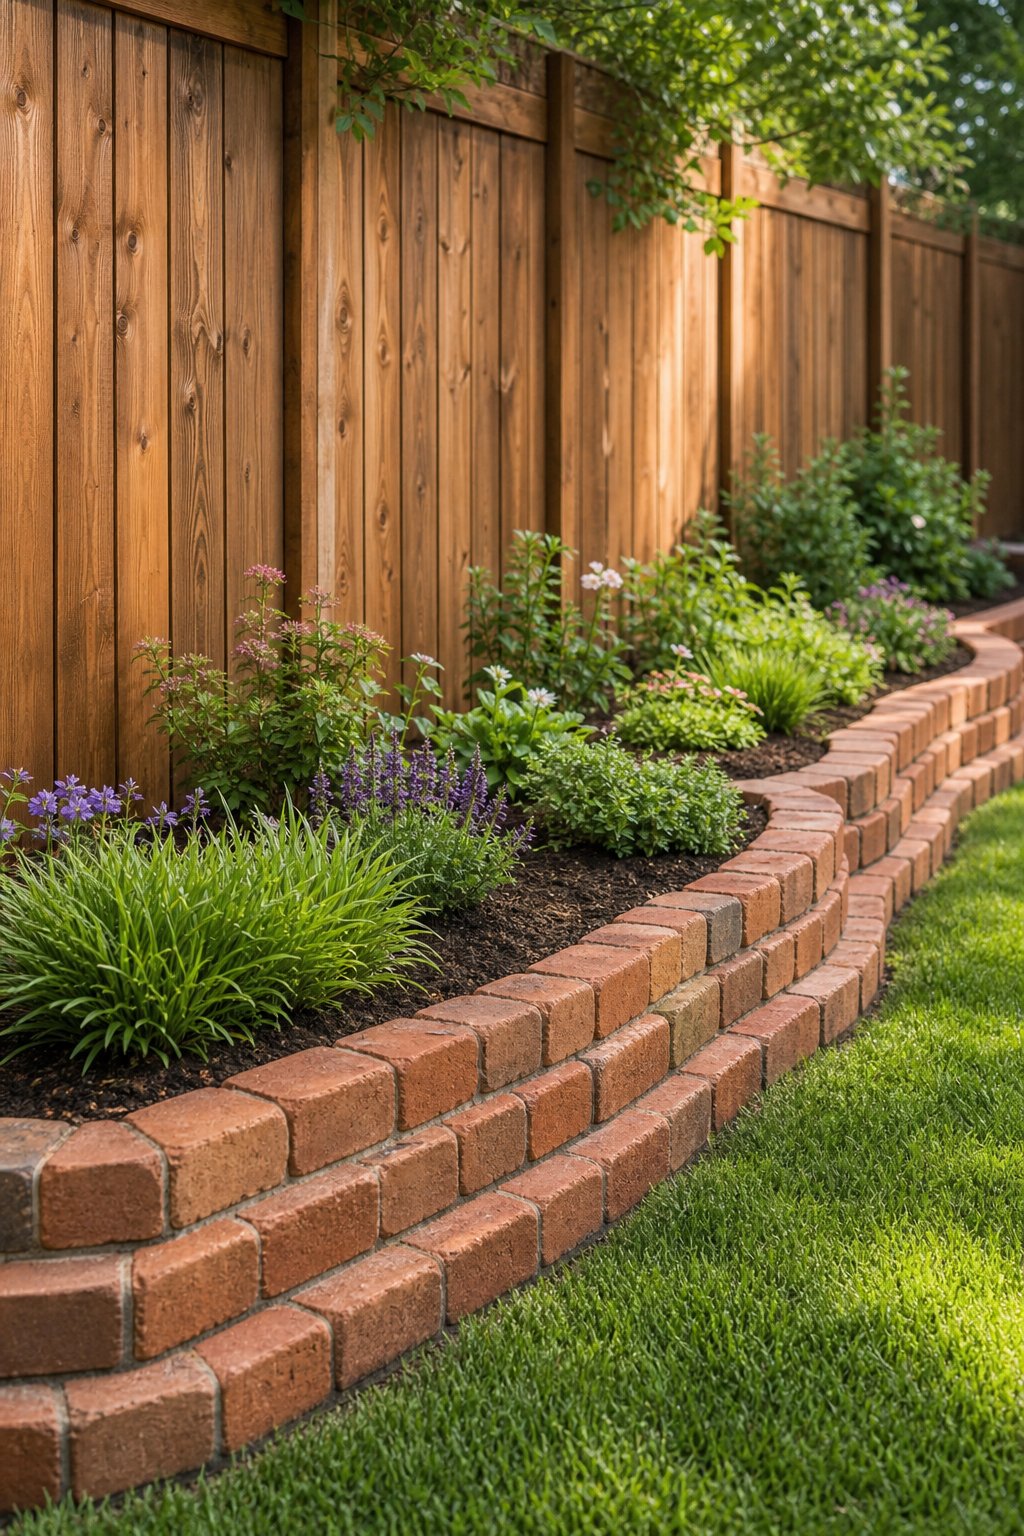
A fence line can look flat and forgotten, while tiered brick edging gives it a stepped garden shape. Build short sections at different heights along the fence, leaving room for plants to spread between them. The design works well with shrubs, ferns, and narrow beds where space is limited.
Keep soil and mulch below the fence boards to reduce trapped moisture. Use mortar for taller sections, and leave a small drainage gap between the brickwork and fence when conditions stay wet. This idea pairs naturally with raised flower beds along fence ideas.
Expert Tip From MrPlanter: “Measure the fence line before buying bricks so each tier has a clear stopping point. Plant shorter growth near the front to keep the steps visible.”
13. Brick Ring Around a Front-Yard Tree
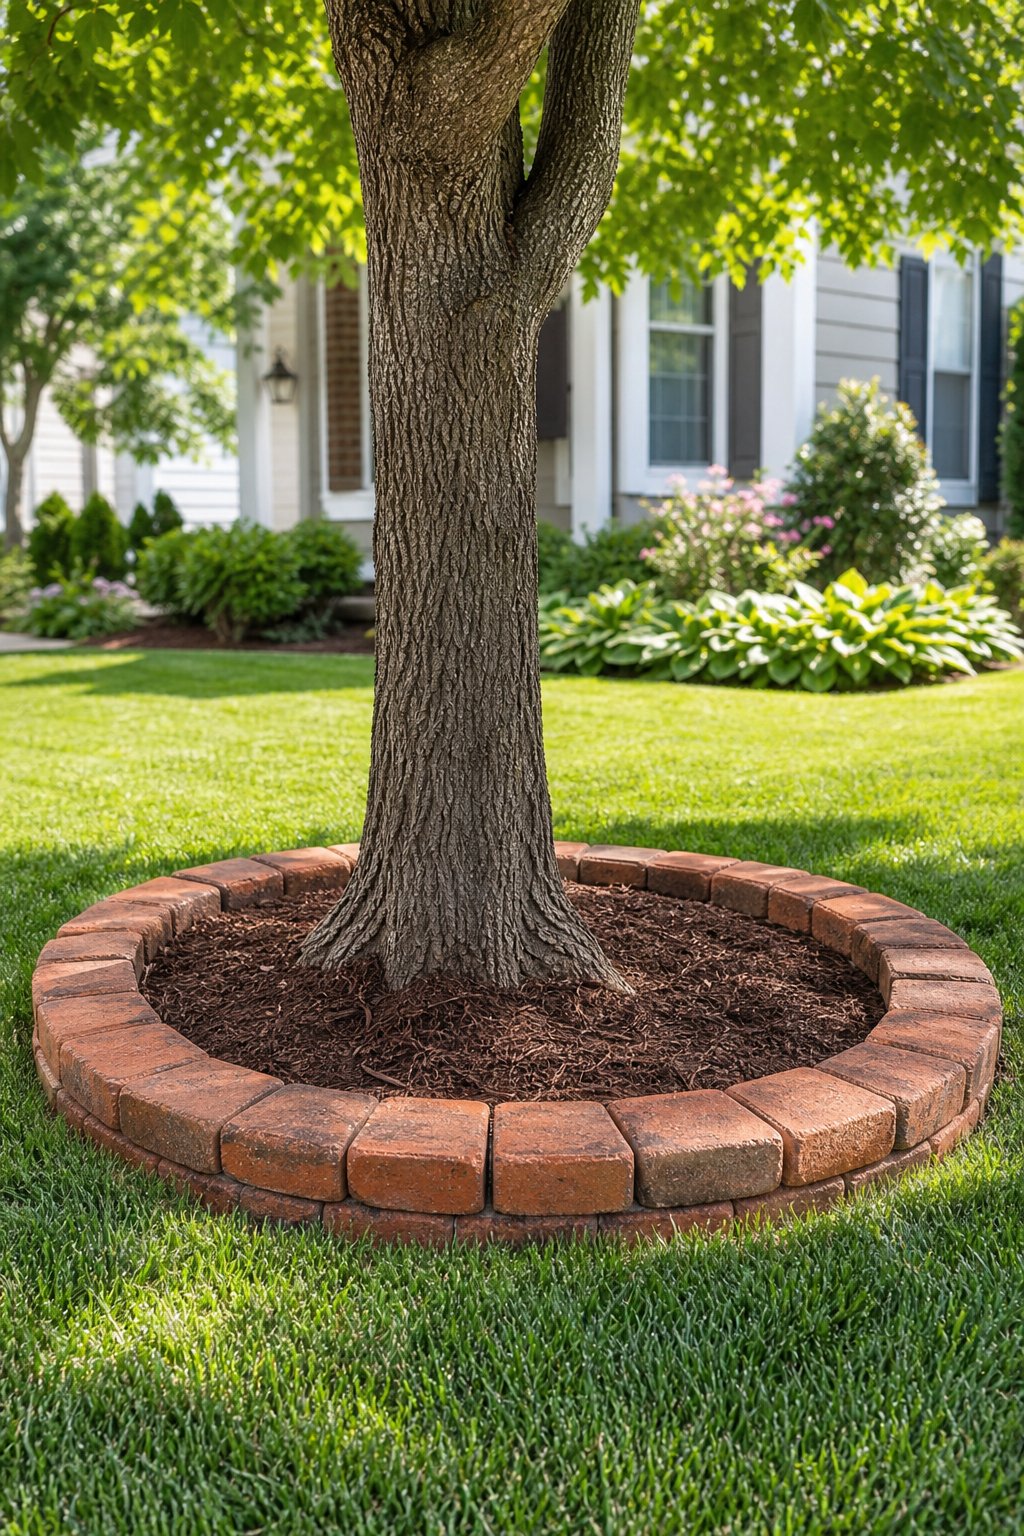
A brick ring gives a mature tree a finished base and keeps lawn equipment away from the trunk. Make the circle wide enough to include the visible root zone, then set bricks flat or upright in a shallow trench. Fill the ring with a thin layer of mulch after installation.
Leave open space around the trunk flare. Piling soil, mulch, or bricks against the bark traps moisture and invites damage. A broad ring also makes mowing easier and gives the tree room to grow without crowding.
Expert Tip From MrPlanter: “Use a hose to test the ring’s size before digging. Keep the inner edge smooth so roots and mower wheels have room.”
14. Brick Edge for a Circular Fire Pit Area
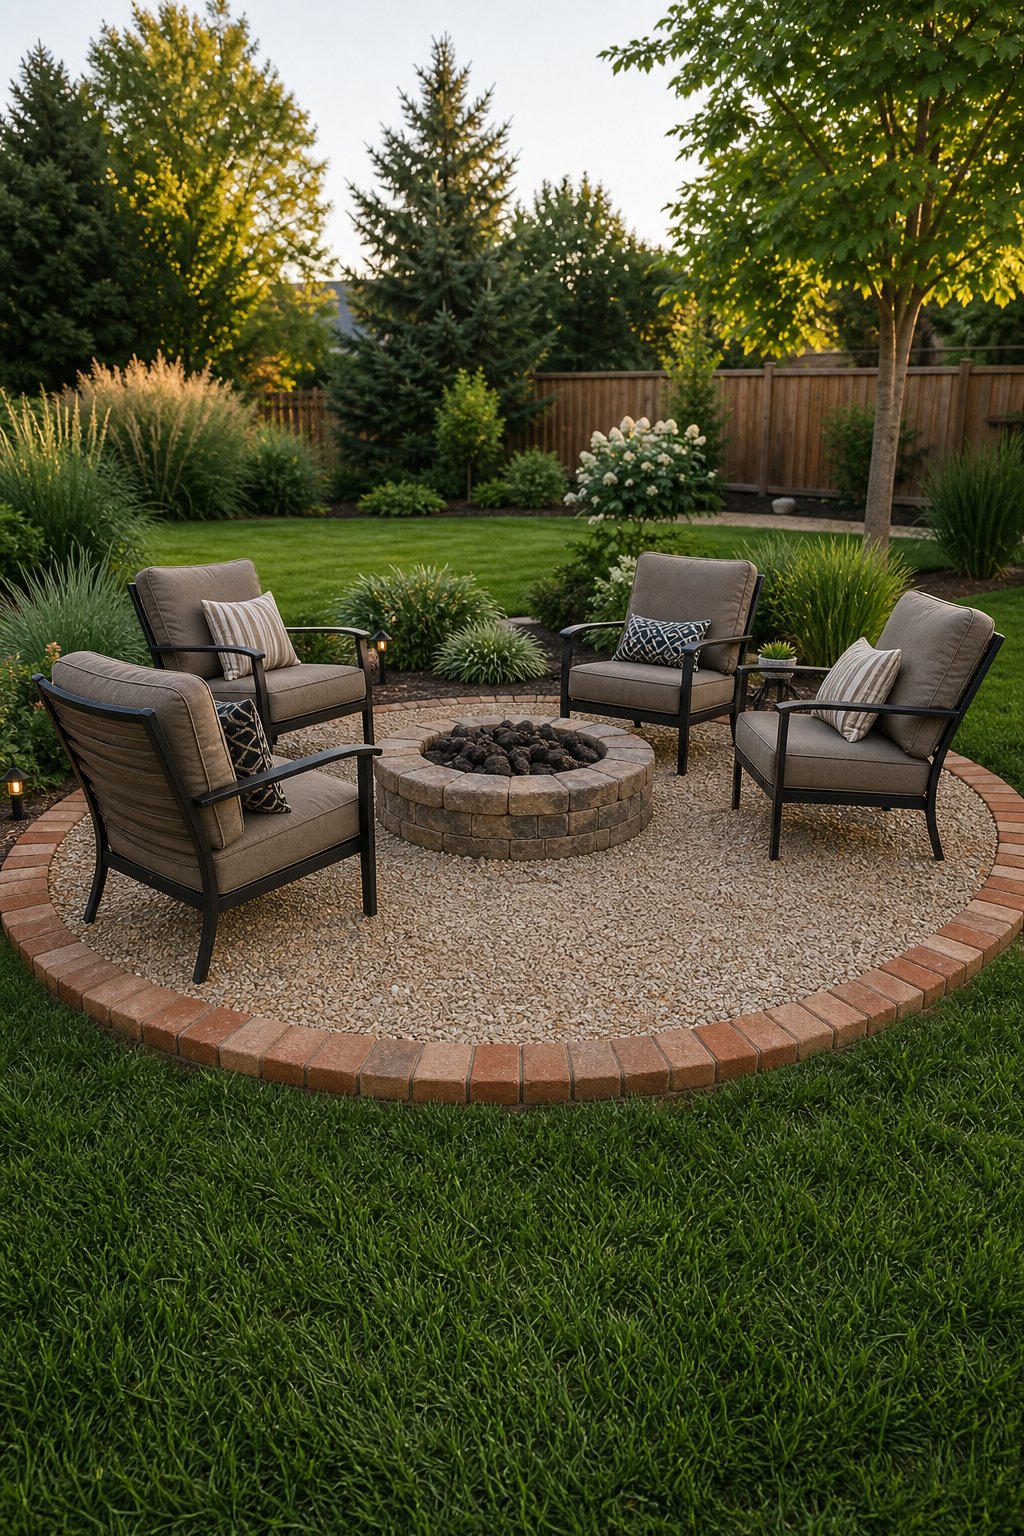
A circular brick edge gives a fire pit area a clear boundary and helps separate seating from lawn. Set the bricks around a compacted gravel surface, keeping the circle even from every viewing angle. Choose heat-rated materials for the fire pit itself, with standard landscape bricks serving as the outer border.
Check local fire rules and keep seating, fences, trees, and structures at safe distances. Good drainage also keeps the gathering area from turning muddy after rain. A wide gravel apron makes sparks easier to spot and chairs easier to move.
Expert Tip From MrPlanter: “Mark the center point and use a measured string to draw the circle. Test the layout with empty chairs before setting the final bricks.”
15. Staggered Brick Planters for a Sunken Lounge
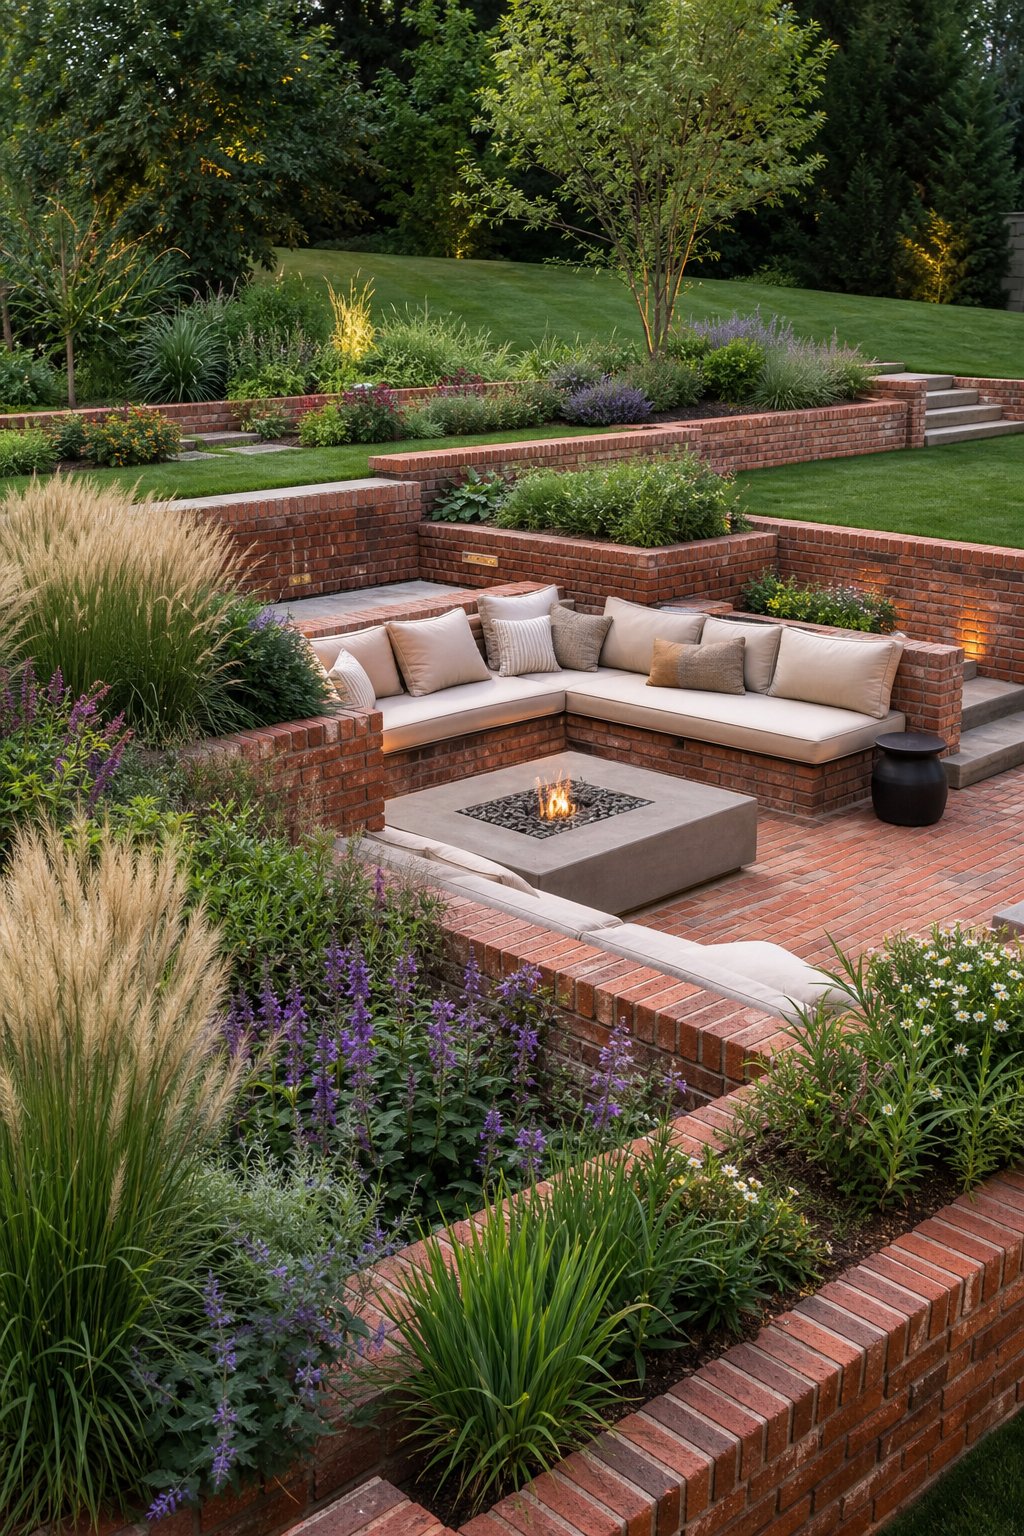
A sunken lounge feels more inviting when staggered brick planters soften its edges. Place low brick sections at alternating heights around the seating area, then fill the pockets with plants that trail toward the lounge. The varied levels create a relaxed transition between lawn and outdoor seating.
Build each planter with drainage in mind, especially where the lounge sits below grade. Use mortar for the taller sections and keep roots away from walls that need access for repair. Ferns, sedges, and low shrubs suit the sheltered look.
Expert Tip From MrPlanter: “Leave walking space between planters and seating. Choose plants with tidy roots so the brickwork stays easy to inspect.”
16. Brick-Capped Border Around a Front Walkway
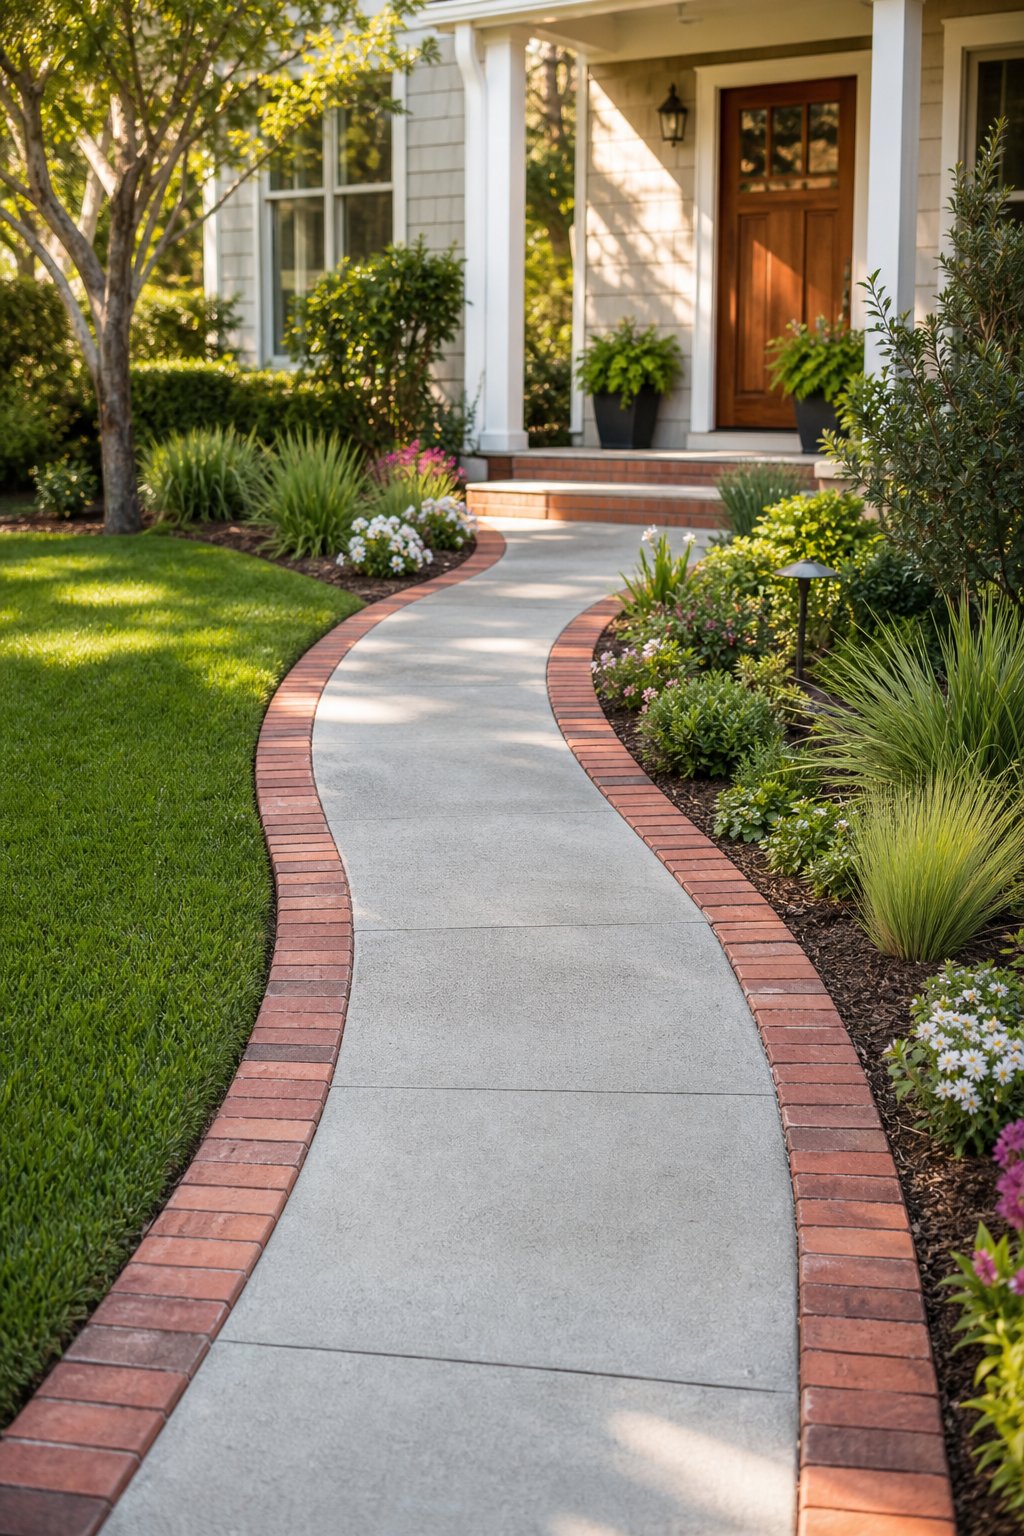
A brick cap gives a front walkway a neat frame and protects the top of a low garden wall. Set the cap bricks with a small overhang on each side, then keep the joints even along the path. The finished edge guides visitors while giving nearby planting beds a clear shape.
Use a slip-resistant surface where people walk close to the border. Check the cap height against the walkway so shoes do not catch on a raised corner. For planting inspiration around the entrance, see these front walkway landscaping ideas.
Expert Tip From MrPlanter: “Keep cap joints away from the busiest turning points when possible. A full brick at the entry feels steadier than a narrow cut piece.”
17. Brick Edge With Pebble Drainage Strip
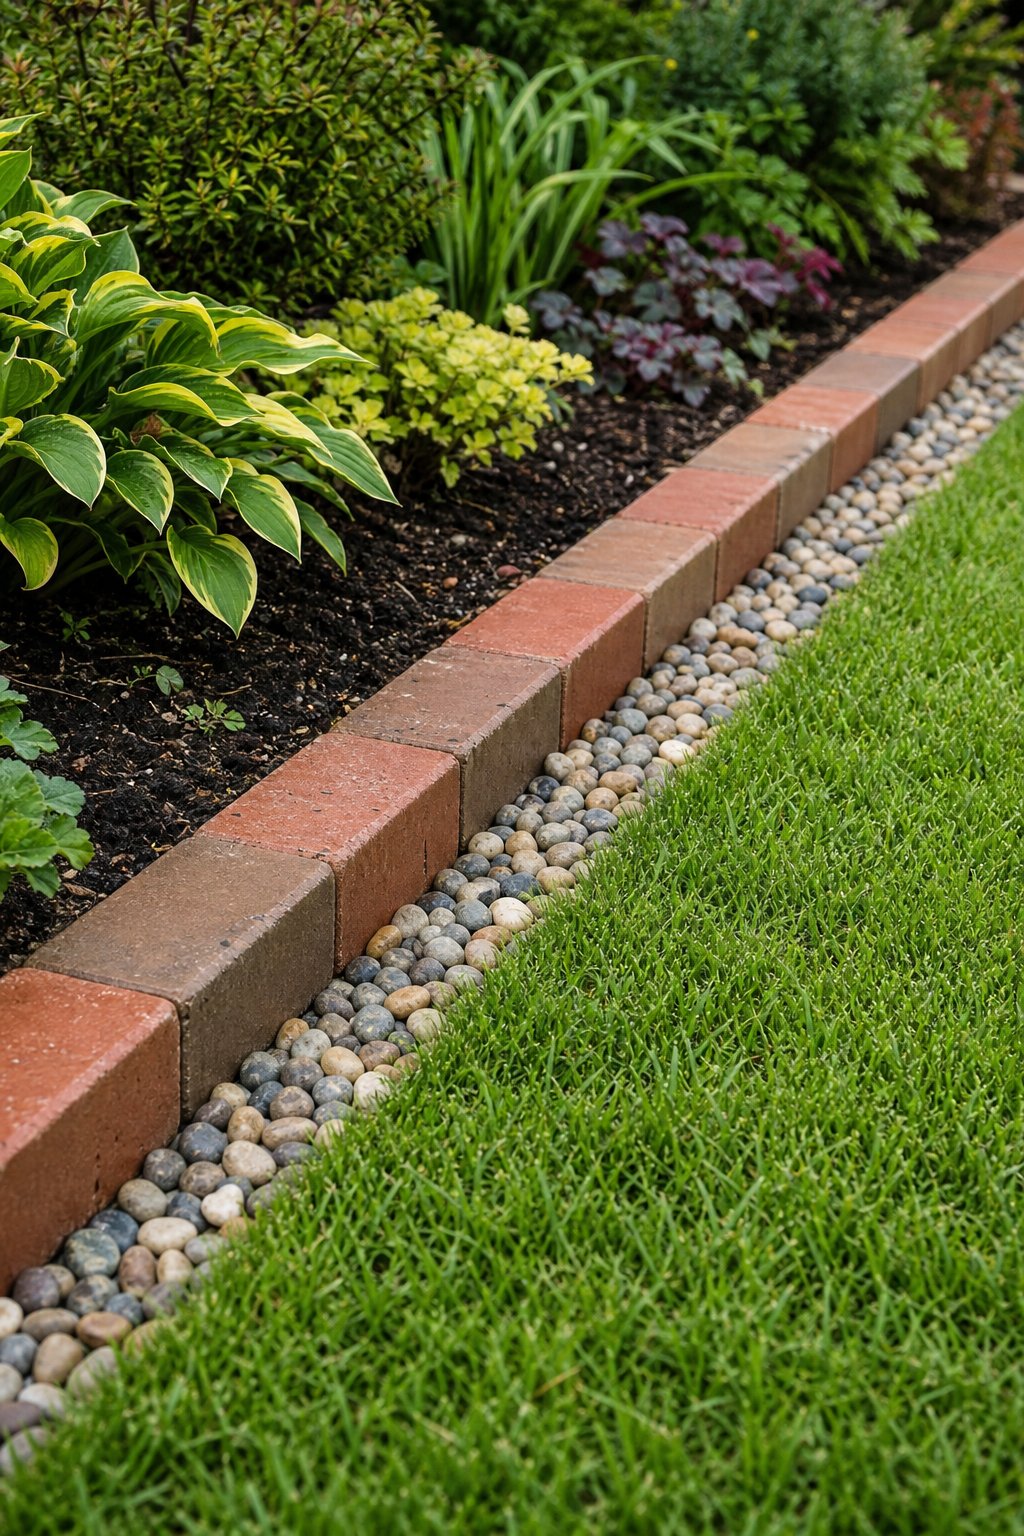
A pebble strip beside brick edging gives rainwater a clean route away from the lawn. Set the brick border between the grass and the pebbles, then place landscape fabric beneath the stone to reduce weed growth. The strip works beside flower beds, walls, patios, and downspouts.
Choose rounded stones that fit the scale of the space, and keep the channel wide enough to hold runoff without spilling. The brick edge contains the pebbles and creates a visual line between wet and planted areas. This detail fits yards that use landscaping without using mulch ideas.
Expert Tip From MrPlanter: “Give the pebble strip a gentle fall toward its outlet. Test it with a hose before finishing the edges.”
How to Choose the Right Brick Edging Style
Choose your brick edging by matching the layout to the garden’s shape, the surface beside it, and the amount of height you need. A flush double row suits lawns and mower routes, while upright bricks define curves with less digging. Raised beds and slopes call for wider bases, stronger joints, and careful drainage.
Which Brick Layout Fits Your Garden Style?
Flat-laid bricks give formal beds and paths a quiet, even border. Upright bricks add texture and work well around curves. Reclaimed pieces suit cottage gardens, while uniform new bricks support clean lines around a front walk or patio.
Look at the colors already used in your yard. Red brick warms gray gravel and green lawns, while weathered brick blends with stone, wood, and informal planting. Browse these garden border ideas if you want to compare brick with other edging materials.
When Should You Use Mortar Instead of Dry-Set Bricks?
Use mortar when the border holds back soil, stands more than two courses high, or sits on a slope. Dry-set bricks work well for low lawn edges, gravel paths, and borders that need easy adjustment. Mortared walls require a firm footing and planned drainage behind the brickwork.
A dry-set edge also makes future planting changes easier. You can lift and reset individual bricks after frost heaving or settling without removing an entire wall.
How Tall Should Brick Garden Edging Be?
Keep lawn borders nearly flush with the grass so mowing stays easy. A one- or two-course border gives mulch beds a clear frame, while taller walls suit raised beds and terraces with proper support. Leave enough width for the wall to resist soil pressure and enough space for plants to grow without rubbing against the bricks.
Installation and Maintenance Basics
Strong brick edging starts with a level trench, a compacted base, and a clear plan for water. Mark the line, remove roots and loose soil, then build the base before placing any bricks. A few extra minutes with a level prevents hours of adjusting after the soil settles.
How Do You Prepare a Stable Base for Brick Edging?
Mark the border with stakes and string for straight runs, or a hose for curves. Dig deep enough for the brick plus about 3 to 4 inches of compacted gravel and sand. Add the gravel in thin layers, tamp each layer, and finish with a smooth sand bed.
Check the trench depth as you move along the line. The base should support the full brick, with the finished top set at the height required for mowing, drainage, or soil retention.
How Can You Keep Bricks From Shifting or Sinking?
Compact the base well and keep water from washing soil out beneath the edge. Bury upright bricks about one-third of their height, stagger stacked joints, and use mortar for tall or load-bearing borders. Backfill both sides in thin layers so pressure stays balanced.
After heavy rain or freeze-thaw weather, inspect low spots and open joints. Lift settled bricks, add base material, compact it, and reset the pieces before the gap grows.
What Is the Best Way to Maintain Brick Borders Over Time?
Sweep soil and leaves from the joints, pull weeds while they are small, and rinse brick faces when dirt builds up. Replace cracked pieces promptly, especially in a wall that supports soil. Keep mulch below the top of the border so rain cannot wash it across the lawn.
Inspect the edge at the start of spring and after major storms. Reset loose dry-set bricks, refresh the sand joints, and clear drainage strips before the next wet season.
I’m Anirban Saha, the Founder and Owner of MrPlanter.com. I pay the bills as a software developer, although my BTech is actually in Electronics and Communication. I really love my day job, but what gives me energy every day is interacting with my indoor plants and taking care of them. I have been successfully nurturing and maintaining houseplants for over 10 years now.
📚🔍 Our content undergoes thorough review and fact-checking before publication. For additional details, explore our strict Editorial Policy to deliver helpful content. 📝🔒