As an Amazon Associate, MrPlanter.com earns from qualifying purchases.
Orchids have a reputation for being fussy, but they’re really just misunderstood. Once you know how to take care of orchids on their own terms, they become one of the lowest-maintenance plants in the house.
Orchids have a reputation for being fussy houseplants, but that reputation is a little unfair. Once you learn what these plants actually need, they become surprisingly low-maintenance.
This guide walks you through everything from picking the right orchid to spotting pests before they cause damage.
Key Takeaways
Orchids thrive with bright, indirect light and a chunky, breathable potting mix instead of soil.
Water only when the roots turn silvery gray, then let excess moisture drain completely.
Regular fertilizing and proper post-bloom care help your orchid flower again year after year.
Choose an Orchid That Fits Your Home
Not all orchids grow the same way. Picking one that matches your home’s light and humidity will save you a lot of frustration.
Some varieties tolerate low light and neglect better than others. This matters if you’re just starting out.
Why Moth Orchids Are Ideal for Beginners
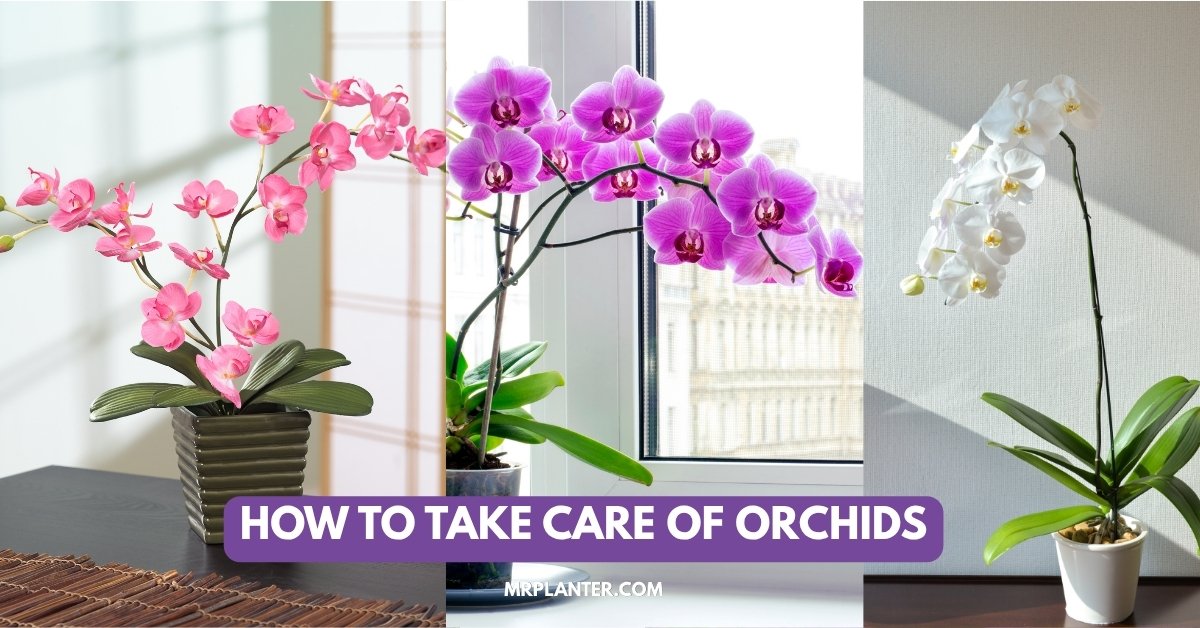
Moth orchids, known botanically as phalaenopsis, are the most common orchids sold in stores. They bloom for months at a time and tolerate average home humidity better than most orchid types.
Their wide, flat leaves store water efficiently. This makes them more forgiving if you forget to water on schedule.
How Growth Habits Affect Orchid Care
Orchids in the orchidaceae family fall into two main groups. Epiphytes grow on trees in the wild and need excellent drainage, while terrestrial orchids grow in the ground and hold moisture longer.
Many orchids also grow pseudobulbs, thickened stems that store water and nutrients. Plants with pseudobulbs can handle a few missed waterings without stress.
Other Beginner-Friendly Indoor Varieties of Orchid
Beyond moth orchids, a few other types work well indoors:
Dancing lady orchid: Compact and easy to grow, with clusters of small blooms.
Slipper orchid: A low-light orchid that does well on shaded windowsills.
Cattleya: Fragrant and colorful, though it needs slightly brighter light.
Create the Right Light, Temperature, and Humidity for Orchids
Getting the light, temperature, and humidity right separates a struggling orchid from one that blooms reliably. These three factors work together, so adjusting one often means rethinking the others.
Find Bright Indirect Light
Orchids need bright light but never direct sunlight, which can scorch their leaves. An east-facing window works best because it offers gentle morning sun without the harsh afternoon rays.
A simple test: if the light is bright enough to read small print comfortably, it’s likely a good spot for your orchid.
Use Windows and Grow Lights Safely
If your only window faces south or west, hang a sheer curtain to soften the light. North-facing rooms usually don’t offer enough brightness on their own.
Grow lights fill that gap well. Position them 6 to 8 inches above the plant and run them for 12 to 16 hours a day.
Maintain Stable Air and Moisture Levels
Orchids prefer temperatures between 65 and 75°F, with nights no cooler than 60°F. Good air circulation keeps orchid leaves dry and helps prevent fungal issues.
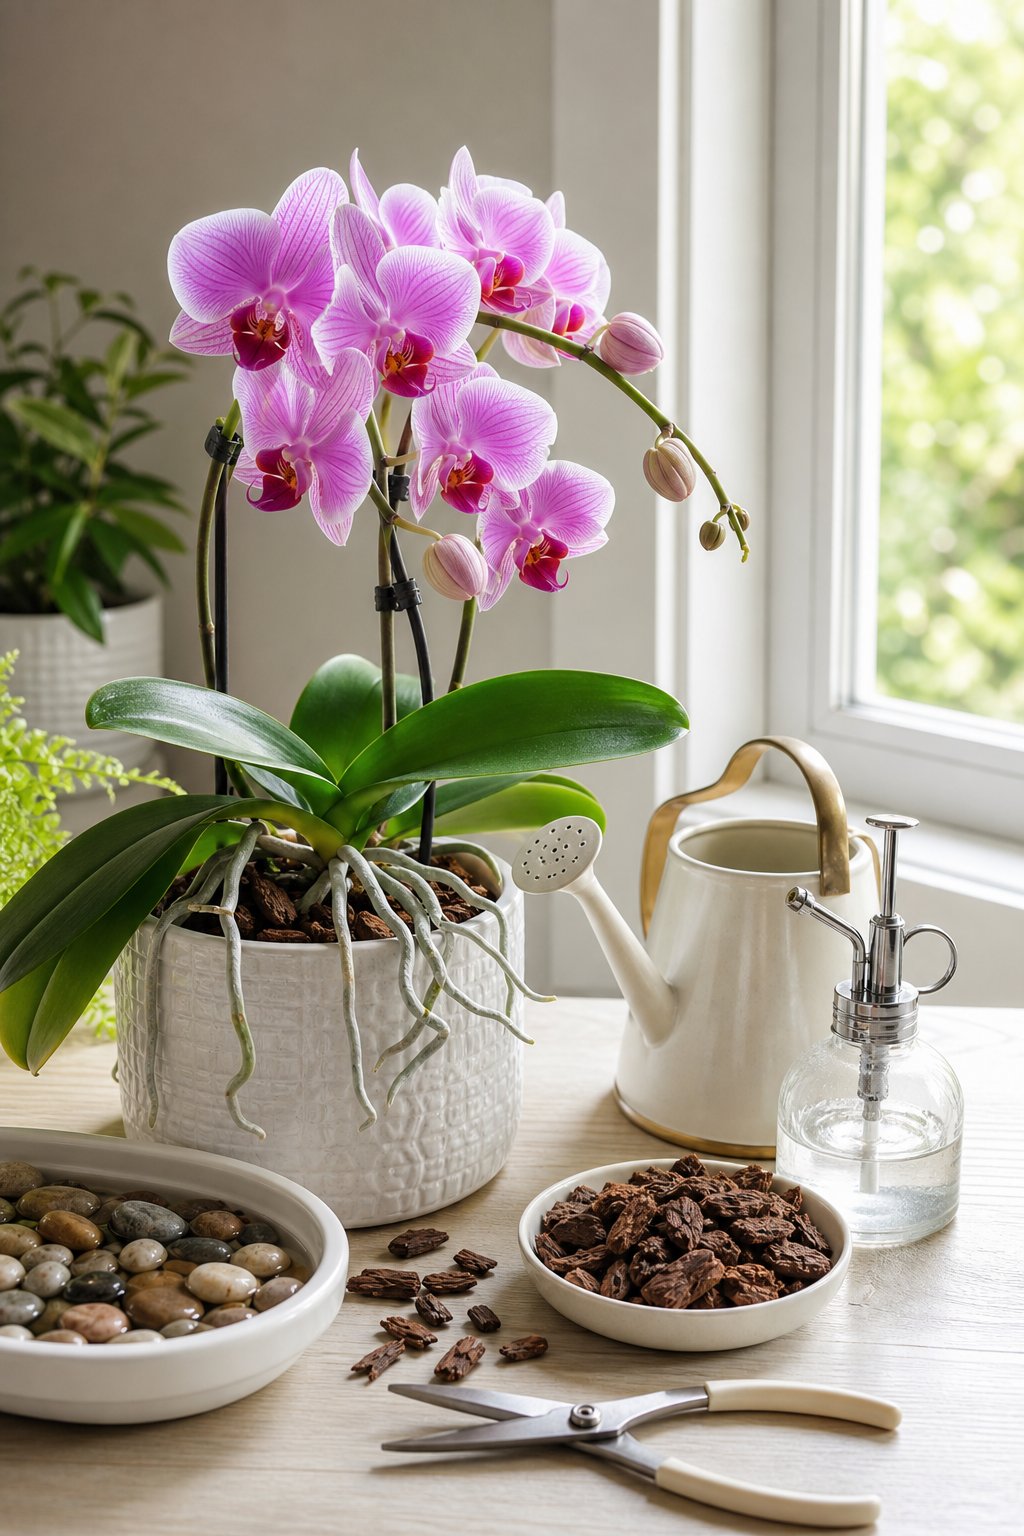
A small fan on low, or a cracked window in mild weather, keeps air moving without blasting the plant directly. Humidity trays filled with water and pebbles boost moisture around the roots, especially in dry indoor air.
Water Thoroughly Without Drowning the Roots of Orchid
Watering orchids trips up more beginners than any other part of orchid care. The goal is a good soak followed by complete drainage, never a soggy pot that traps water around the roots.
Know When the Plant Is Ready for Water
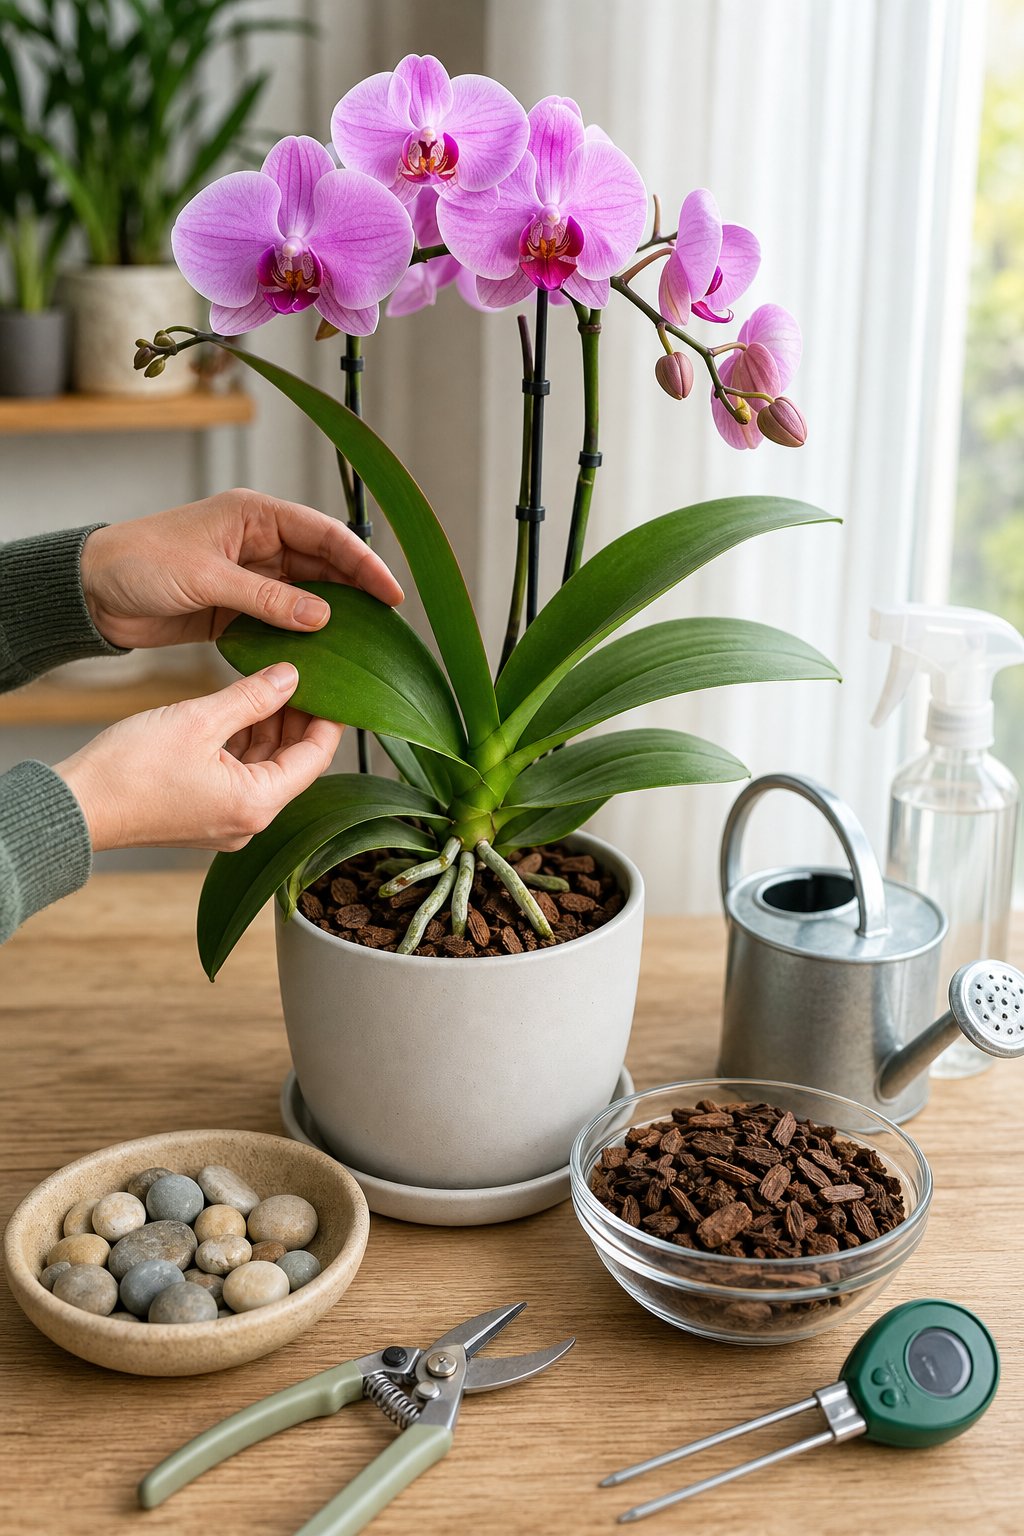
Healthy orchid roots look plump and green right after watering. As they dry out over the next week or so, they fade to a silvery gray, which is your signal to water again.
If you’re using a clear pot, check for condensation. No fog on the inside walls usually means it’s time to water.
Use a Soak-and-Drain Method
Hold the orchid pot under lukewarm running water for about 15 seconds, letting it flow over all the roots. Or set the pot in a bowl of water for 5 to 10 minutes, then lift it out.
Let every last drop drain before setting the plant back in its decorative cover pot. Standing water is the fastest way to invite root rot.
Recognize Overwatering and Root Rot
Yellowing leaves, a mushy stem, or blackened roots all point to overwatering and possible root rot. Once rot sets in, trim away the damaged roots with clean scissors and repot into fresh mix.
Underwatering looks different: wrinkled leaves and dry, shriveled roots. Both problems are fixable once you catch them early.
Use a Breathable Pot and Potting Mix
The pot and mix you choose matter just as much as watering. Orchid roots need airflow, so the right combination of materials keeps them healthy and prevents rot before it starts.
Why Standard Potting Soil Fails
Regular potting soil holds too much moisture and packs too tightly around orchid roots. Since most orchids are epiphytes that grow on trees rather than in soil, dense dirt suffocates their roots and quickly leads to rot.
Select Materials That Drain and Retain Moisture
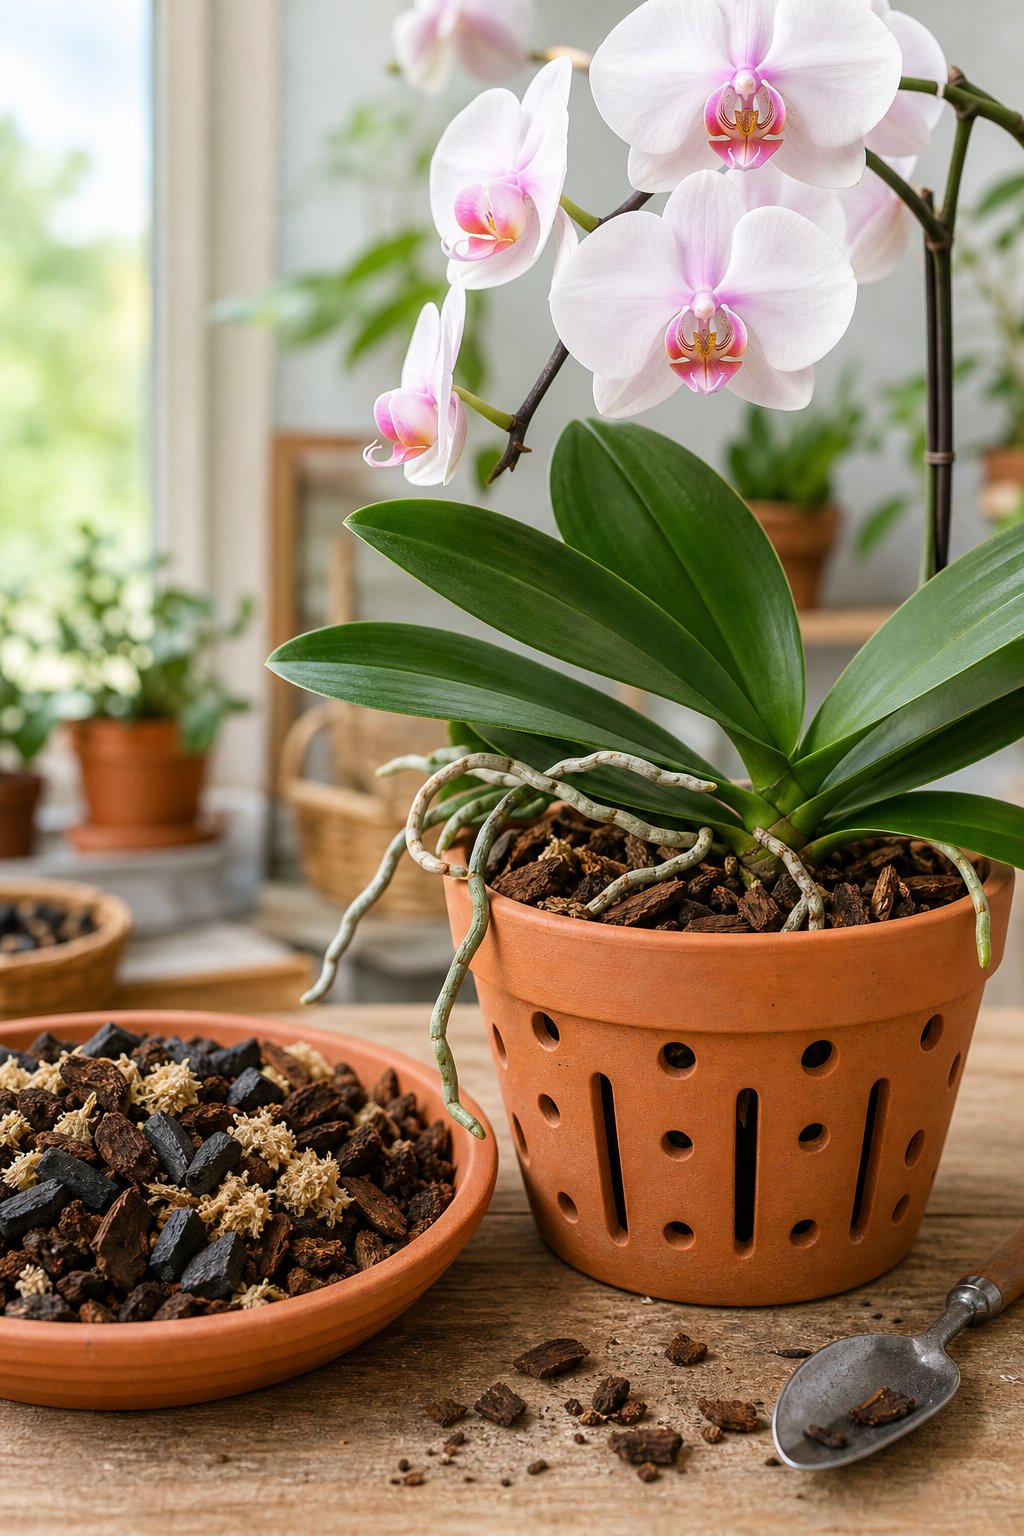
A good orchid potting mix balances drainage with just enough moisture retention. Common ingredients include:
Fir bark: Chunky and slow to break down, it’s the base of most mixes.
Sphagnum moss: Holds moisture for orchids that dry out too fast.
Perlite: Improves airflow and prevents compaction.
Terrestrial orchids need a bit more moss for moisture, while epiphytes do better with mostly bark. Choose a pot with plenty of drainage holes, or even slits along the sides, to let air reach the roots.
Repot When the Mix Breaks Down or Roots Outgrow the Pot
Plan to repot roughly once a year. Watch for roots pushing out of the drainage holes or bark that’s turned soft and dark, both signs the mix has broken down and stopped draining well.
Feed and Manage the Plant Between Bloom Cycles
Feeding your orchid at the right times supports strong leaves and repeat blooms. What you do after the flowers fade matters just as much as fertilizing schedule itself.
Fertilize During Active Growth
During spring and summer, feed your orchid every time you water using a balanced 10-10-10 fertilizer diluted to quarter strength. This steady, light feeding mimics how orchids absorb nutrients in the wild.
Cut back on fertilizer in fall and winter when growth naturally slows down.
Orchid Care for Spent Flower Spikes
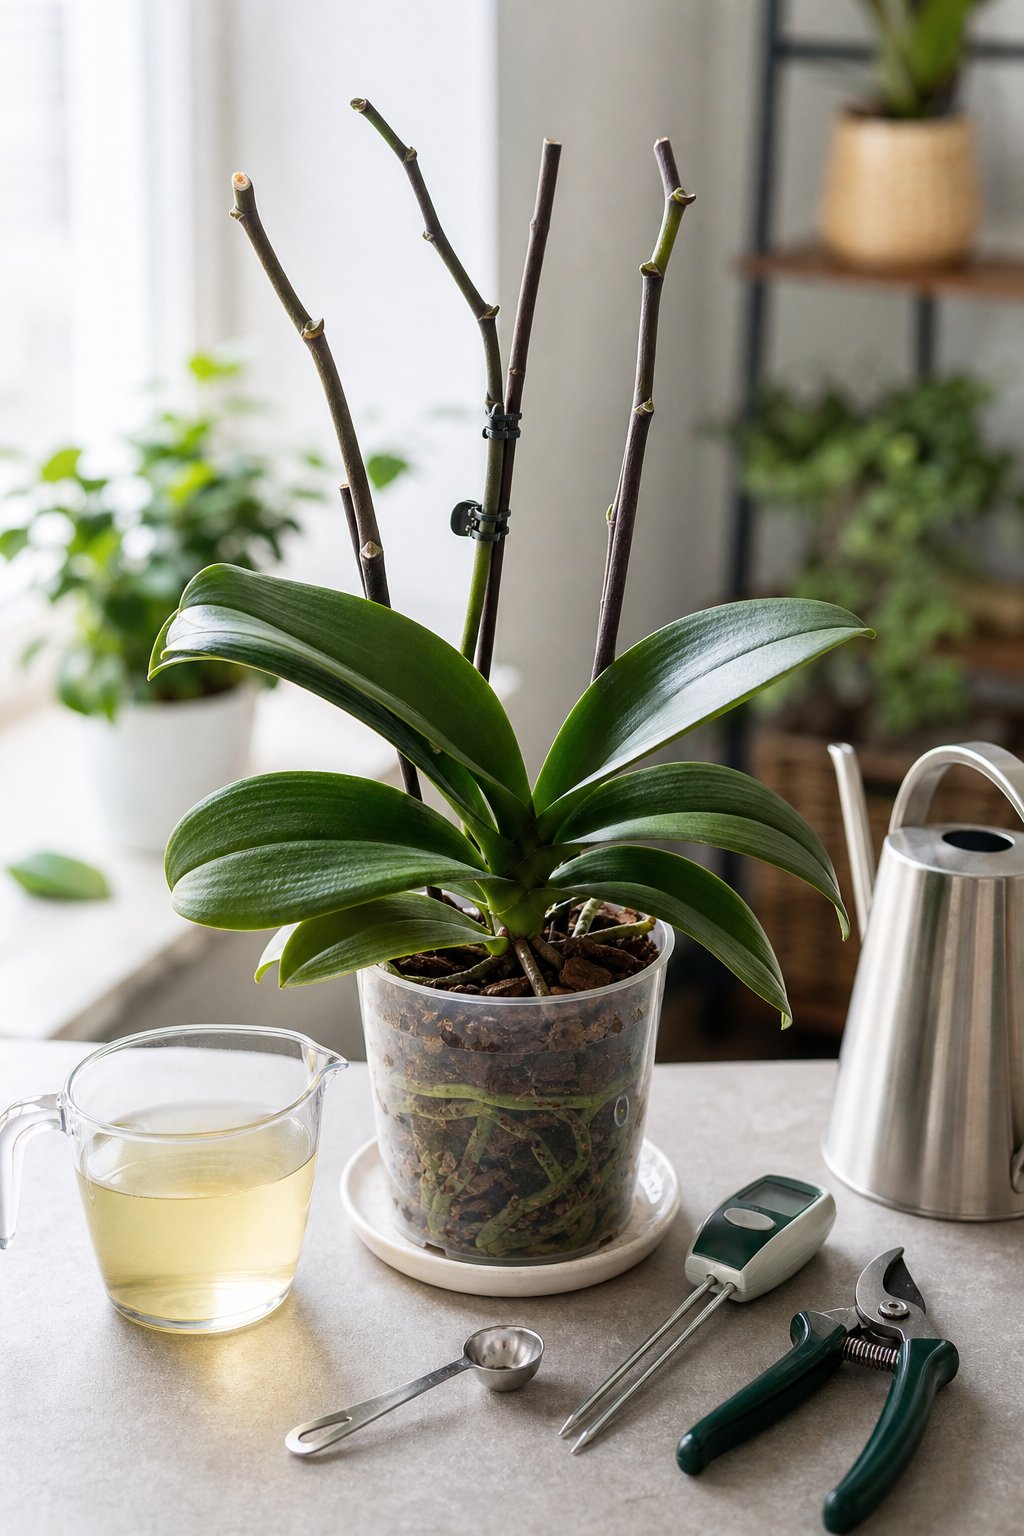
Once orchid blooms drop, don’t assume the plant is dying. This is a normal part of the cycle, and it just means the plant is redirecting energy.
For moth orchids, cut the spike just above the second node from the bottom, since a new bloom may form there. For other orchid types, cut the spike close to the base.
Support Healthy Reblooming
Reblooming takes patience, sometimes up to a year. Consistent light and a nightly temperature drop of about 10 degrees can help trigger new orchid flowers.
Stick with your regular watering and feeding routine in the meantime. Avoid moving the plant around too much.
Diagnose Orchid Pests, Diseases, and Common Setbacks
Even well-cared-for orchids sometimes run into pests or disease. Catching problems early, whether it’s a sap-sucking bug or a fungal spot, makes treatment much easier.
Treat Common Sap-Sucking Pests
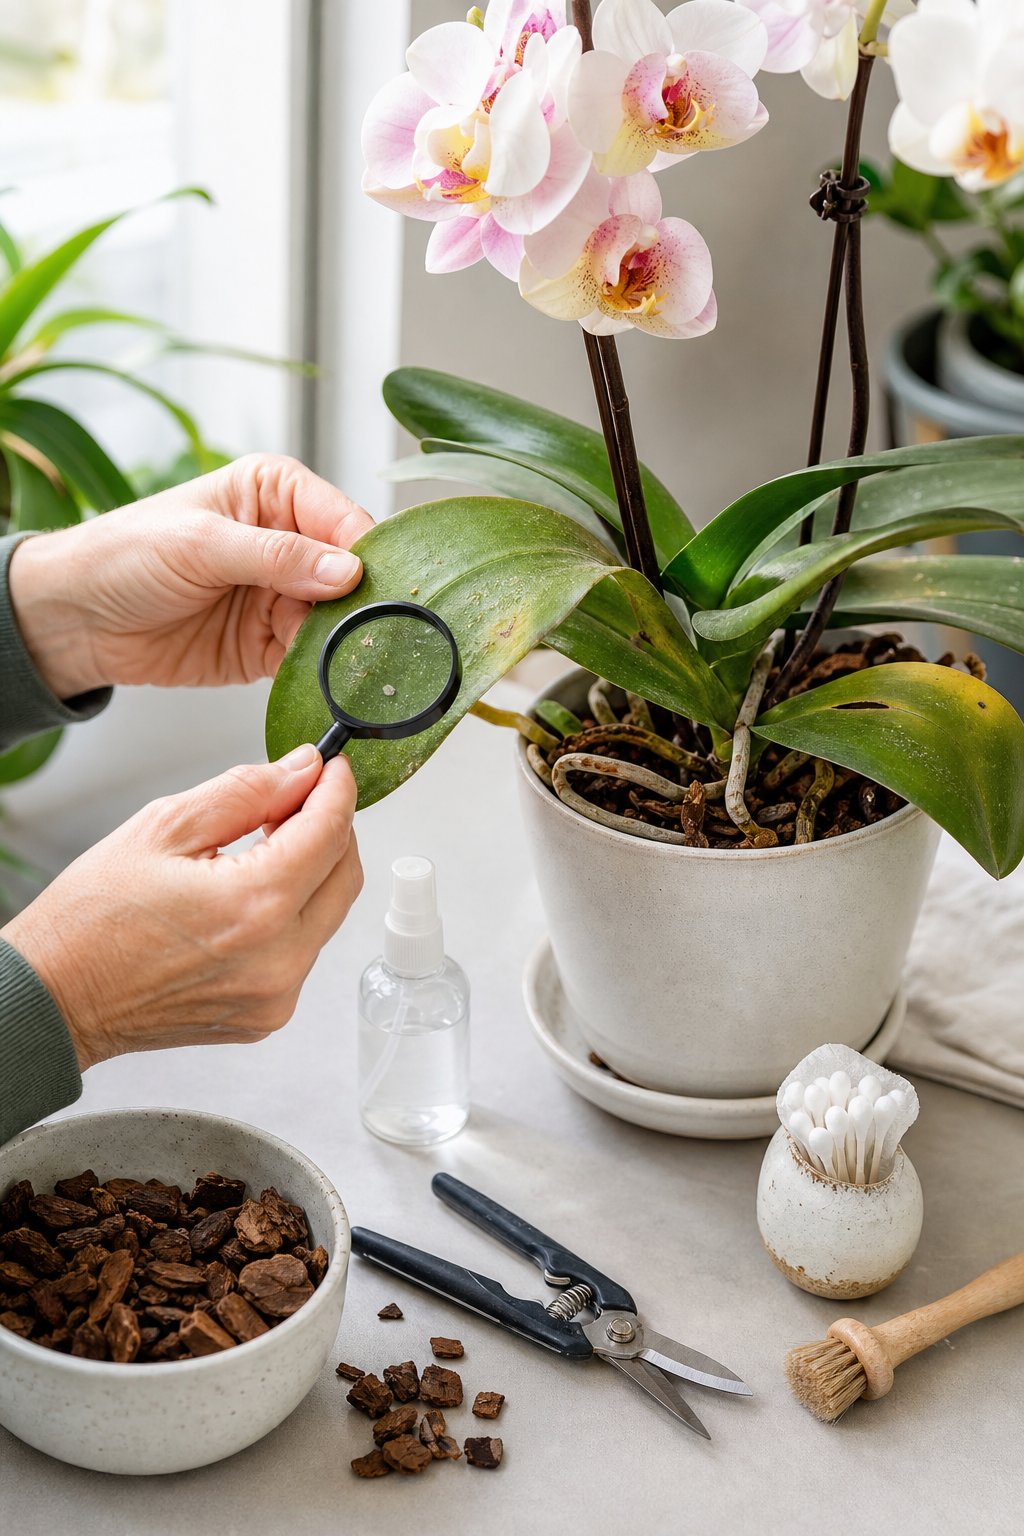
Mealybugs, aphids, and scale insects are the most frequent orchid pests. They cluster on leaves and stems, sucking sap and weakening the plant over time.
Wipe them off with a cotton swab dipped in rubbing alcohol. Follow up with insecticidal soap or an organic insecticidal soap spray.
Repeat treatments every week or two until they’re gone.
Prevent Fungal Problems With Better Conditions
Fungal disease and other fungal infections thrive in still, damp air. Improving air circulation around your orchid and avoiding water on the leaves goes a long way toward prevention.
If you spot dark or mushy spots, trim the affected area with a clean tool. Treat with a fungicide made for orchids.
Read Leaf and Root Symptoms Before Taking Action
Yellow leaves often mean overwatering, while wrinkled leaves point to underwatering or root rot. Check the roots before treating anything, since firm green roots mean the plant is healthy despite what the leaves show.
Mushy, brown roots signal rot and need immediate trimming and a fresh potting mix.
Frequently Asked Questions on Taking Care of Orchid
How do you take care of an indoor orchid?
Give your orchid bright, indirect light, water it only when the roots turn silvery gray, and keep it in a pot with a chunky, breathable mix. Maintain moderate humidity and steady room temperatures between 65 and 75°F. Fertilize lightly during the growing season for the best blooms.
How often should you water an orchid?
Most orchids need water every 7 to 10 days, though this varies with your home’s humidity and light levels. Check the roots instead of following a strict schedule, since silvery gray roots mean it’s time to water. Always let the pot drain fully afterward.
What should you not do with an orchid?
Avoid letting the plant sit in standing water, since this leads to root rot. Don’t place it in direct sunlight, which can burn the leaves, and skip the ice cube watering method, as it can shock the roots. Standard potting soil should also be avoided entirely.
What do you do with an orchid after the blooms fall off?
Trim the flower spike, cutting just above the second node for moth orchids or near the base for other types. Continue watering and fertilizing as usual. The plant is simply resting before its next bloom cycle, not dying.
How much light do orchids need indoors?
Orchids need bright, indirect light for around 12 hours a day, ideally from an east-facing window. If your space only offers low light, a grow light positioned 6 to 8 inches above the plant works well as a substitute.
How long do potted orchids usually last?
With consistent care, potted orchids can live for several years. Some well-maintained plants continue blooming for over a decade. Repot your orchid yearly. Stick to a proper watering routine to help extend its lifespan.
Final Thoughts on Orchid Care
Every experienced orchid grower has killed a few along the way. What separates a thriving orchid from a struggling one usually isn’t skill — it’s restraint. Less water, less repotting, less fussing, and more consistent light.
Once you understand how to take care of orchids, you’ll find they’re far more forgiving than their reputation suggests. Many Phalaenopsis plants live for decades and rebloom reliably every single year with nothing more than weekly attention.
Give your orchid a few months to settle into its routine, resist the urge to intervene every time a leaf changes, and enjoy the payoff when that first new spike appears.
I’m Anirban Saha, the Founder and Owner of MrPlanter.com. I pay the bills as a software developer, although my BTech is actually in Electronics and Communication. I really love my day job, but what gives me energy every day is interacting with my indoor plants and taking care of them. I have been successfully nurturing and maintaining houseplants for over 10 years now.
📚🔍 Our content undergoes thorough review and fact-checking before publication. For additional details, explore our strict Editorial Policy to deliver helpful content. 📝🔒